I’ve recently installed some external speakers for various Yamaha Disklaviers. Hopefully my experience with this helps somebody else!
The Yamaha Disklavier Mark IV is a well-loved, sophisticated instrument. However, upgrading its control unit to the DKC-900 offers several benefits—most notably, access to Yamaha’s Enspire radio stations and On-Demand radio. This is one of my recommend upgrades to consider. Below is a recent project where I helped a customer enhance both functionality and audio output.
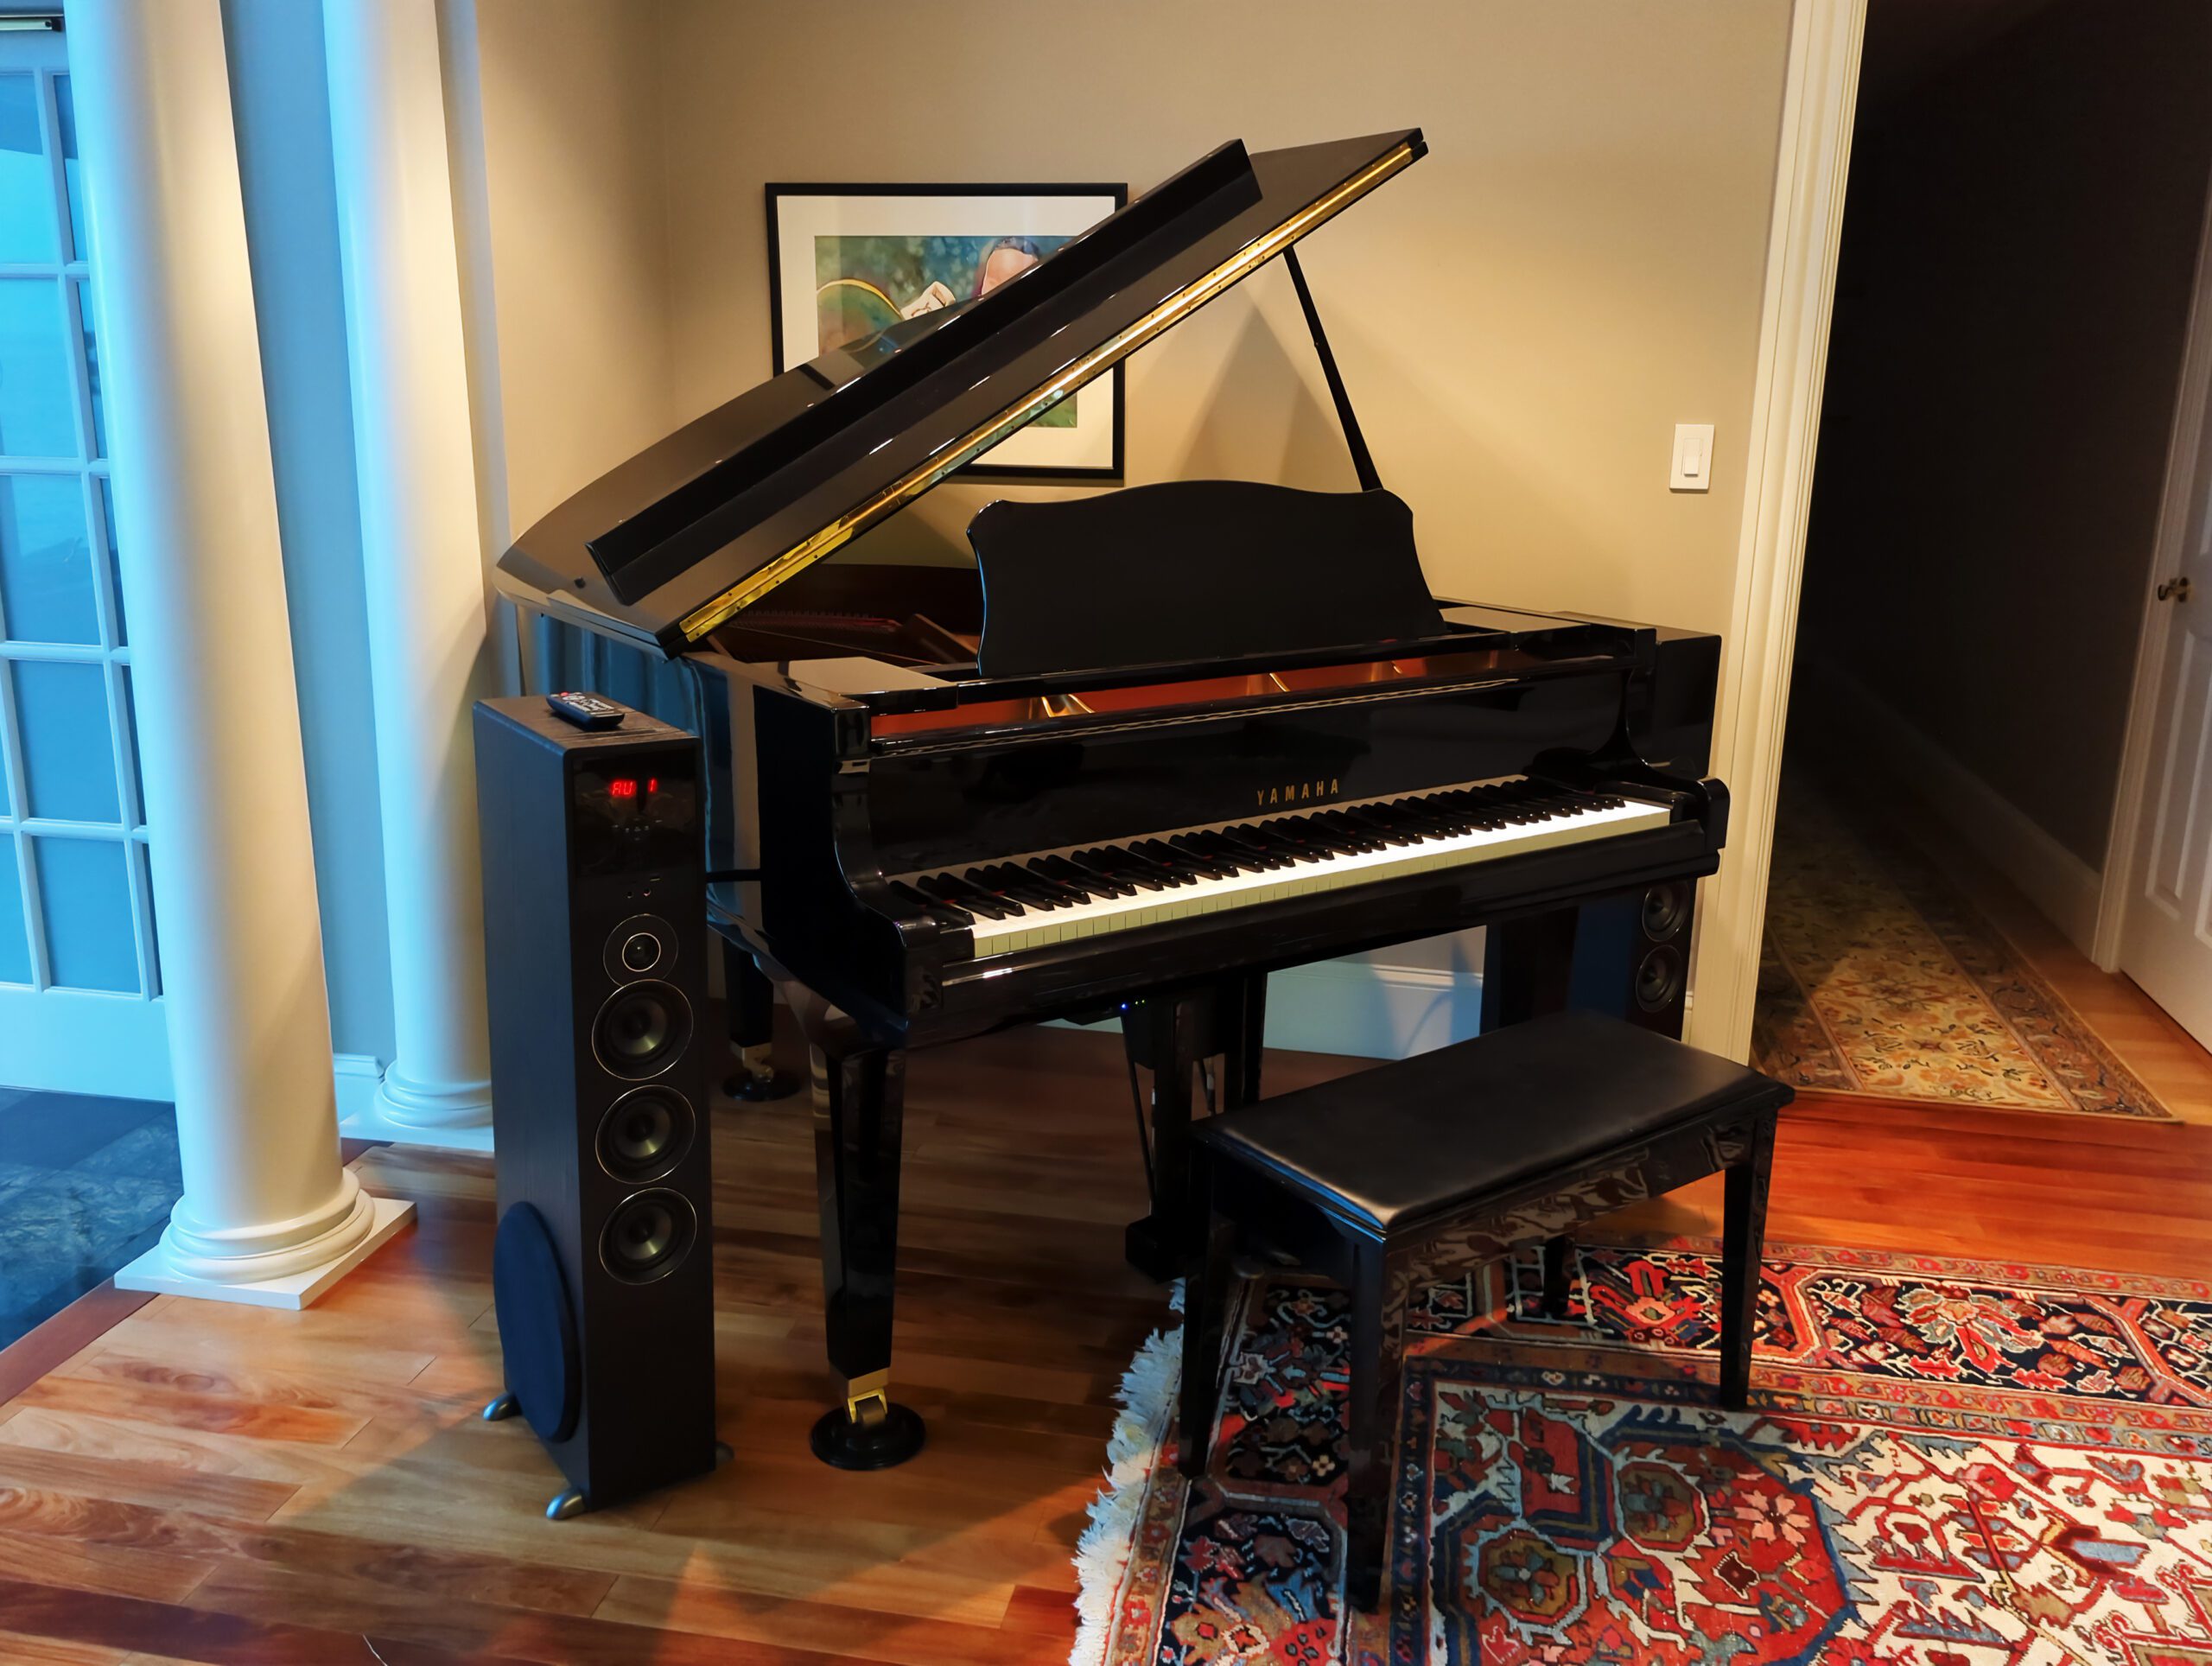
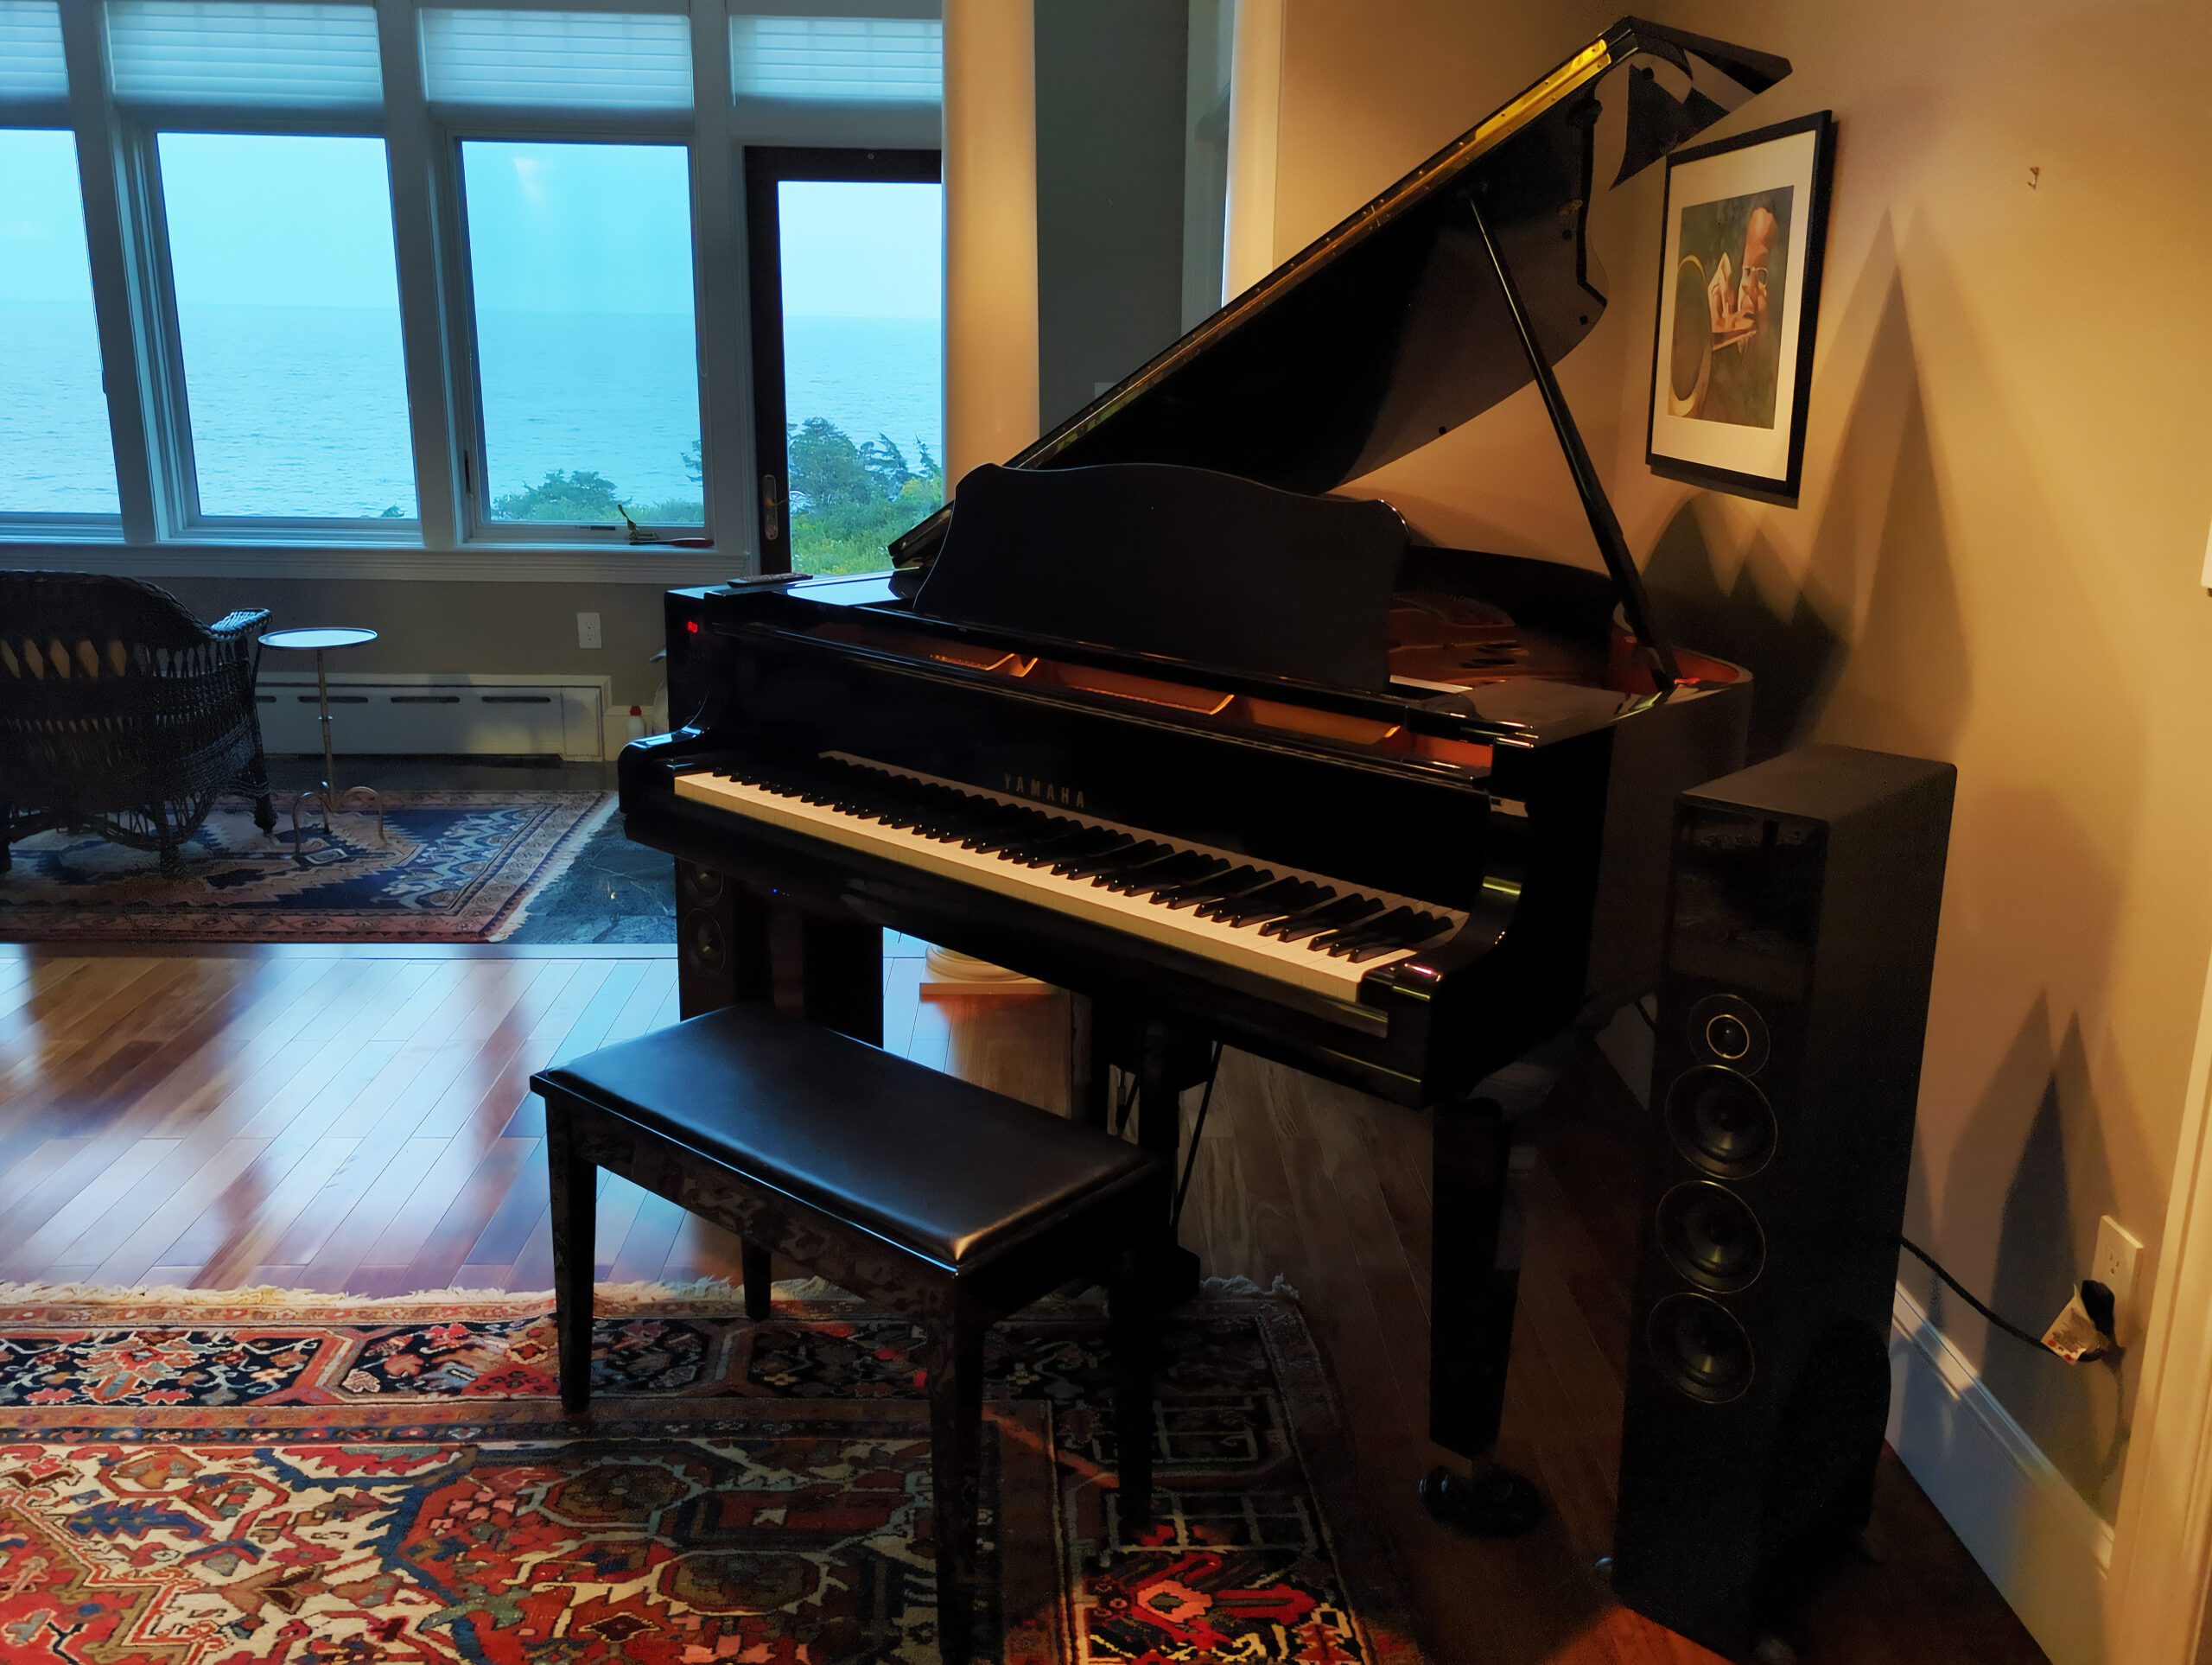
I have a customer who recently upgraded his Mark IV to a DKC-900, and he wanted to add larger Bluetooth enabled speakers. Although the built-in speakers are powered, and amplify signal quite well, we nonetheless found the audio output from the Disklavier was a bit low for his purposes!
The Alternative Speakers
We used Rockville TM150B 10″ Speakers. After I connected the Rockville speakers, I find that it was difficult for the Disklavier to drive the speakers with as much volume as he’d been hoping for. When I initially connected the speakers, they worked excellently when connected over Bluetooth to my cellphone, but the volume from the piano still wasn’t impressive enough! Any alternative external speakers should work, but they should, at the very least, be better than the originals!
Adding an RCA Preamp
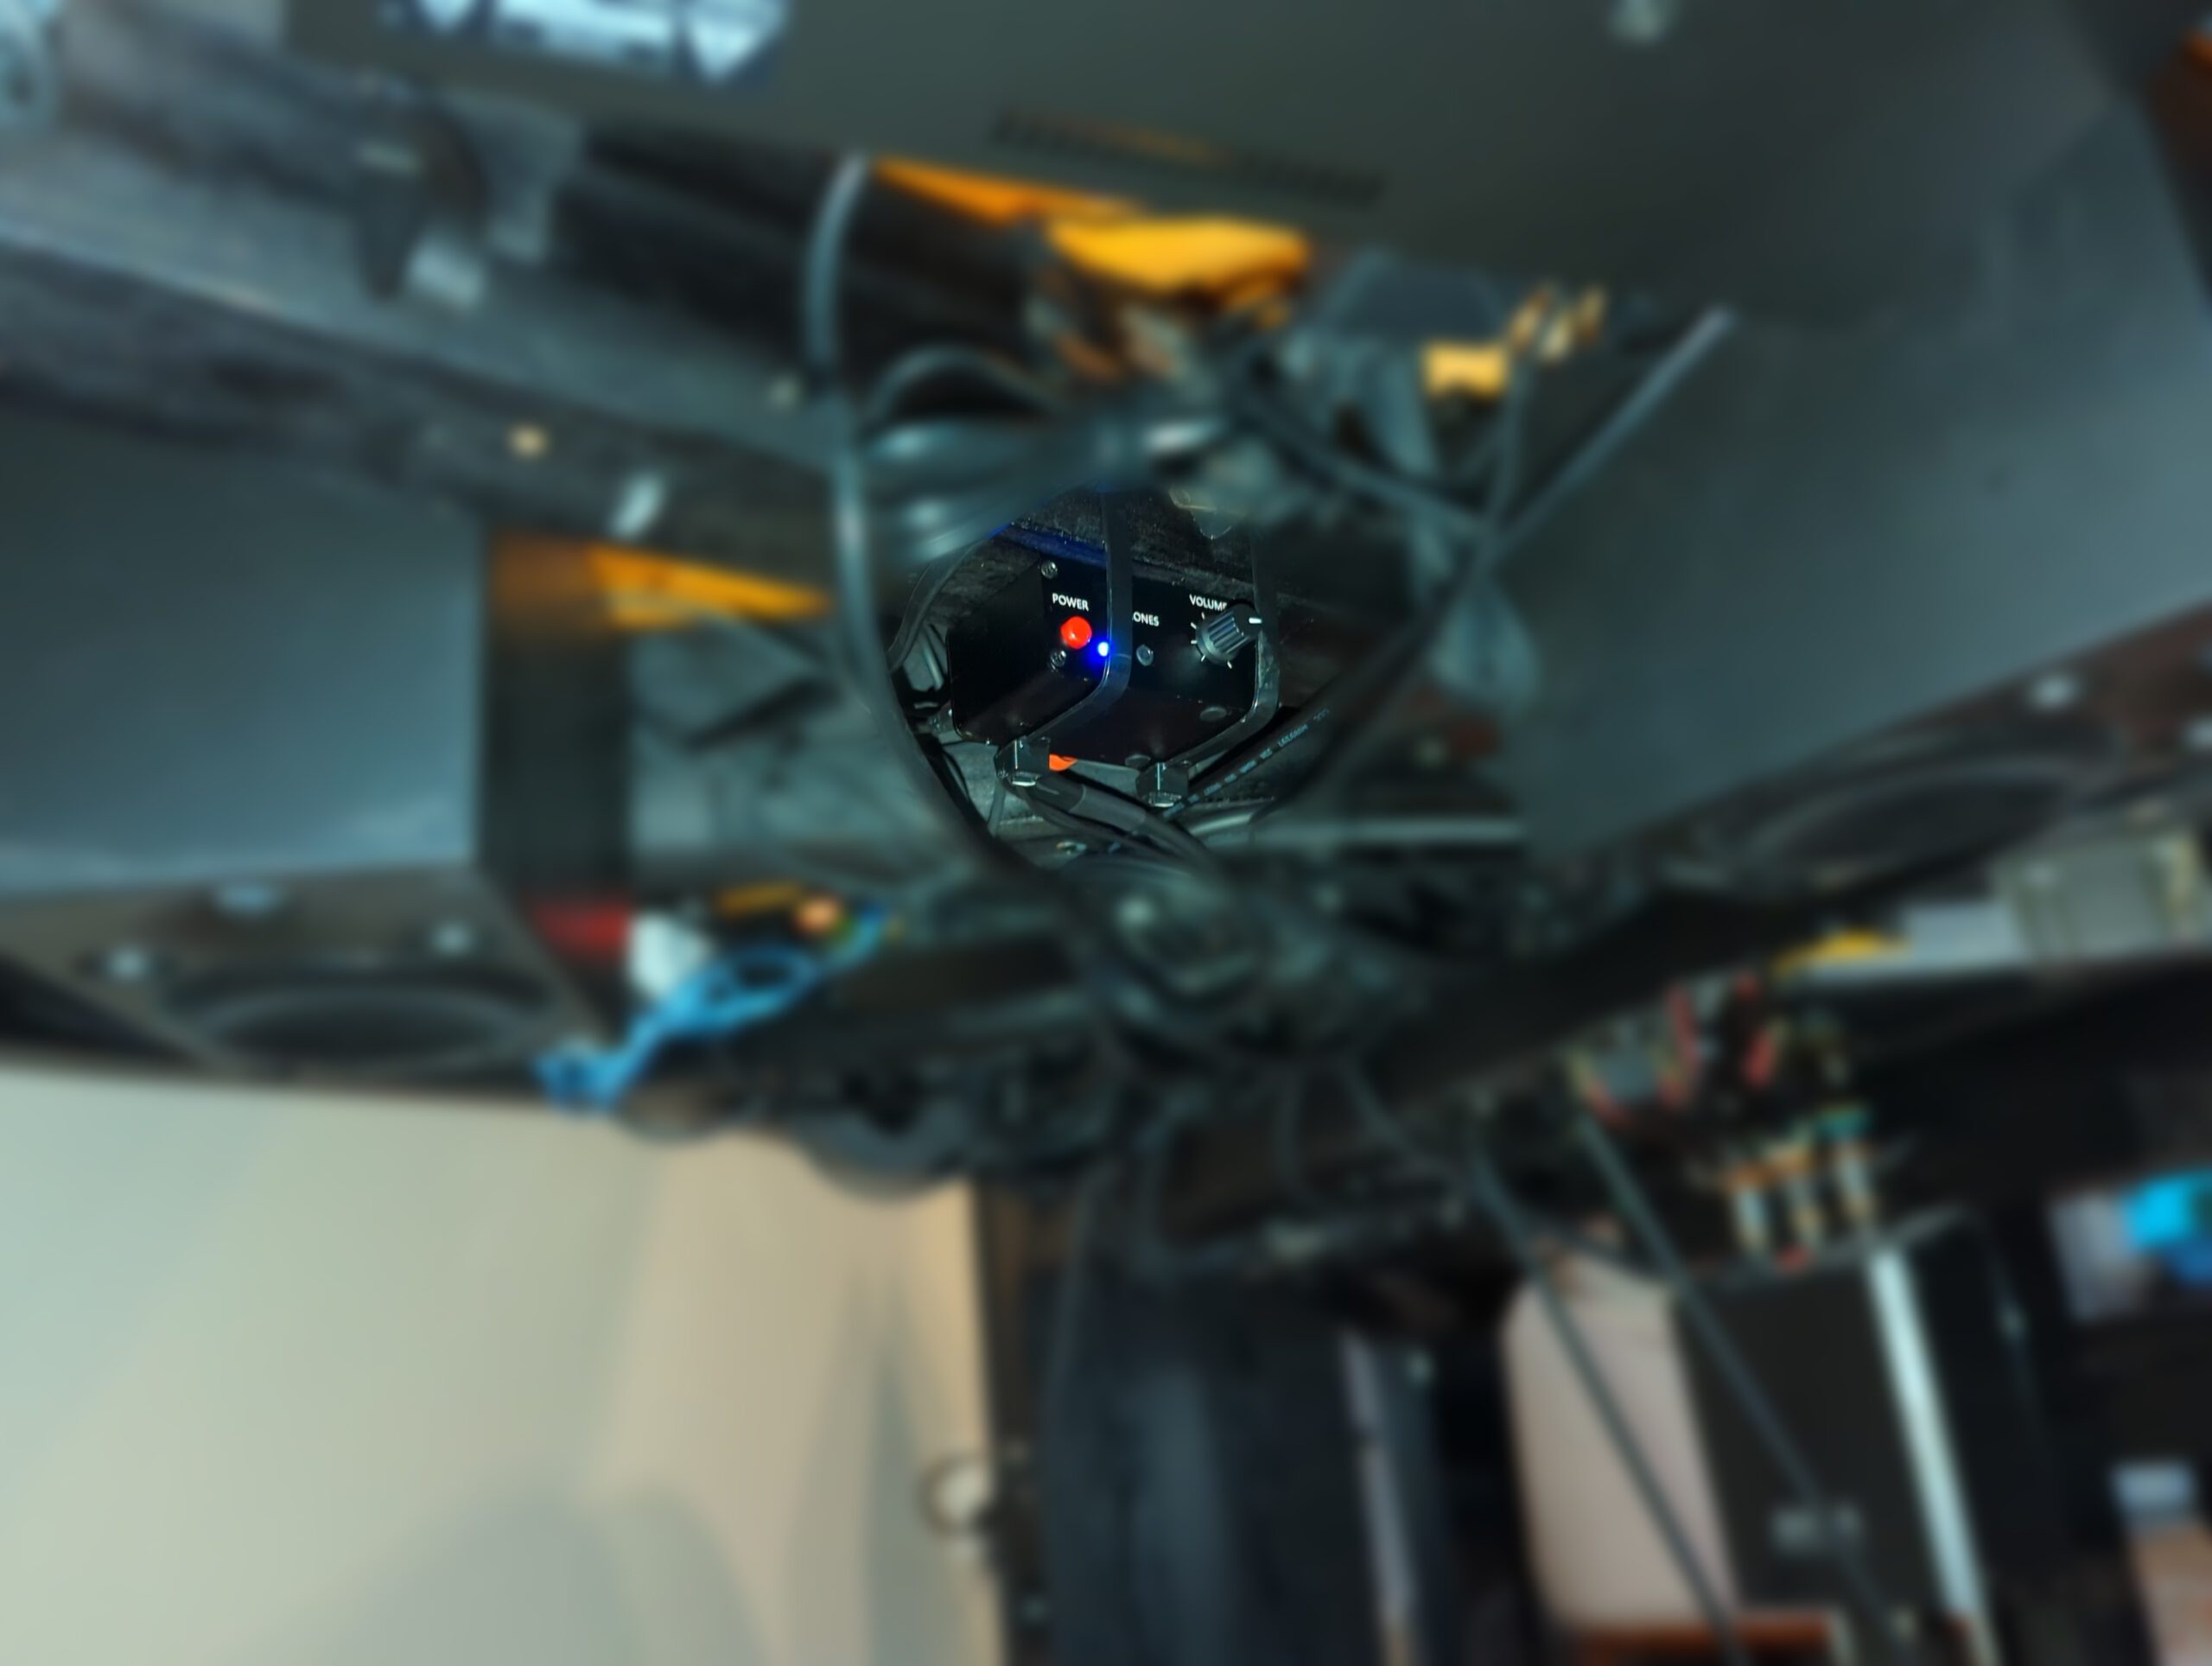
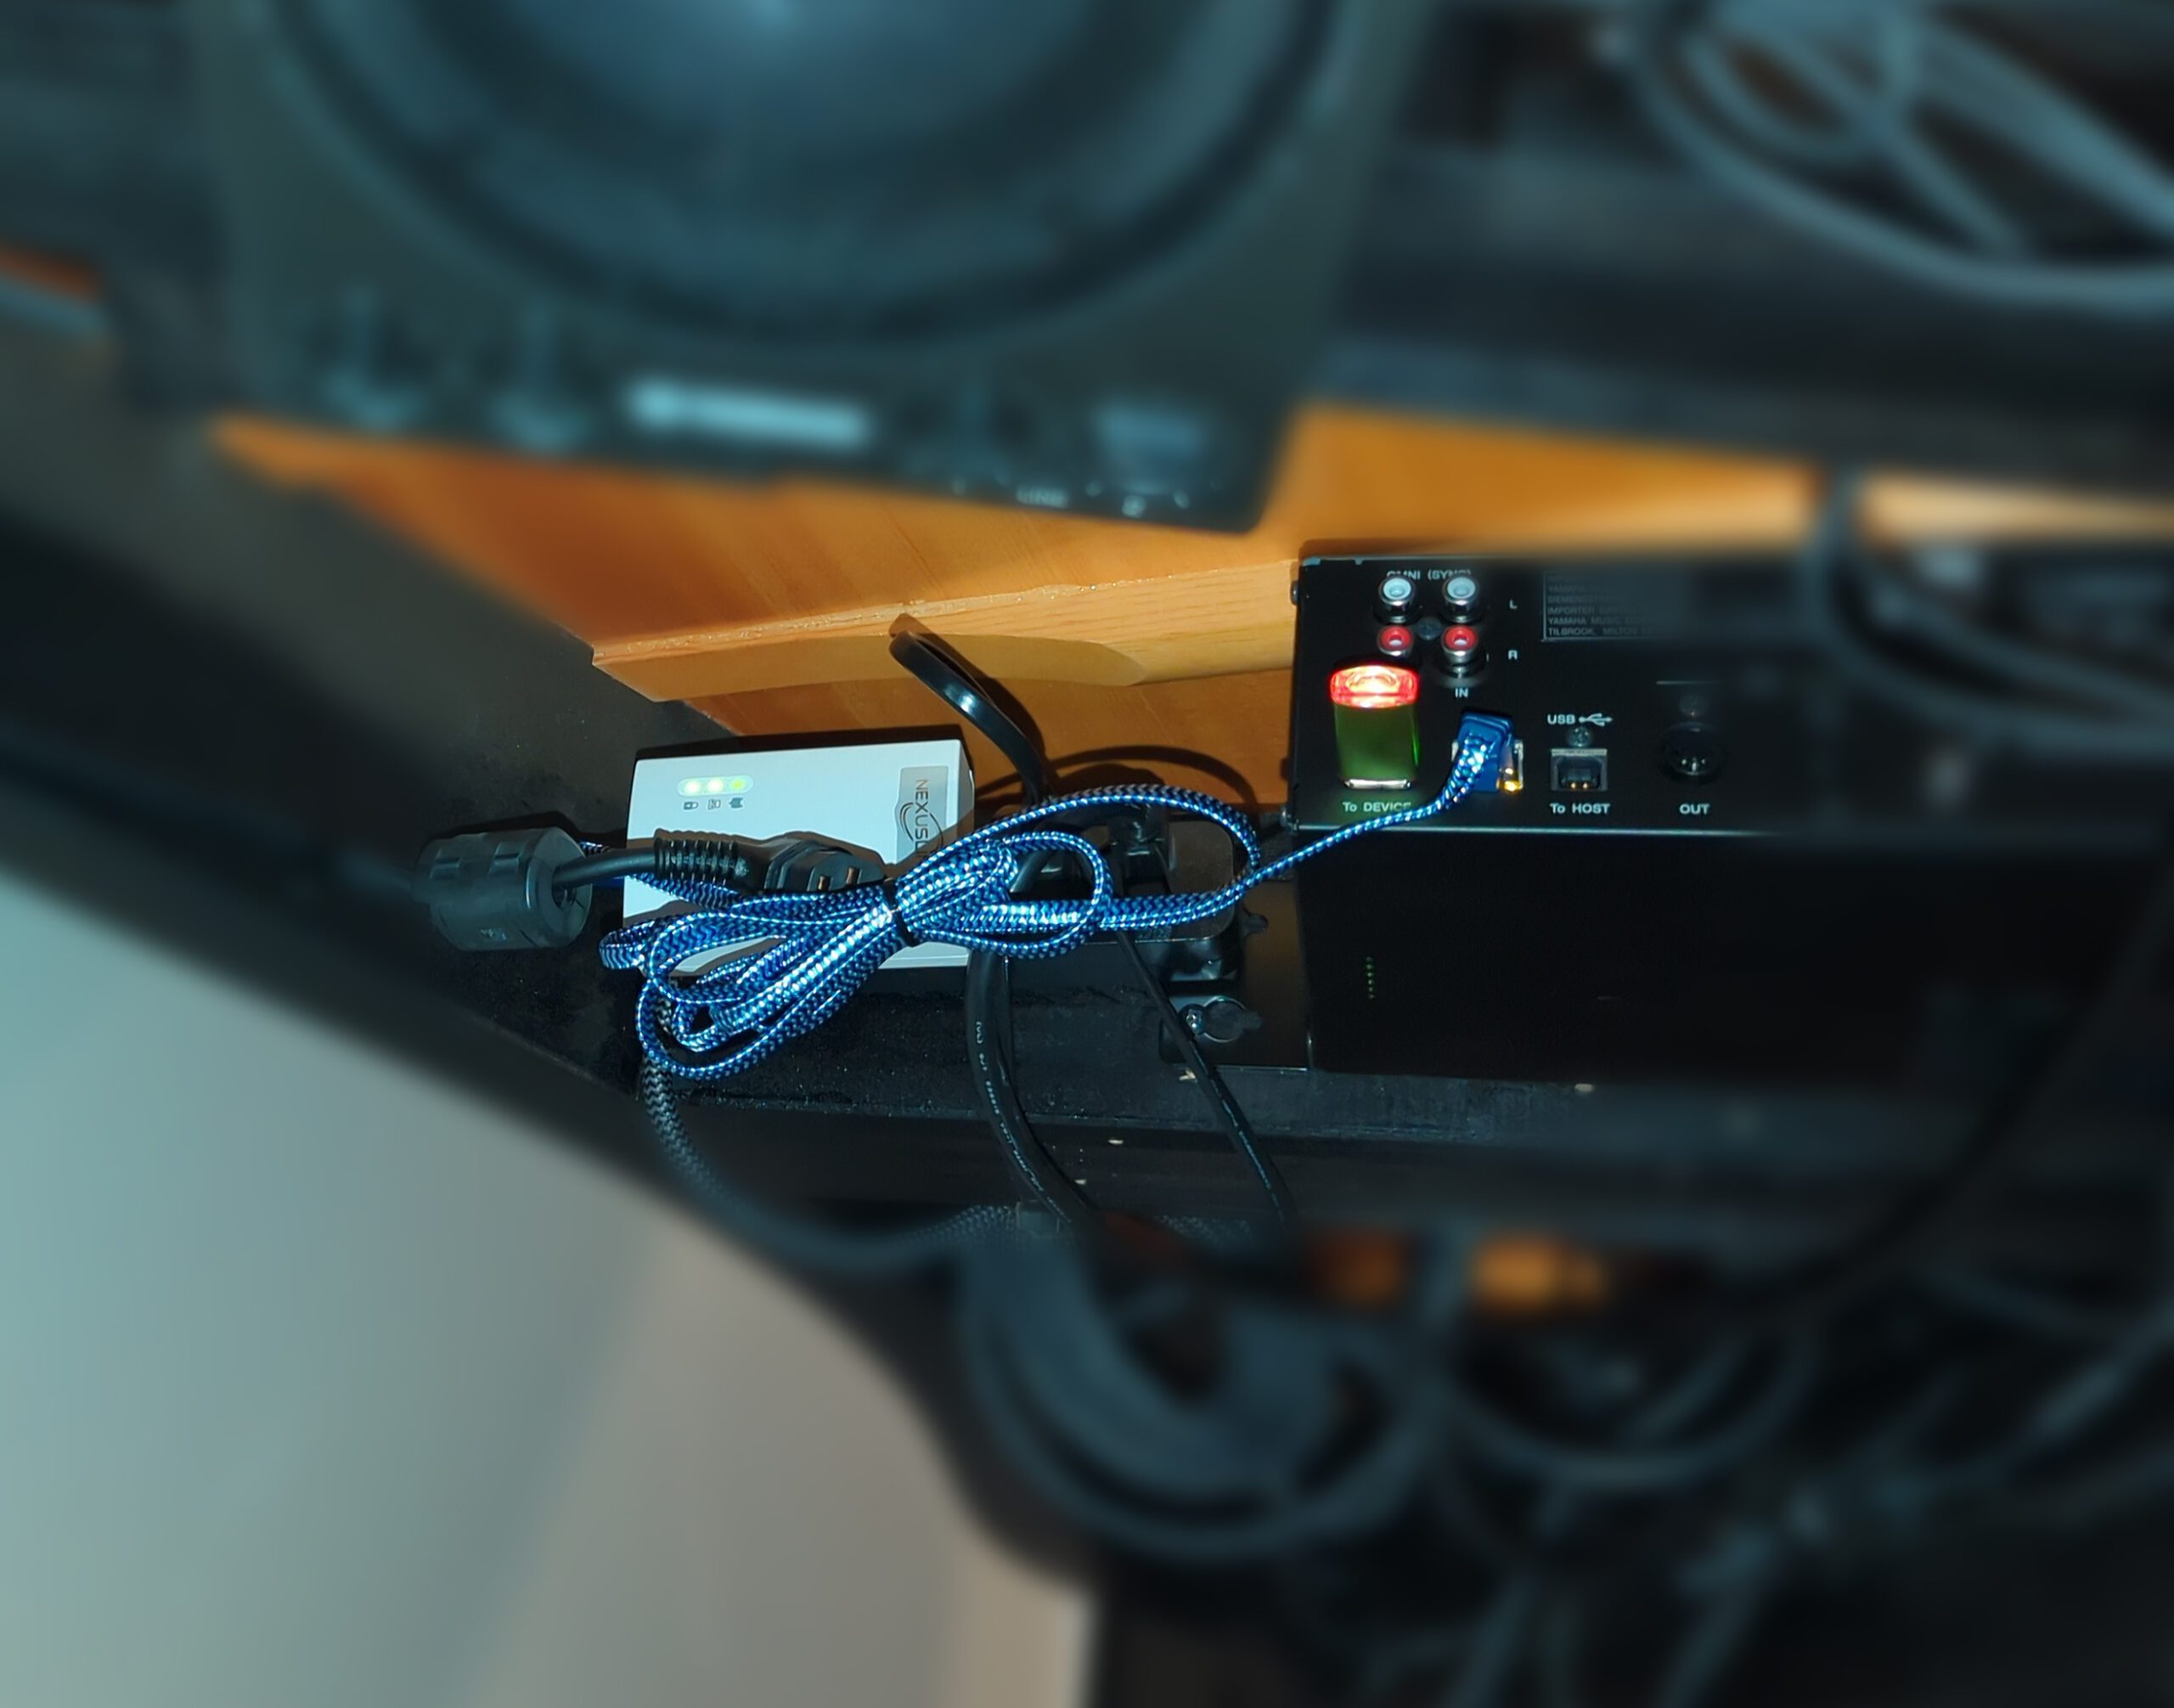
I added an RCA preamp to amplify the signal going into the speakers. The RCA preamp amplifies the audio considerably before it reaches the speakers. The speakers then do their own amplification! The RCA preamp is zip tied in place using 24″ zip ties. These work wonderfully for strapping components to the beams. This worked beautifully, and the speakers can now deliver very loud and full musical accompaniment to the piano.
The speakers underneath the piano are present, but are no longer powered or connected.
What About a Sonos Speaker System?
The Sonos system definitely qualifies as “external speakers”!
I recently put together an interesting project: A local IT person was attempting to pipe the RCA outputs from the control center into a Sonos speaker system, and was frustrated that he couldn’t hear any piano! The Disklavier’s RCA output does not include any of the acoustic piano sounds, since it has no way to pick them up. The OMNI out does include the sound of the Disklavier’s digitally synthesized piano, which might be good enough. But you paid for an acoustic piano, and that’s what you want to hear!
Below is the system I came up with to mic the piano, mix it with the audio output, and send it through the Sonos system.
Please note that the Sonos speaker system has a noticeable lag. You do not want to have the Sonos speakers set up where you can easily hear the piano. It works wonderfully for buildings that want their piano piped to the outdoors, or to other buildings, but is not the preferred choice for speakers nearby the piano.
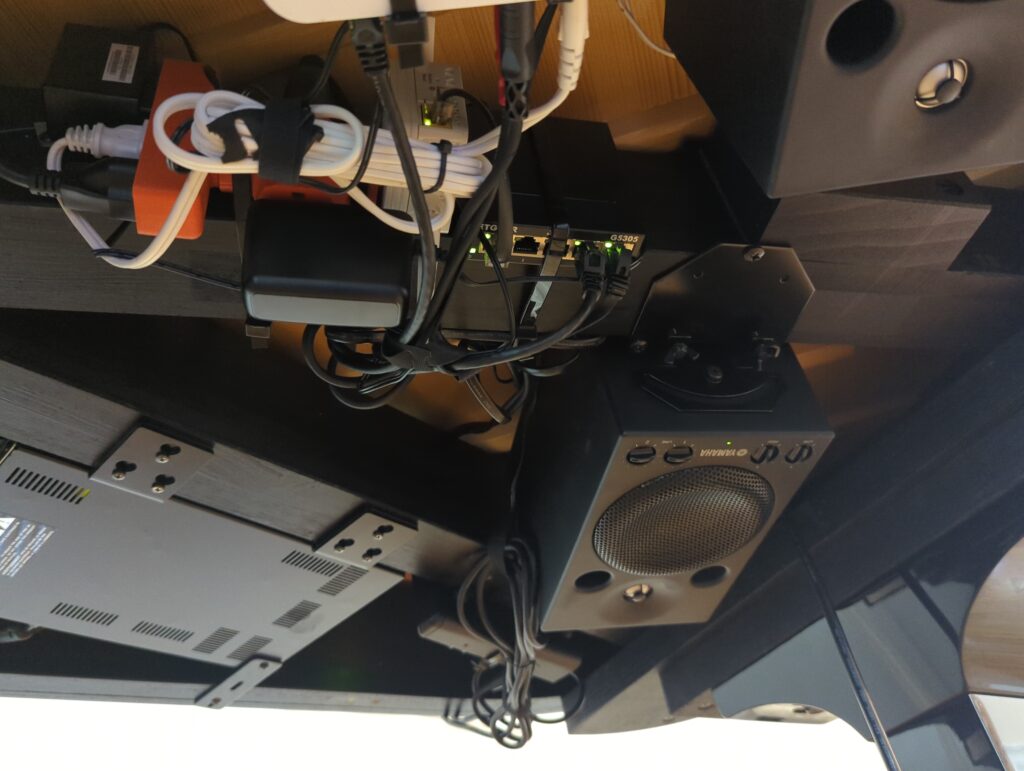
Networking the Piano using a Bridge
Both the Disklavier and the Sonos Connect have to be connected to the Local Area Network. I accomplished this using a NETGEAR wireless bridge and a small hub. The hub is connected to the wireless bridge, and then to both the Sonos and the Disklavier’s control center. In retrospect, and with more experience, a Gl.iNet “Opal” would have accomplished both tasks—bridging and acting as a hub—but this worked well despite the extra complexity.
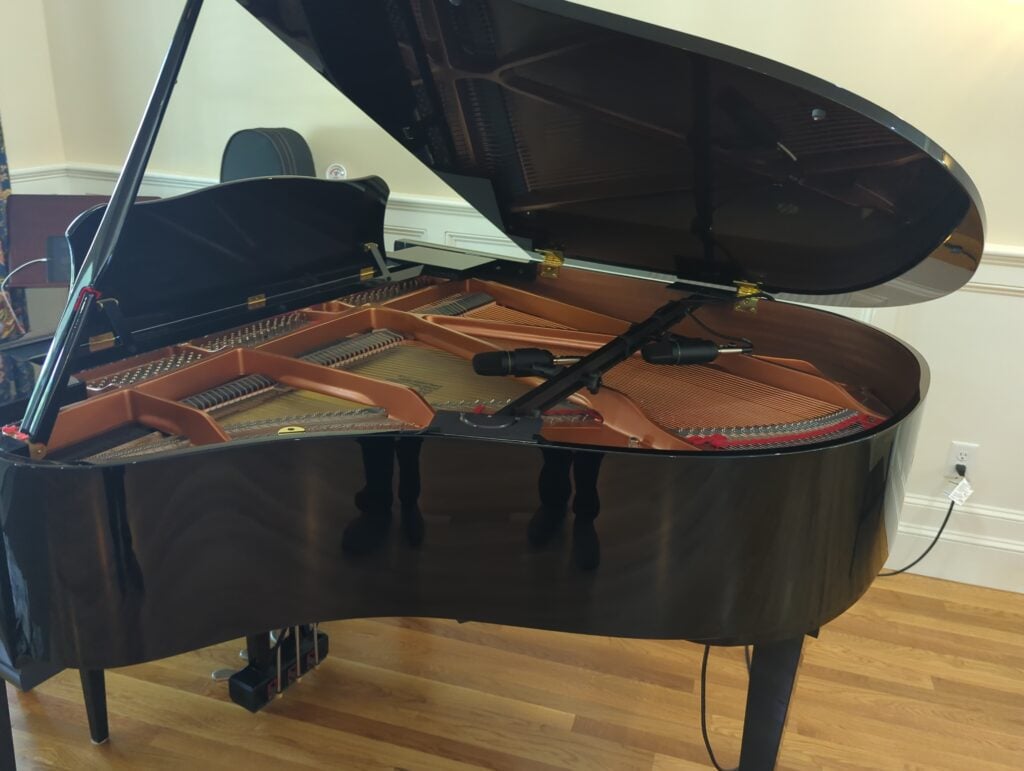
The Microphones
To start, I mounted two microphones above the piano using the Mirizio Microphone Mount. This device allows you to mount microphones directly above the soundboard of the piano, and it’s quite adjustable.
The Mackie microphones come with shock mounts. These are excellent, except they won’t fit under the lid when it’s shut. However, these little microphone clips do work.
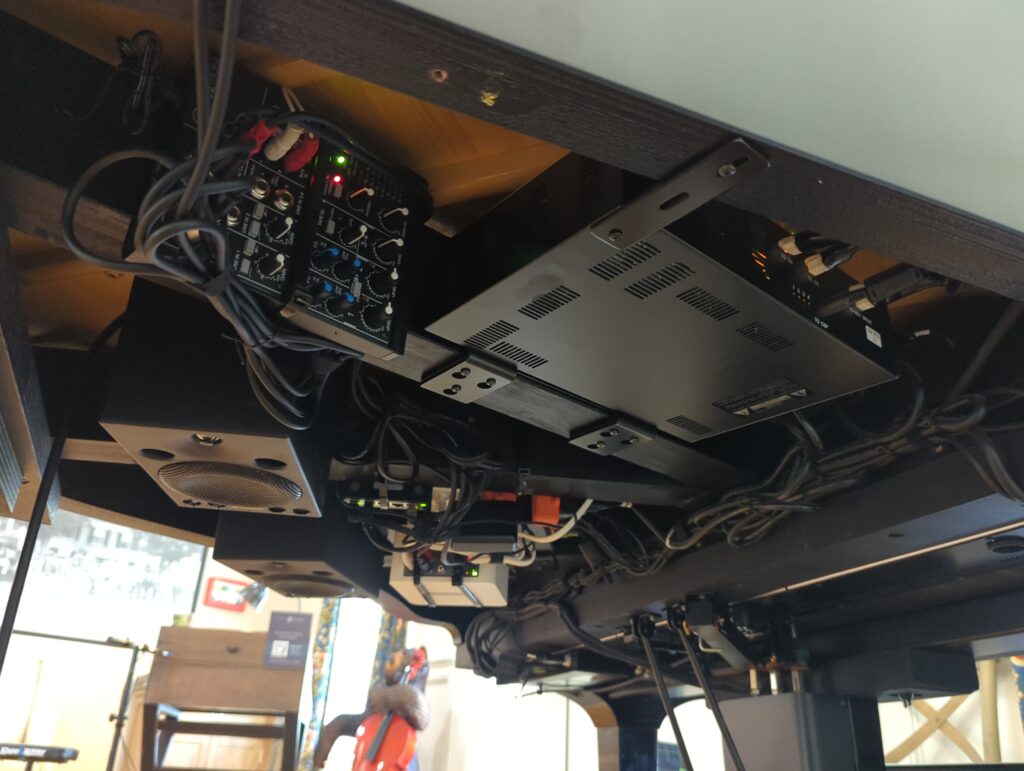
For the piano and audio signals to mix nicely, you need… well… a mixer! This inputs on this mixer are the two microphones, and the audio output from the control center. I’ve used as little gain as possible on the microphones to reduce noise from the room. Even the mixer mounts up nicely underneath the piano with the use of a couple of zip ties. Of course, it’s mandatory it not come in contact with the soundboard — this mixer sits about an eighth of an inch away from the ribs as it’s pictured.
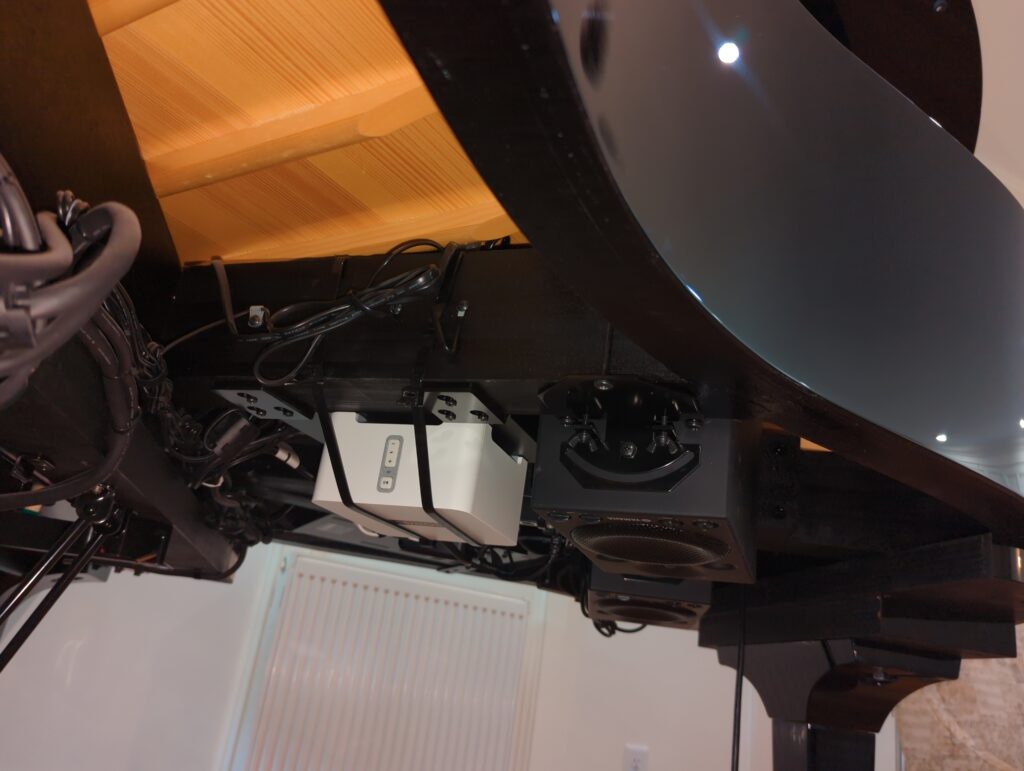
Sonos Connect
The RCA input to the Sonos Connect is the Tape Out of the Mackie mixer. If properly balanced, this contains clear audio of the actual acoustic piano, balanced nicely with any PianoSoft audio.
Has anyone thought of fitting a TV soundbar under the piano. It seems to me that the sound quality could be quite good and it would be an easy shape to strap to one of the cross members under the piano.
Hello Luc! That’s an interesting idea. The speakers that the Disklavier comes with are fairly large, so most of my experience connecting them to external speakers has been larger, freestanding units or into larger sound systems. But if you had a sufficiently high-quality soundbar, this could be worthwhile.