Create Song List from Nalbantov HFE Files

Upload a Nalbantov HFE file to extract Yamaha Disklavier MIDI, E-SEQ, and FIL song titles into a clean, copy-ready song list.
Upload a Nalbantov HFE file to extract Yamaha Disklavier MIDI, E-SEQ, and FIL song titles into a clean, copy-ready song list.
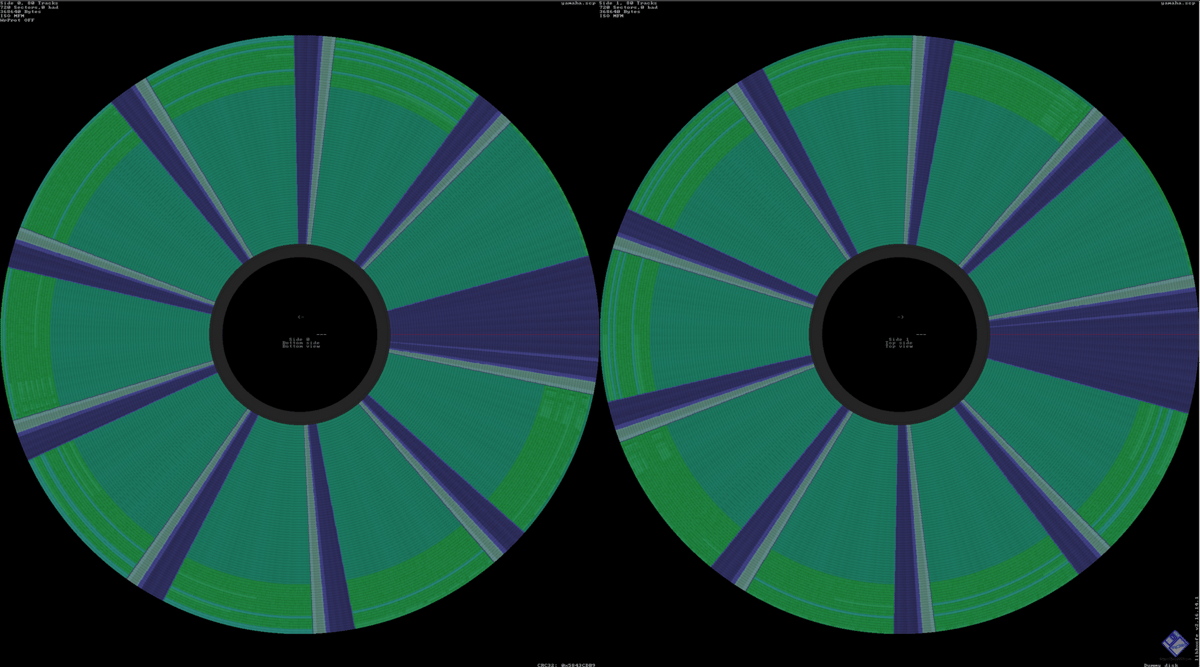
Compare Greaseweazle and KryoFlux for Yamaha Disklavier floppy preservation, imaging, recovery, and practical backup workflows.
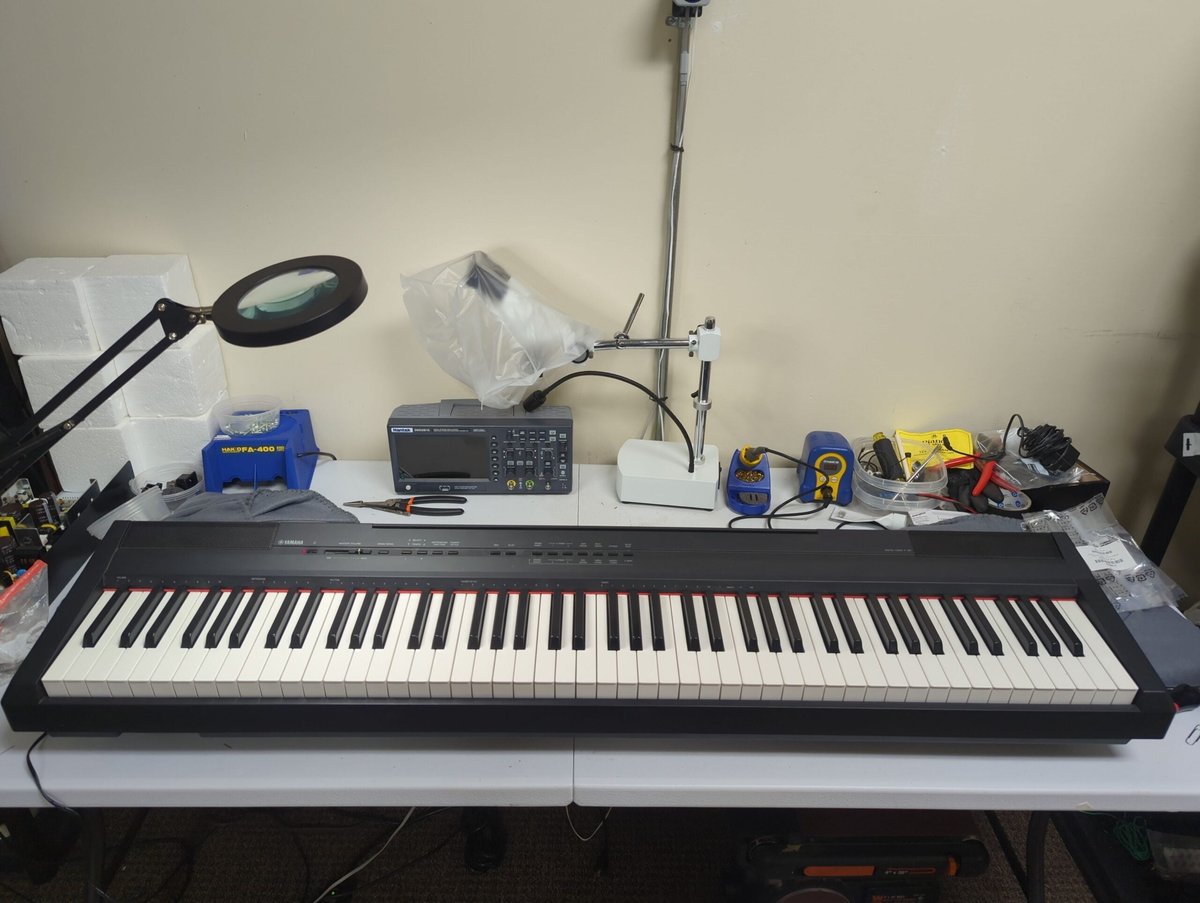
Technician guide to buying a budget beginner digital piano, including models to consider, models to avoid, and accessories that matter.
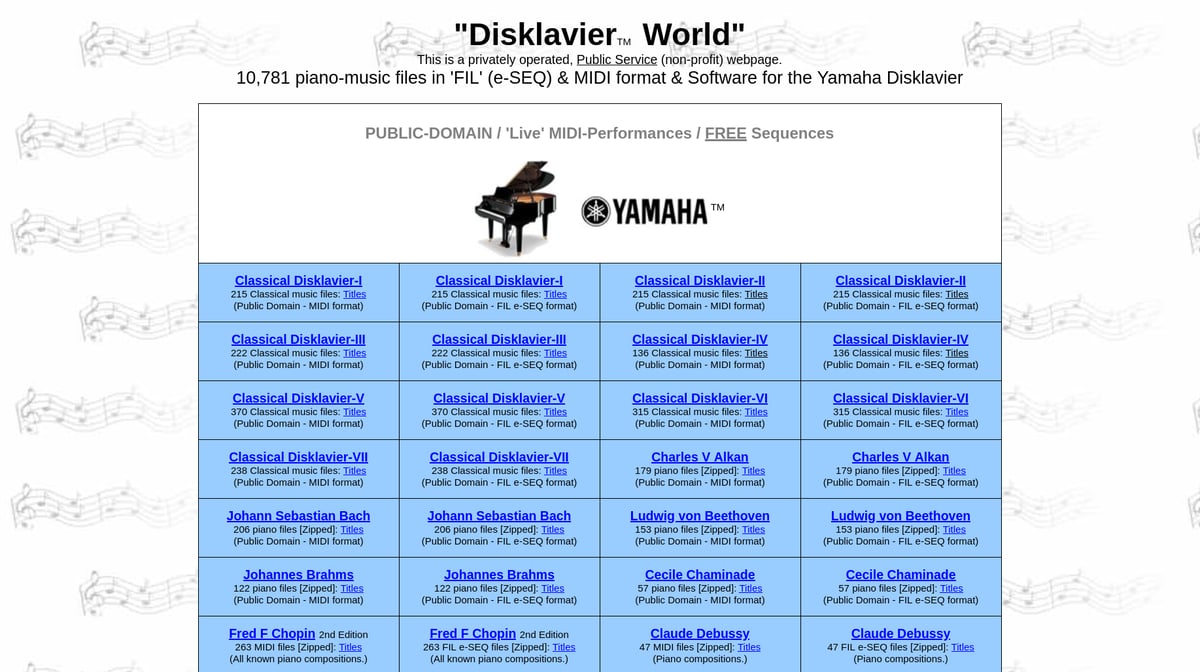
Mirror of the Kuhmann Disklavier World directory with free Disklavier-ready MIDI and E-SEQ files, plus Type 0 and setup notes.

Connect PianoStream to a Yamaha Disklavier with a CME U4MIDI, preserving MIDI routing for DCD1, MU50, MU80, computers, and Bluetooth.
Troubleshoot PianoStream problems with Disklaviers and player pianos, including Analog vs Digital mode, Bluetooth MIDI, floppies, and volume settings.
Update Yamaha Disklavier ENSPIRE and DKC-900 firmware by app or USB, with steps for offline updates, Wi-Fi trouble, and failed installs.
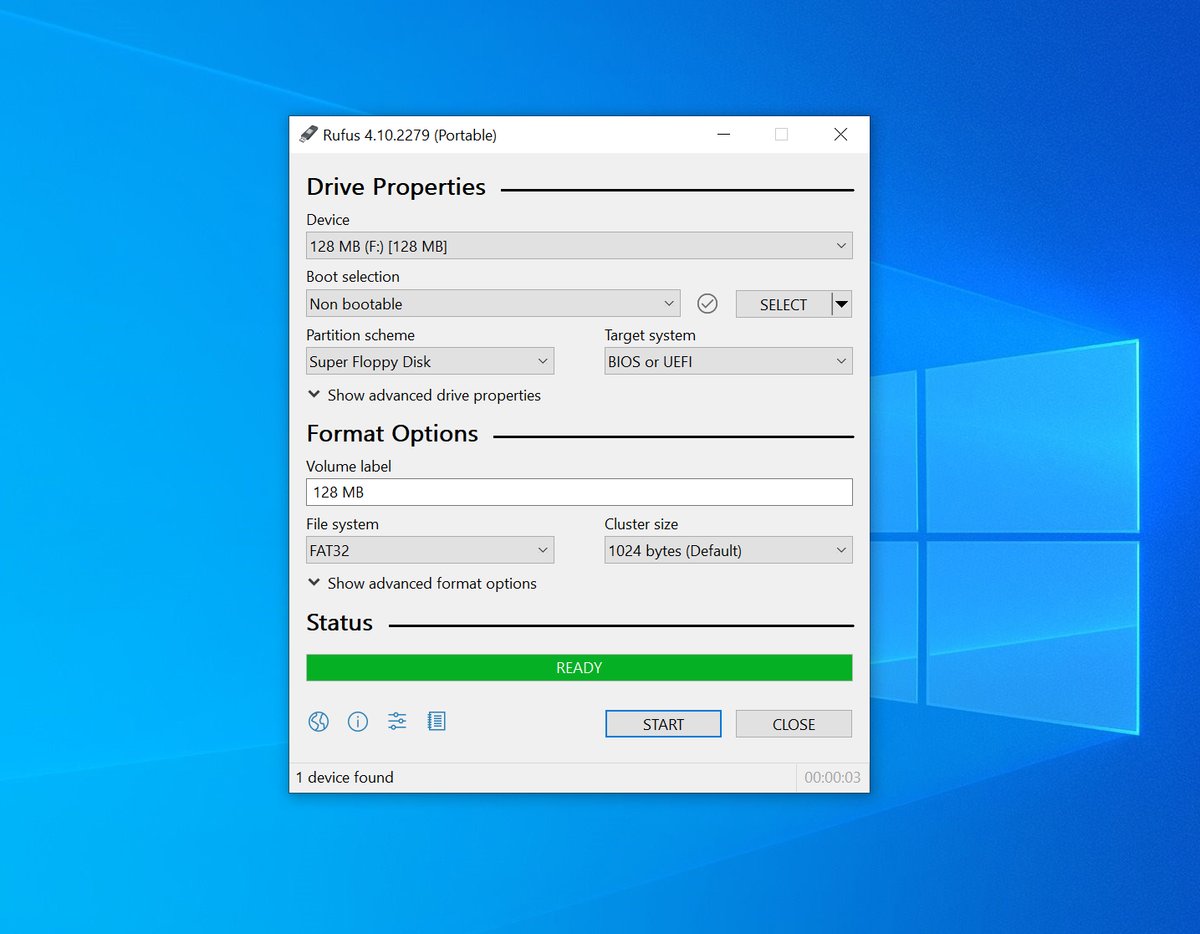
Fix USB sticks that do not appear on keyboards, Disklaviers, or Nalbantov emulators with FAT32, FAT16, and superfloppy formatting tips.
Work notes on a buzzing Yamaha GB1, silent Yamaha P-71 after a spill, and pinblock treatment mistakes that can damage grands.
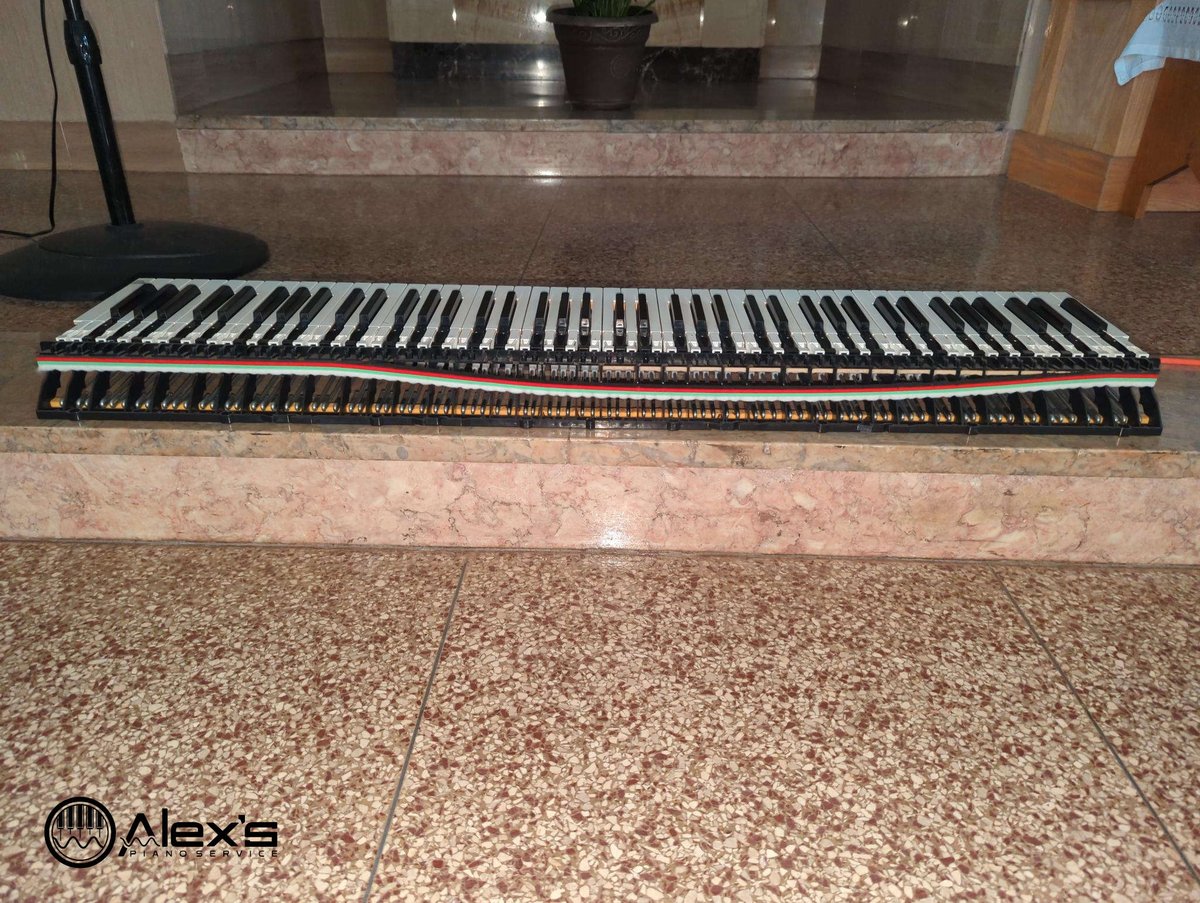
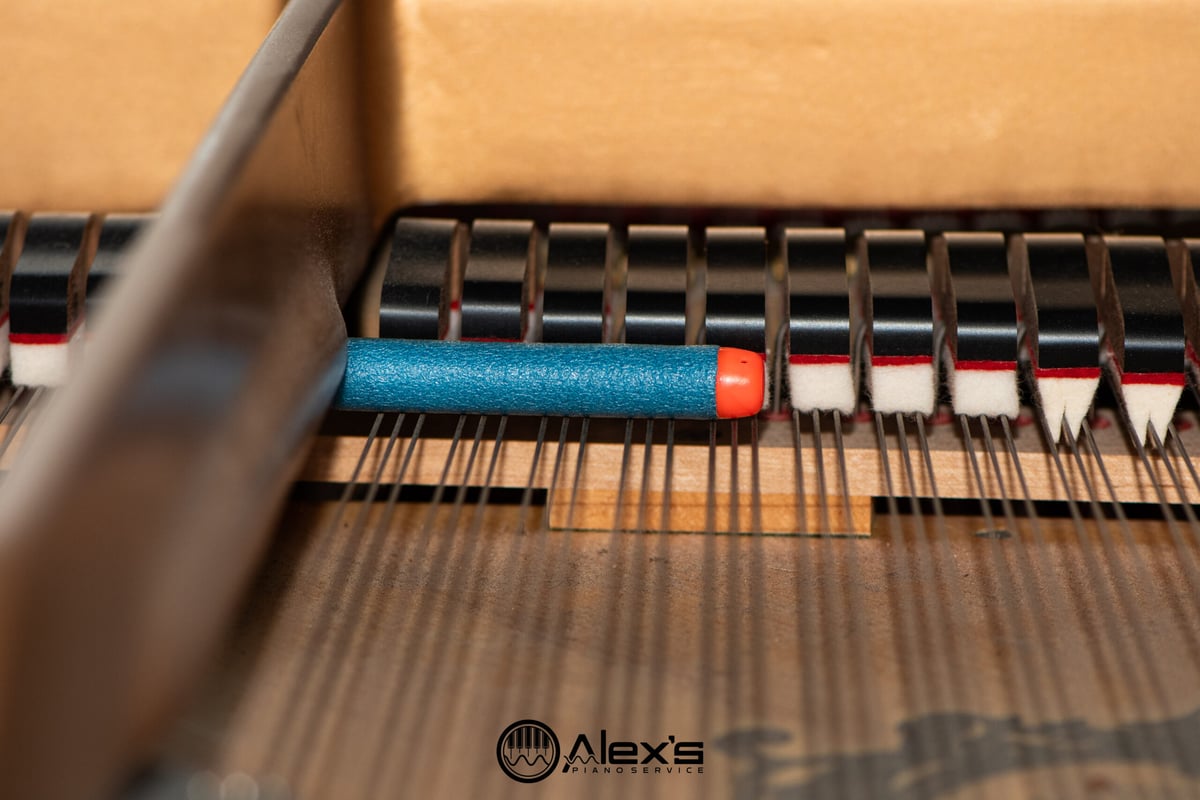
Fix noisy or heavy Yamaha CLP-295GP keys by separating hammer strike and rest felts, a common Clavinova repair from late-2000s models.