Upgrades for your Yamaha Disklavier! Where to Start?

This list is designed to help you understand the options for upgrades for your Yamaha Disklavier. It can be confusing, so start here!

No matter what model of Disklavier you have, it’s worth looking into some good sources of music! I also have a list of free MIDI sources to recommend. See my Disklavier compatibility table for an idea of what file formats your Disklavier can play.

Early Disklaviers (Mark I—III)

PianoStream App

One of my favorite simple upgrades for early Disklaviers is connecting them to PianoStream! PianoStream is a piano radio app designed to work with nearly every player piano, including the Yamaha Disklavier.

The app offers its own version of piano radio, providing you with a very large repertoire of high-quality music. It also allows you to stream MIDI files from your phone to your Disklavier, altogether bypassing the floppy drive.

Richie Hayes, the developer of PianoStream, also has an active PianoStream Facebook group where people can make requests.

Nalbantov Floppy Disk Emulator

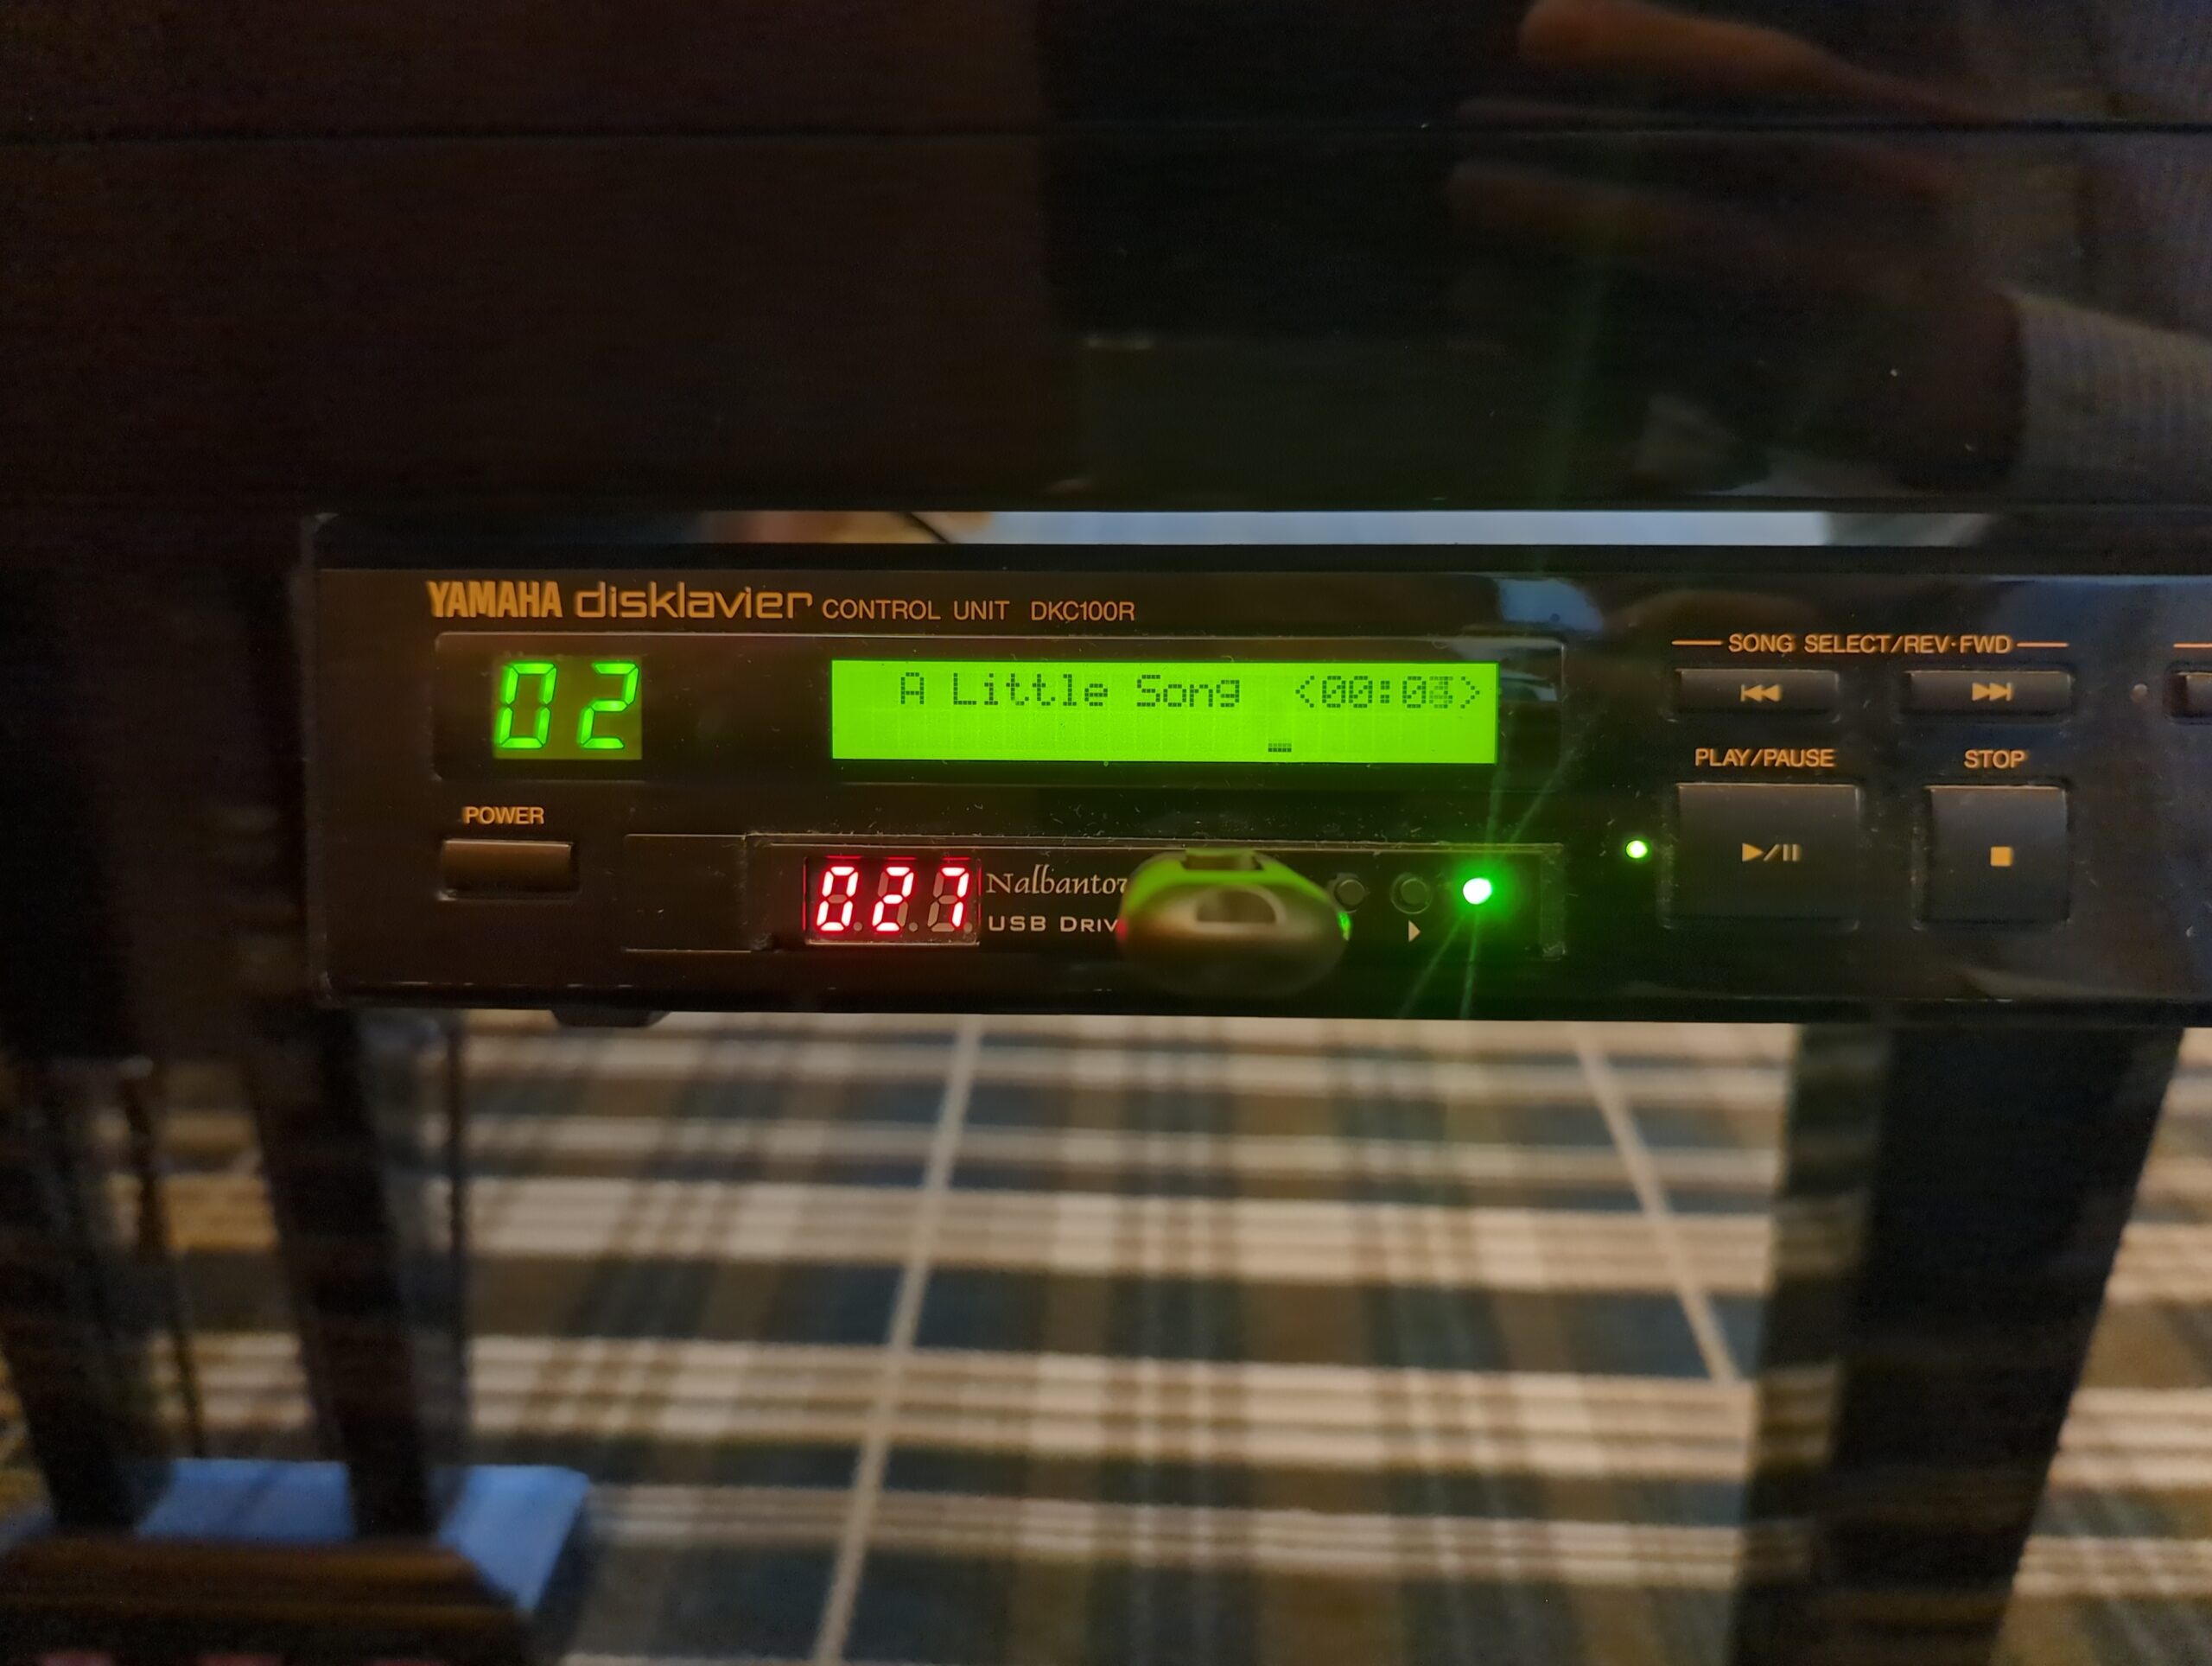
Many customers choose to upgrade their old floppy disk drives with a Nalbantov floppy disk emulator. These devices altogether replace the original floppy disk drives. You can then store your entire inventory of floppy disks on a single USB stick!

See my article on backing up your floppy disks so you can play them on the Nalbantov. Additionally, you can order my floppy disk backup service if you’d prefer not to do it yourself! I can prepare them for your particular Disklavier, and for the Nalbantov. See also my favorite USB stick for the Nalbantov. I also have an interesting article on backing up your floppy disks using a Greaseweazle, if you have either an exceptionally large number of disks, or if they’re difficult to read using other tools.

If you’re installing a Nalbantov in the Yamaha MX100II, you’ll need a bracket. You can also order the bracket directly from me.

At this time, if you want to record with your Disklavier, the Nalbantov is a necessary upgrade. The PianoStream App does not currently support recording.

Replacement Power Supplies

Power supplies on this generation of Disklavier almost invariably fail. Fortunately, TAP Electronics rebuilds Disklavier power supplies. Simply ship them your power supply, and they’ll rebuild it and ship it back. They remain the only provider endorsed by Yamaha for this service. Last I checked, this was a flat rate of $750. The rebuilt power supplies do not have the defect the original did, and will last much longer.

Replacement LCD Screens

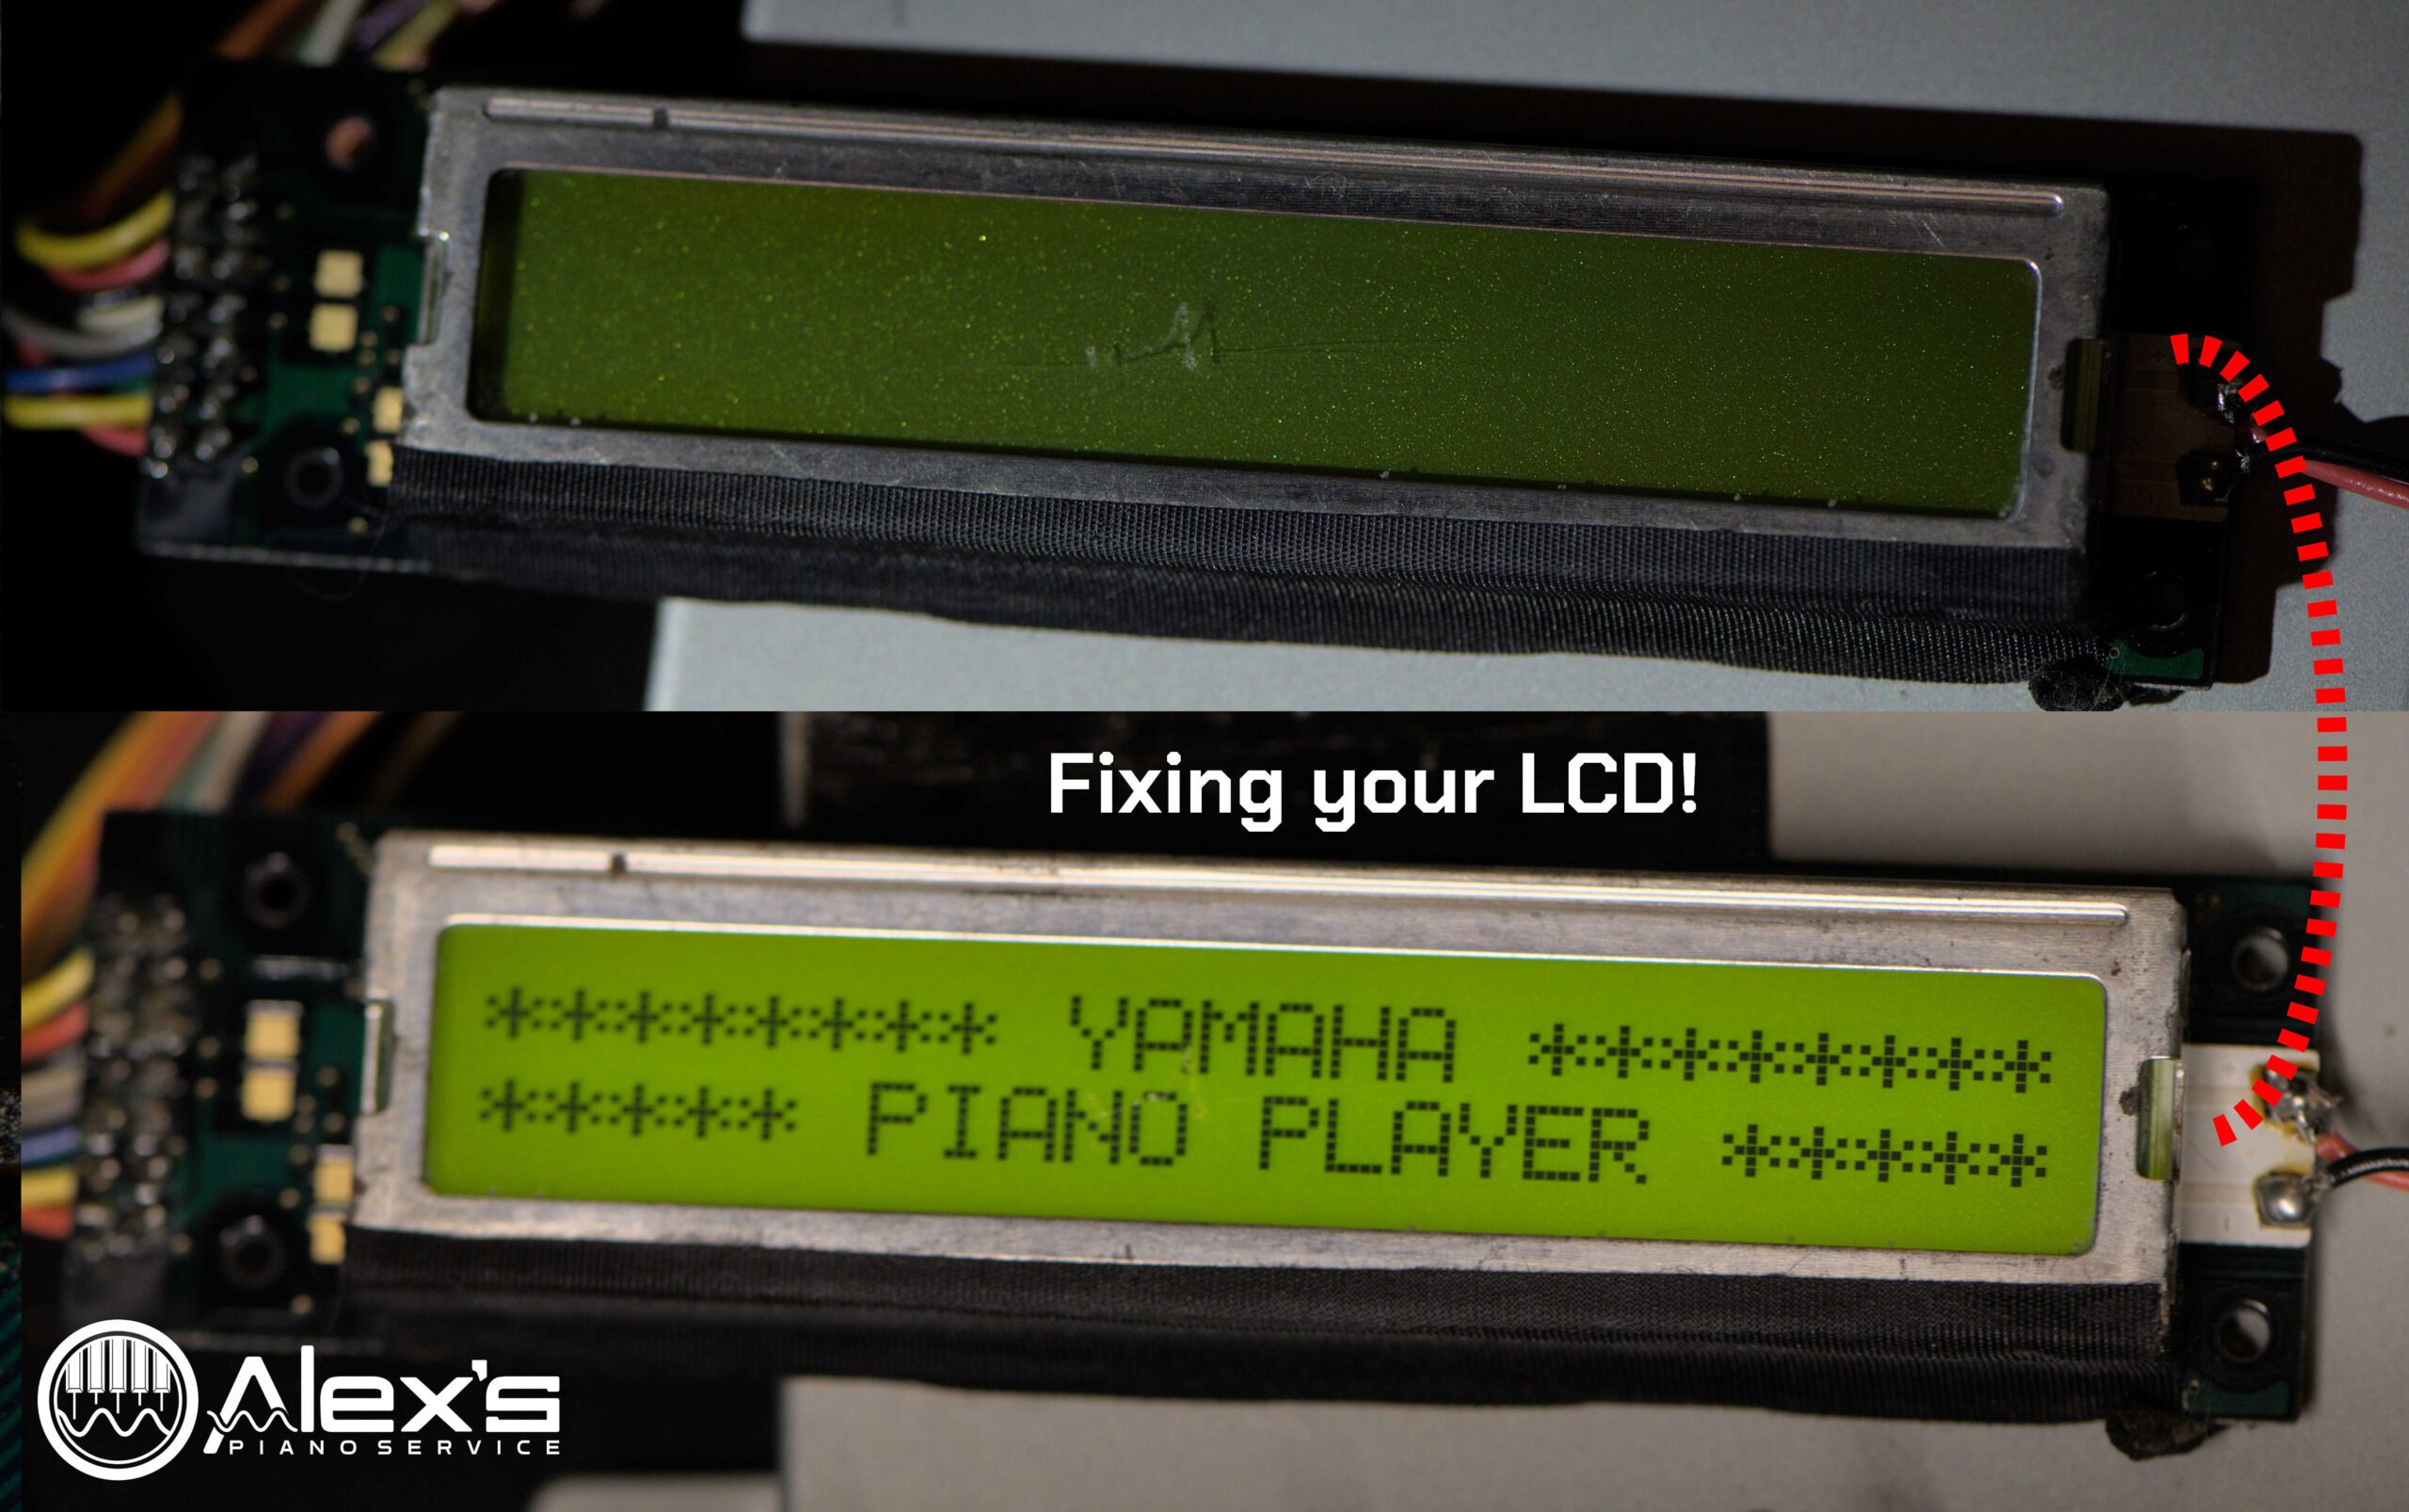
Is your LCD screen blank? It’s quite likely that the screen has died. You can attempt to repair it yourself by replacing the capacitors on the old screen; however, replacement screens are still available! They are Yamaha #VN635201. They can be purchased on Yamaha 24×7, and are available for less from SynthParts. The new LCD screens do not use the electrolytic capacitors prone to failure, and will last much longer.

DKC-850 Upgrade

The Yamaha DKC-850 can be installed as a “piggybacked” device on the earlier Disklaviers. This means that the DKC-850 is installed in addition to the original Disklavier, and connected through its MIDI jacks. This adds most features of modern Disklaviers, including Yamaha Piano Radio and conventional USB ports.

Other Articles

If you have an HQ100 Disklavier free this era, see my article on installing a Dampp-Chaser on the back of the HQ100.

Mark IV

Wi-Fi, Internet, and Firmware

The most common question I get about Mark IV Disklaviers is how to connect them to the internet. Oftentimes, the owner is struggling to connect, even though they know their device is plugged directly in to a live internet connection. In that case, you need to update your Mark IV firmware. Out-of-date firmware will not talk properly to Yamaha servers! If you have any trouble updating on your own, you can order my firmware update kit.

DKC-900 Upgrade

The Mark IV can be upgraded with the Yamaha DKC-900. This enables you to use your phone or tablet to control the piano, and is aesthetically much subtler than the Mark IV.

Nalbantov Floppy Disk Emulator

Has your floppy disk drive stopped working? If you want to gain back that functionality, you can install a Nalbantov. On the Mark IV, this is much less useful than on previous Disklaviers, as most of your disks are already saved on the hard disk.

PianoStream

The PianoStream App does also work on the Mark IV. This is an alternative to Yamaha piano radio, and is less expensive. It also allows you to broadcast MIDI files to the piano from your phone or another device. Of course, with the Mark IV, you can already use USB sticks, so this isn’t as large an upgrade as it is on previous Disklaviers.

Solid State Hard Drives

Sometimes hard drives fail on the Mark IV. The Mark IV uses old spinning disk hard disks. If you notice them chattering or exceptionally slow performance, consider upgrading your Mark IV to use an SSD.

E3 / DKC-850

Wi-Fi, Internet, and Firmware

The most common question I get about E3 series Disklaviers is how to connect them to the internet. If you know you have your Disklavier plugged into a healthy internet connection, and it still won’t connect, it might be time to update your E3 / DKC-850 firmware.

DKC-900 Upgrade

The E3 can be upgraded with the Yamaha DKC-900. This enables you to use your phone or tablet to control the piano, and is aesthetically subtler.

PianoStream

The PianoStream App does also work on the E3, and you might be interested in this as an alternative to Yamaha Piano Radio.

Enspire / DKC-900

Wi-Fi and Internet

The Enspire and the DKC-900 represent major upgrades over previous generations of Disklavier; however, they are still surprisingly challenging to connect to the internet. See my article on a straightforward and effective way to connect your Disklavier to the internet.

PianoStream

The PianoStream App does also work on the Enspire, and you might be interested in this as an alternative to Yamaha Piano Radio.

Disklavier Compatibility Table

Customers routinely ask me whether their Disklaviers can play MIDI, or only ESEQ, so I’m sharing this magnificent chart of Disklavier compatibility. This is sourced, originally, from Carol RPT’s Disk File chart, and I recommend visiting that website and seeing what they have to offer. They have a trove of information on older Disklaviers.

This table lists various Disklavier controllers and their corresponding floppy disk formats, recording capabilities, and playback options. Please contact me if you have anything to add to this Disklavier compatibility table, or if you see any inaccuracies. I do my best to confirm this against real world repair data.

For ease of use, equivalent piano models and controllers are grouped together.

And Now, The Table!

Controller Model
Floppy Disk
Recording
Playback

MX100A
MX100B
2DD
E-Seq
E-Seq
DKW10
DGP
2DD
E-Seq
E-Seq
DKC5R
MX80
2DD
E-Seq
E-Seq
MX100II
MPX100II
HQ100
2DD
E-Seq
E-Seq
SMF/0**
DKC100R
DGPII
2DD
E-Seq
E-Seq
SMF/0**
DKC100XG
DGP1
2DD
2HD
No
E-Seq, SMF/0
DKC500RXG
MX100IIXG
MX1
DGPIIXG
2DD
2HD
E-Seq
SMF/0
E-Seq
SMF/0,1
DKX500R
MPX100IIXG
MPX1
DGPS
DGT2IIXG
DGT7
2DD
2HD
E-Seq
SMF/0
E-Seq
SMF/0,1
DKC500RWXG
MX1Z
2DD
2HD
E-Seq
SMF/0
E-Seq
SMF/0, 1
DKC500RW
PRO
DGT2IIXG
DGT7
MPX1Z
2DD
2HD
E-Seq
SMF/0
E-Seq
SMF/0,1
DKC55RCD
DKVMKIII
2DD
2HD
E-Seq
SMF/0
E-Seq
SMF/0,1
DKC55
DGA1
DGP1
2DD
2HD
No
E-Seq
SMF/0,1
DKC50R
MPX70
2DD
2HD
E-Seq
SMF/0
E-Seq
SMF/0,1

** Please see my page on determining whether your HQ100 or MX100II can play MIDI files. Earlier firmware cannot, although later firmware can.

Note that all later Disklaviers can play MIDI files, but after the Mark IV, support for ESEQ formats disappears. Accordingly, you’ll have to convert your ESEQ files to MIDI for modern systems such as the Enspire.

Note also that you cannot mix file formats on any Disklavier. If your disk or virtual disk contains ESEQ files, then it must contain only ESEQ files. Likewise, if it contains MIDI files, then it must contain only MIDI files, and no PIANODIR.FIL.

Can My HQ100 or MX100II Play MIDI Files?

The MX100II (and its Japanese counter-part, the HQ100) is typically not able to play MIDI files off of floppy disks, using instead Yamaha’s proprietary ESEQ format. I have several articles on transferring your Disklavier floppy disks and converting MIDI files to ESEQ. However, when sourcing a compatibility table for Disklaviers, I had multiple indications the MX100II could actually play MIDI files. Then I recently had a client reach out to me and share this very interesting Japanese-language site indicating that, in fact, some units from later production runs do have firmware capable of playing MIDI files directly. How can you tell if that applies to your Disklavier? I’ve translated that page to English, and it’s shared below.

Note that although MX100IIs are common in the US market, HQ100s are fairly rare. I’ve encountered only one HQ100, and actually installed a Dampp-Chaser in it. This same HQ100 had a solenoid failure, and it was initially tested and fixed with a donor solenoid from an MX100II.

Just to emphasize again, the below is not mine, and is sourced from a website that’s approaching 30 years old!

Checking if Your Piano Player HQ100 Can Play MIDI

[I’ve tested the below on both the MX100II and HQ100.]

Here’s how to verify whether your Piano Player HQ can play MIDI files:

  1. Start Test Mode and Check ROM Version of Control Sheet:
    • Enter Test Mode:
      • * TEST MODE UP
        * – < – PUSH -> –
      • Press and hold the [L] and [R] buttons on the controller while turning on the power button. The LCD screen will display Test Mode.
    • Navigate to Control Sheet:
      • * TEST MODE UP *
        * CTRL SHEET ***
      • Press the [ + ] button once to change the display to the Control Sheet <CTRL>.
    • Check ROM Version:
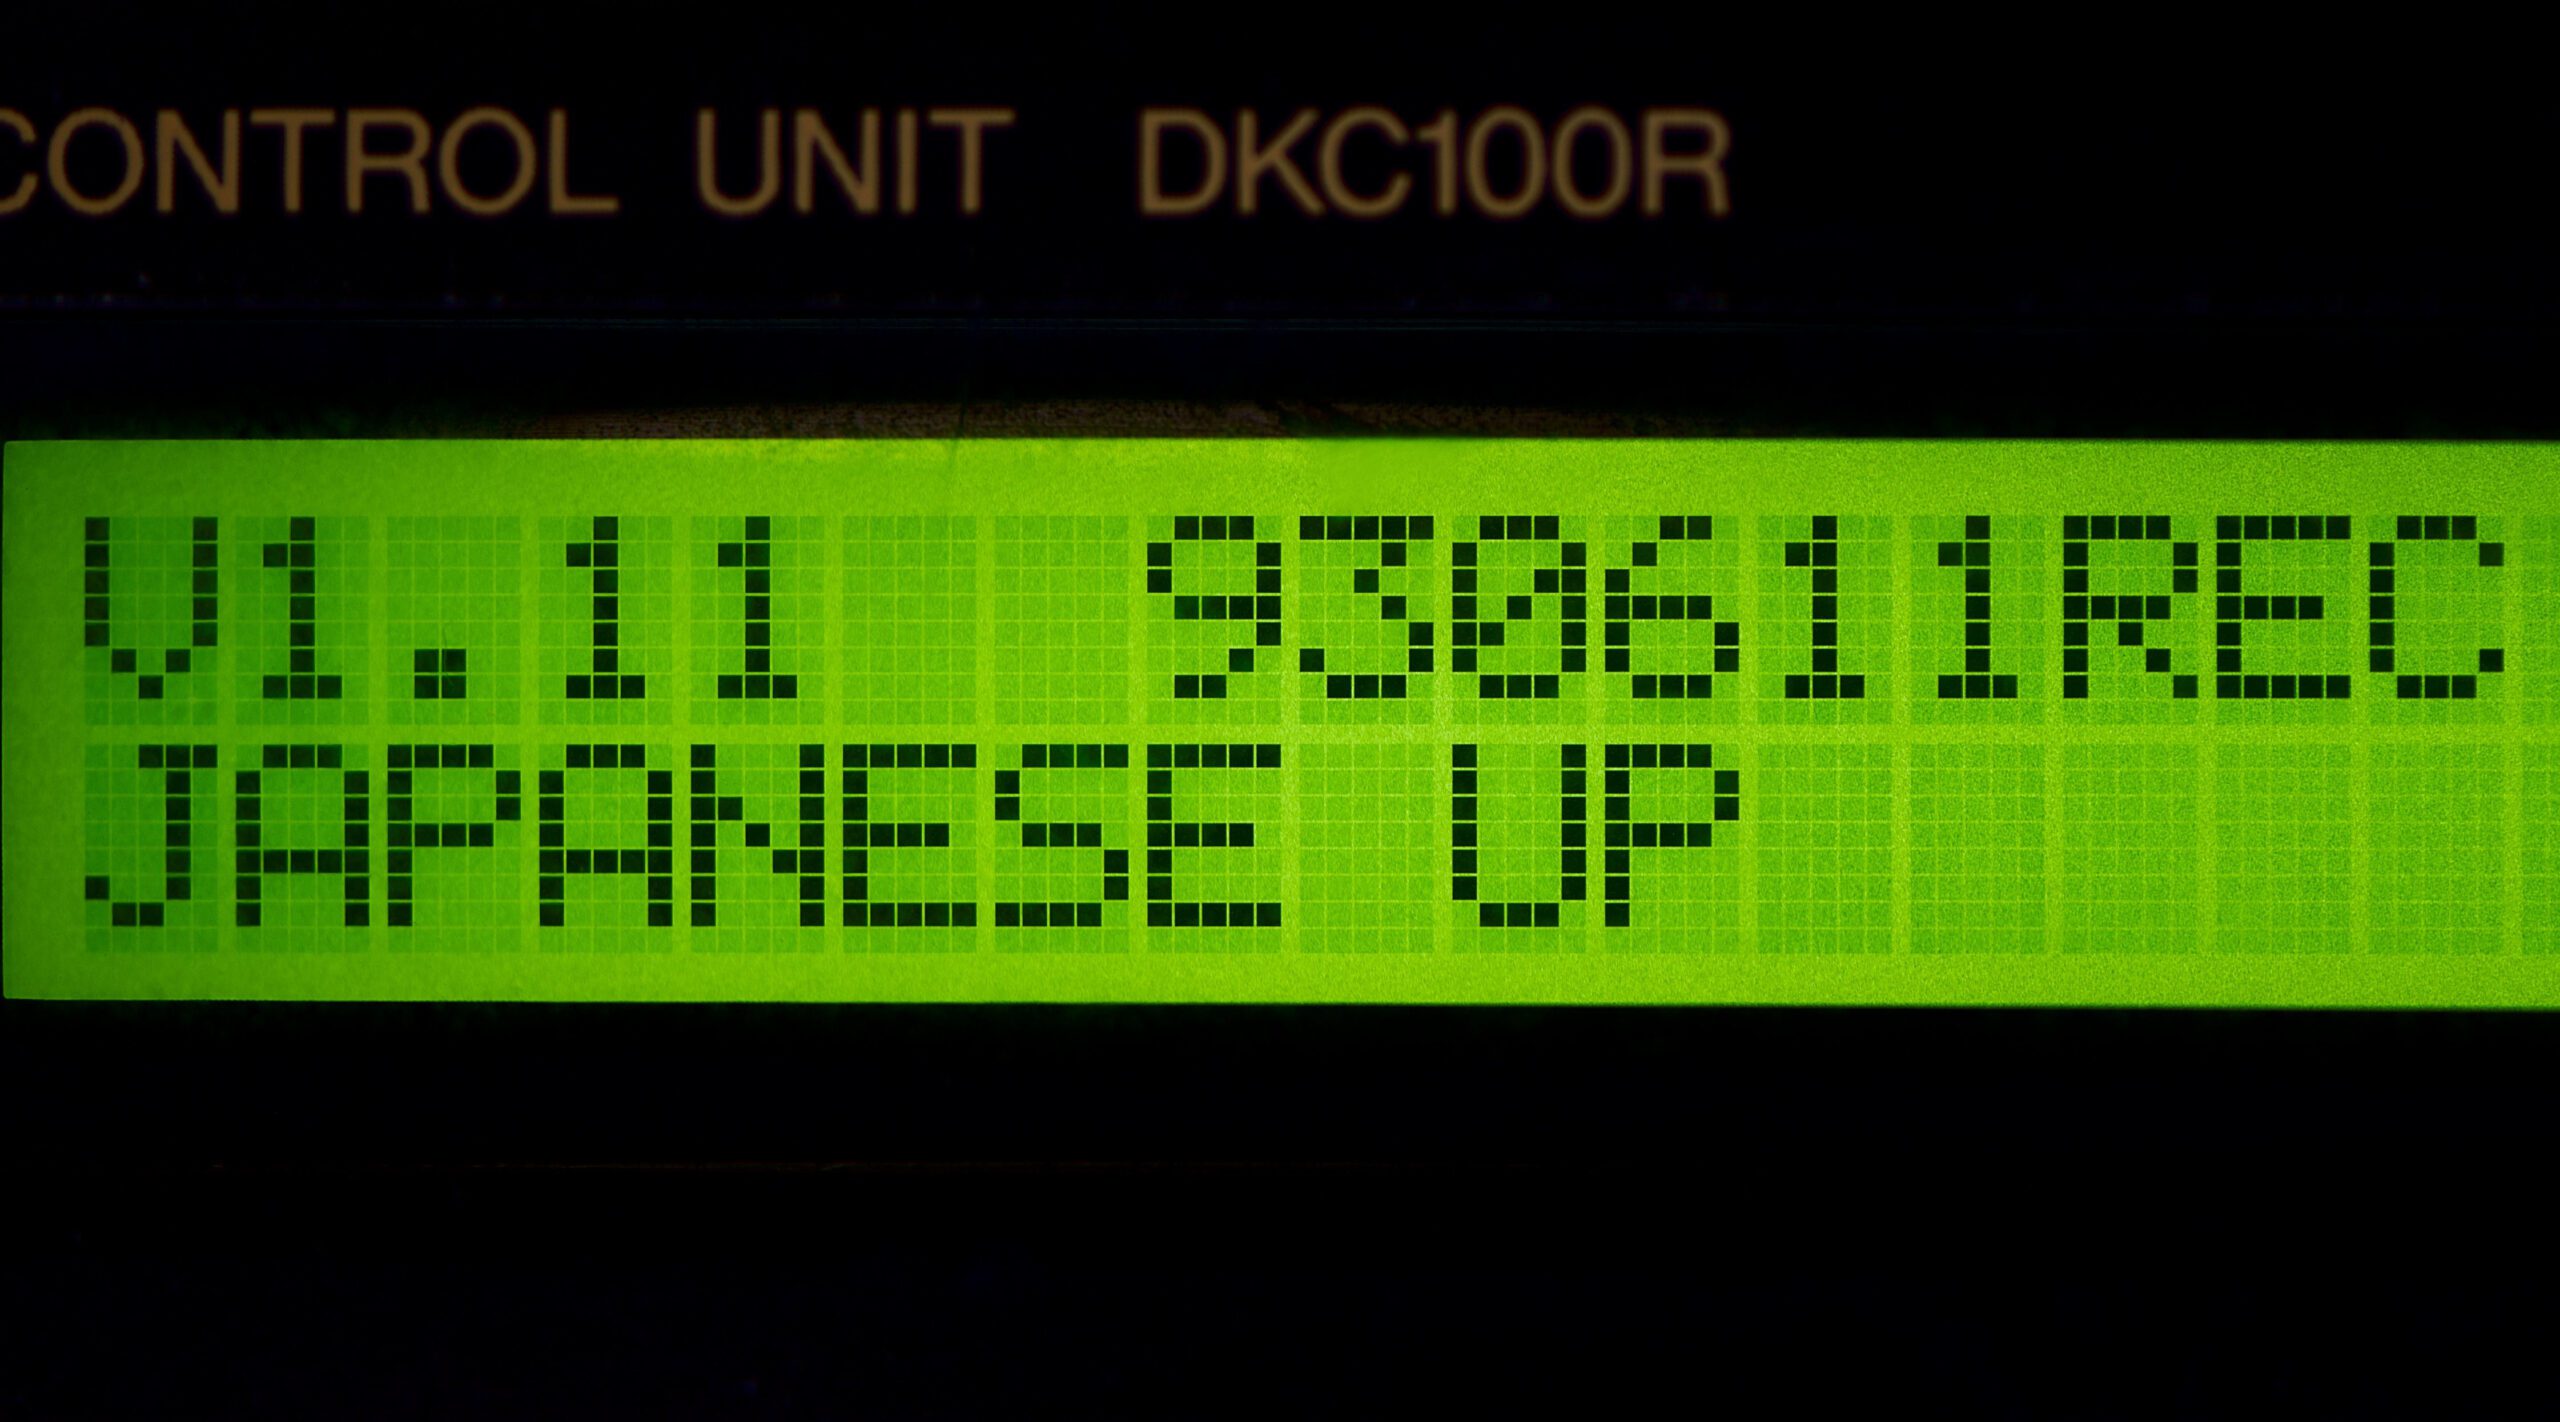
      • V1.21 940606 REC
        JAPANESE UP
      • Press the [>>|] (fast forward) button once to display the ROM version of the Control Sheet on the LCD screen.
      • If ROM version is V1.21 or higher: MIDI file playback is possible.
      • After confirmation, turn off the power.
  2. Additionally, Check ROM Version of PK Control Sheet:
    • Enter Test Mode Again:
      • * TEST MODE UP
        * – < – PUSH -> –
      • Press and hold the [L] and [R] buttons on the controller while turning on the power button. The LCD screen will display Test Mode.
    • Navigate to PK Control Sheet:
      • * TEST MODE UP **
        * PK CTRL SHEET *
      • Press the [ + ] button twice to change the display to the PK Control Sheet <PK-CTRL>.
    • Check ROM Version:
      • PK CTL ROM
        Ver1.24 94.06.06
      • Press the [>>|] (fast forward) button once to display the ROM version of the Control Sheet on the LCD screen.
      • If ROM version is V1.24 or higher: MIDI file playback is possible.
      • After confirmation, turn off the power.
  3. Final Steps:
    • If the ROM versions are compatible, you can copy MIDI files to a 2DD formatted floppy disk and listen to the performance.
    • Important: File names must be in half-width Roman letters; otherwise, they will not be displayed on the piano player’s LCD.
    • If you wish to replace the ROM with one that supports MIDI, please contact Yamaha Customer Support. This ROM version upgrade not only adds the MIDI playback feature but also fixes minor bugs.

Let’s Play MIDI Files on Yamaha Piano Player

[This section is, in my opinion, no longer useful. But I include it for sake of historical interest.]

Yamaha Piano Players models MX, SX, HG, RF, and HQ (initial versions) cannot play MIDI files. The only playable file format is Yamaha’s proprietary E-Seq format. As a result, even though you have an automatic-playing piano, the software you can enjoy is limited. To obtain E-Seq format files, you must visit a Yamaha music store and download them using a terminal device called Muma available at the store. [I assume this is a dated reference, or a Japanese-specific product. The HQ100 is the Japanese version of the MX100II.]

Currently, on the Internet, a vast number of MIDI files beyond what the Muma terminal offers are available for download, some for free. Let’s challenge ourselves to play those MIDI files on Yamaha Piano Players MX, SX, HG, RF, and HQ (initial versions).

1. What You Need

  • Conversion Software: YCONV, YPDIR
    Download YPCONV06.LZH and YPDIR040.LZH from Vector’s website.
    Mac versions are also available [These links have been modified to point to my website, owing to suspicious behavior on the original links. Additionally, I would not recommend using these programs, as they’re extremely dated. Please see my tools page for better, more modern suggestions. LZH files are archives. Use 7-Zip or WinRAR.]
  • Floppy Disk: Either 2DD or 2HD is acceptable.

2. Preparation

  1. Format the Floppy Disk:
    • Note: Even if your piano player supports recording/replaying, formatting the disk on the piano player itself will make it unreadable by a computer.
    • If using a 2HD floppy disk, cover the window on the right side (opposite the write-protect side) with cellophane tape or similar. This is because the piano player’s controller only supports 2DD.
    • If your piano player is playback-only, format the floppy disk on a computer to 720 Kbytes.
      • Windows XP cannot format to 720 Kbytes. [This is not true. Please see my Floppy Disk Backups page for explicit instructions.]
  2. For Windows XP Users:
    • If you have a friend with Windows 95, 98, or ME, ask them to create a boot floppy for you.
    • Boot the computer from the boot disk, enter commands to format the floppy to 720 Kbytes.

3. Conversion

  1. Set Up Conversion Tools:
    • Follow the instructions in Readme.txt.
    • Copy YPCONV.EXE and YPDIR.EXE to a folder where the command prompt path is set.
  2. Convert MIDI Files:
    • In C:\Documents and Settings\Users, convert the copied file [test01.mid] and save it to the [C] drive.The file will be saved as [TEST01.YPL]
    • C:\Documents and Settings\Users>YPCONV test01.mid C:\
  3. Create Playlist File:
    • After converting the necessary files, create [PIANODIR.FIL].
    • Name the files sequentially according to the track order to ensure they play in that sequence.
    • Create [PIANODIR.FIL] on the A drive.
    • You can edit the created [PIANODIR.FIL] with a text editor to modify song names.
    • C:\Documents and Settings\Users>YPDIR A A:\

Yamaha Disklavier FAQs

My Yamaha Disklavier just makes a ‘Pop’ when I press the power button and doesn’t light up. Or it whines loudly while it’s running, and then powers off? Can you fix it?

Yes! If you have an older Yamaha Disklavier from the 90s, this is a very common problem, and usually indicates that the power supply has failed. I can box it up and send it to Tap Electronics, who can then rebuild it. At present (8/17/24), this is a flat-rate service provided by Tap for $750. Tap Electronics is authorized by Yamaha.

This message concerns second generation Disklavier, such as the MX100II or the DKC100R, or the DKC500R. All of these use variations of the same power supply.

My Yamaha Disklavier runs for a few seconds (or even a few minutes), but then turns off. Can you fix it?

Yes! You might have a power supply that’s dying (in which case, see the answer to the last question). However, you might simply have a damaged power button. You can test this by wiggling the power button side-to-side with your finger. When they wear out, sometimes even just the vibrations of the piano can cause them to switch on and off. These buttons aren’t terribly difficult to replace; however, they’re discontinued.

Their (discontinued) Yamaha Part number is VN388300. The switch itself is a (discontinued) ALPS SPPH23. You can see a spec sheet for the ALPS SPPH230500 here. Unfortunately, I haven’t found an exact duplicate, and would love to know if you have. I purchase bulk generic locking switches from Amazon and use sandpaper to shape them to size.

This message concerns second generation Disklaviers, such as the MX100II or the DKC100R, or the DKC500R. All of these use variations of the same power supply.

I can’t figure out how to connect my Yamaha Disklaver to the internet. Can you help?

Yes! I wrote a definitive guide on connecting the Disklavier wirelessly. I don’t generally recommend using the native wireless adapters that come with your device, which are clumsy and confusing. I use PowerLine adapters, which allow you to broadcast your network signal right through the power lines in your house! This technology means neither you nor your piano ever have to adjust and reconfigure anything. No keeping track of passwords, no weak signals, and no need to call a technician every time you buy a new router. Just plug in your piano and marvel at its spontaneous, excellent internet connection.

This works in most homes, although in particularly large houses or houses with old wiring the PowerLine adapters might have trouble. In that case, the best device to use is a WiFi extender mounted underneath the piano.

This message concerns later Disklaviers, starting with the fourth generation Mark IV, the DKC800, and the modern-day Enspire.

Can you replace or upgrade old floppy drives?

Replacement is sometimes an option, and upgrading always is. Most manufacturers have stopped producing replacement drives, but they can often still be purchased second hand. eBay is a good resource.

However, I recommend upgrading to a USB floppy disk emulator. The Bulgarian company Nalbantov Electronics manufactures USB floppy disk emulators specifically for older digital pianos and players. These systems allow you to use a single USB stick in place of dozens (if not hundreds) of floppy disks. As solid-state devices these are considerably more durable and long-lasting than old-fashioned floppy drives.

With some generations of Disklavier (most notably Mark II / MX100II / MX100A / MX100B devices), the floppy disk drives are mounted behind a shaped plastic piece. In these cases, you’ll need to cut away the old plastic facing (a pair of flush-cut nippers is helpful here), install the new drive, and put some kind of buffer around it. I’ve experimented with a few different choices for something functional and attractive. Neoprene works to fill in the around the drive, but it doesn’t help much with keeping the Nalbantov securely in place.

I have a 3D model of a floppy bezel that’s sized to fit around a Nalbantov. You can 3D print this yourself, or you can order one from me. This mount holds the Nalbantov in place, and also fills in the gaps around the edges. It’s an all-in-one solution for mounting the Nalbantov, and allows you to reuse the same screws the original floppy disk drive was installed with.

You can read more about this on my Nalbantov Floppy Disk Drive Upgrades page.

This message concerns first through fourth generation Disklaviers, such as the DKC5R, the MX100II, the DKC100R, the DKC500R, and the Mark IV. All of these systems use floppy disks.

What do I do with all of my old Yamaha Disklavier floppy disks?

I’ve written quite a lot about what to do with these disks, including how to back them up to your computer and convert them for use in modern players or Nalbantov floppy disk emulators.

If you’d prefer not to transfer them yourselves, this is a service I offer! If you’d like, you can send all of your floppy disks to me, and I can prepare them all either for your newer player system or for a floppy disk emulator!

I have a list of software tools for use with Yamaha Disklavier floppy disks.

This message concerns first through fourth generation Disklaviers, such as the DKC5R, the MX100II, the DKC100R, the DKC500R, and the Mark IV. All of these systems use floppy disks.

My Disklavier used to connect to the internet, but hasn’t for the last few years!

Several years ago, in the fall of 2020, Yamaha updated their security protocols. Suddenly, all of their slightly older Disklaviers, including the popular Mark IV, DKC-800, and DKC-850, could no longer talk to the Yamaha mothership!

If you were turning your Disklavier on regularly, the update would have been forced upon you. However, if you weren’t doing this, you missed your chance! Fortunately, you can still install the update manually.

For the Mark IV, the update is available online through my website including Yamaha’s instructions. If you don’t have access to floppy disks and a CD burner, I also sell an update kit prepared for use with your piano.

For the E3 (DKC800 / DKC850), I also have the update available online through my website, and it remains easily available through Yamaha’s. This requires the simple use of a USB stick!

This message concerns later Disklaviers, including the Mark IV, the E3 (DKC800 / DKC850), but not the Enspire.