midi Archives - Alex's Piano Service

How to Make the Disklavier play the Piano Part of Any Song

The Yamaha Disklavier is a sophisticated piece of technology, but typically, you’re limited to Yamaha’s song library. Many Yamaha songs include both a piano part for the Disklavier and an accompanying music track, though the Disklavier piano part might differ dramatically from the original piano part in the song. In many cases, the piano tracks are recorded as accompaniments by artists, and are either added to songs that didn’t have piano originally, or that are designed to augment rather than to replace the piano in the original recording.

I recently had a customer ask if I could figure out a way for the Disklavier to play the piano portion of a particular song that was important to him.

To achieve this, I used four programs: first, Spleeter by Deezer to isolate the piano and separate it from the other components of the song, and then Audacity, a powerful open-source tool, to edit and combine the non-piano tracks. I chose to use the service Ivory to convert the piano audio to MIDI. Finally, I used Ardour to adjust the timing in the MIDI to perfectly sync it with the audio.

As an alternative to Ivory, Onset and Frames can be locally installed. This software is dated (2018), and there are many frustrations with attempting to run such an old Python program, so I opted not to use this solution. However, if you have a high-end system with a powerful GPU and the free time to get it running, it’s a free option. You’ll also need to train your own model, with was estimated to take several days on my GeForce RTX 4080.

Separating the Tracks

I used the 5stems model in Spleeter, which allows you to individually separate the piano. See the instruction below.

spleeter separate -o ./tmp -p spleeter:5stems "sample.wav"

The output of Spleeter.
Here’s a six-second excerpt from Norah Jones’s “The Nearness of You” with the piano.
Here’s the same six-second clip without the piano.

Recombining the Tracks

After reviewing each track, I found only the bottom vocals track had usable audio; the others were filled with artifacts, so I simply removed them. However, in songs with more instrumentation, this would be an important step. Review the tracks, listen to them individually, and remove any artifacts you can, applying filters as necessary.

This is what the isolated tracks look like without the piano.

Next, I used the Ivory App to transcribe the piano audio track. Ivory is an AI-driven piano transcription tool that converts piano audio into sheet music or into MIDI files. Utilizing advanced deep neural networks, it offers high transcription accuracy. I converted my piano.wav file (produced by Spleeter) into an mp3, and then uploaded it to Ivory.

Transcribing songs on Ivory.
The resulting MIDI file, as displayed in Ardour.

Syncing the Audio

After downloading the MIDI file, I found that the MIDI file did not properly sync with the audio. In order to solve this, I synthesized the audio (using FluidSynth with Yamaha C7 samples). I then imported this into Audacity, and played the isolated piano alongside the original audio. After a few attempts, I then moved the audio back and forth until I determined exactly how much time had to be added to properly sync the two pieces.

fluidsynth -a alsa -g 1.3 -m alsa_seq -i /usr/share/sounds/sf2/Yamaha_C7__SMB_.sf2 ~/DownloadedMIDI.mid -F ~/IsolatedPiano.mp3

The isolated piano comes in much too early!
The isolated piano is perfectly in sync with the original.

After carefully adjusting the audio which I’d synthesized from the MIDI file in Audacity, I determined that the MIDI file needed a total of 1.150 seconds added to it. This is a decimal fraction, rather than seconds in 60ths of a second, which is how Ardour determines time.

Seconds in 60ths = Integer Part + (Decimal Fraction × 60)

Just take the decimal component of the number (.150, in this case), and multiply it by 60. In this case, we end up with 1:09 seconds. Now we have a number we can use in Ardour.

I’ve now carefully moved the track to 1:09 seconds (or 1.150 seconds, according to my measurement in Audacity).
I’ve now extended the MIDI track, and can export it!

Once the MIDI file is downloaded, name the MIDI file from Ivory and the piano-free audio from Audacity identically, and transfer them onto a USB stick. The properly named files will look something like this:

01MySong.mid
01MySong.mp3

Provided the filenames are identical (excepting the extension), the two files will be recognized as the same song by the Disklavier.

Your Disklavier is now ready to play both files in sync! The keys will move to the isolated piano track, and the audio will play alongside it without any competing piano sounds.

Synthesized audio from the MIDI file (using FluidSynth with C7 sampling) along with the vocals.

Combining CD Audio and MusicSoft Floppy Disks from Mark IV for the Enspire / DKC-900

Here’s a basic outline of the steps involved:

  1. Copy MIDI tracks from Floppy Disks using Player Piano Floppy Backup Utility.
  2. Rip Audio tracks from CD as MP3 files.
  3. Put resulting files in the same directory, making sure the MP3 files and MID files for a given song have the same names.
  4. Put the collection of files in a folder with the album name.
  5. Put the folder onto a USB stick.
  6. Insert the USB stick into your Enspire and enjoy!

Copy MIDI tracks from Floppy Disks

First, you’ll need copies of the MIDI files from the floppy disks. The best tool for this is Player Piano Floppy Backup Utility, created by Mark Fontana. It’s freeware, but he requests donations. You can download it from him, or you can download ppfbu_v1.4_setup.exe from my Disklavier file collection. You can read more about this process on the Disklavier Floppy Disk Backups, ESEQ and MIDI Formats page.

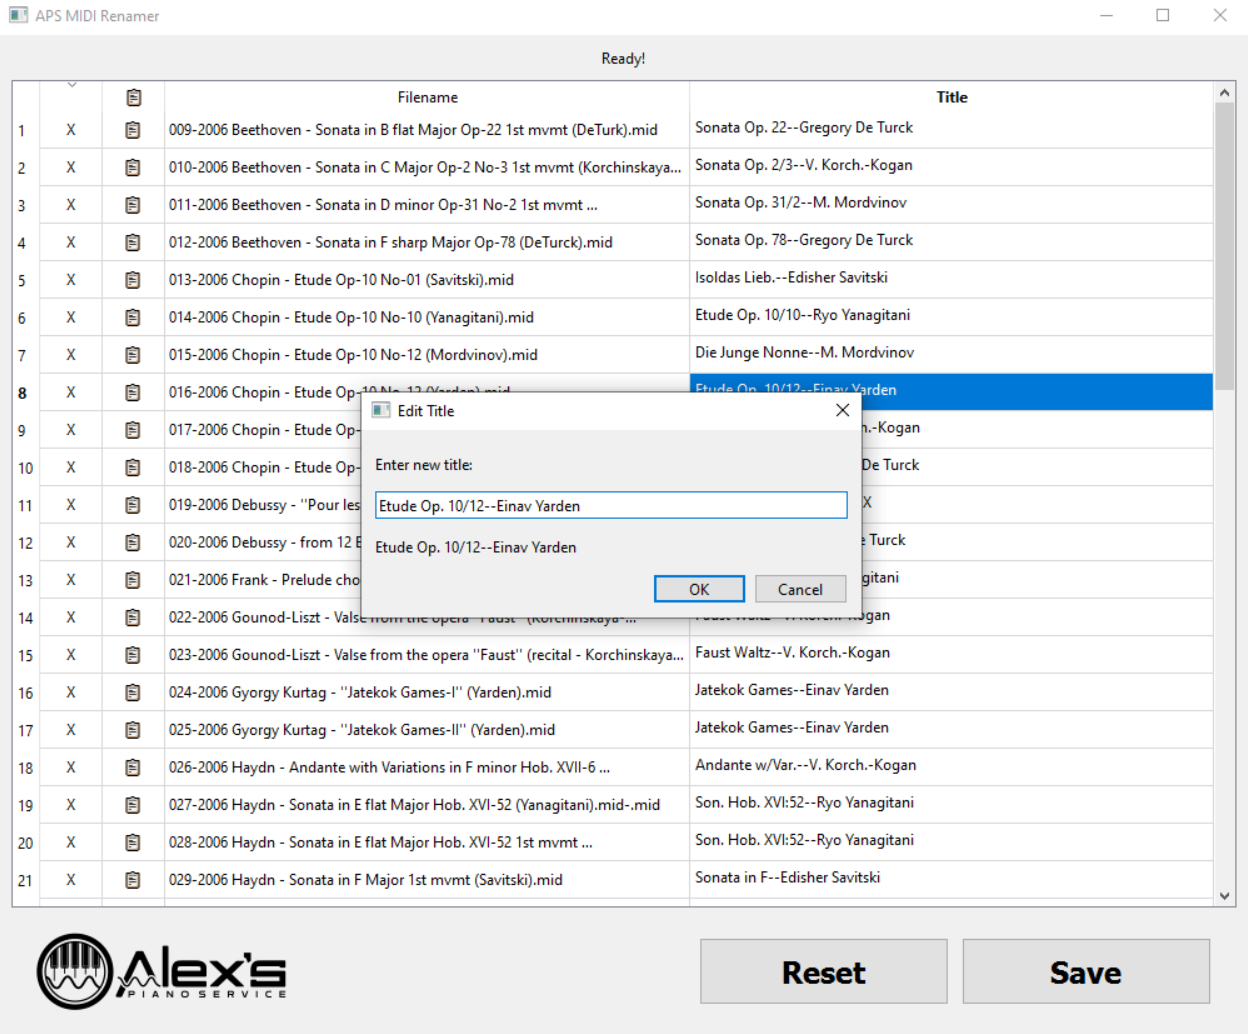
The most important part of this step is that you write the files as “Renamed MIDI files.” I typically name each one with the name of the track, and make sure each name starts with the track number (00, 01, 02…). This makes it much easier to keep track of which MIDI file goes with which MP3 later on.

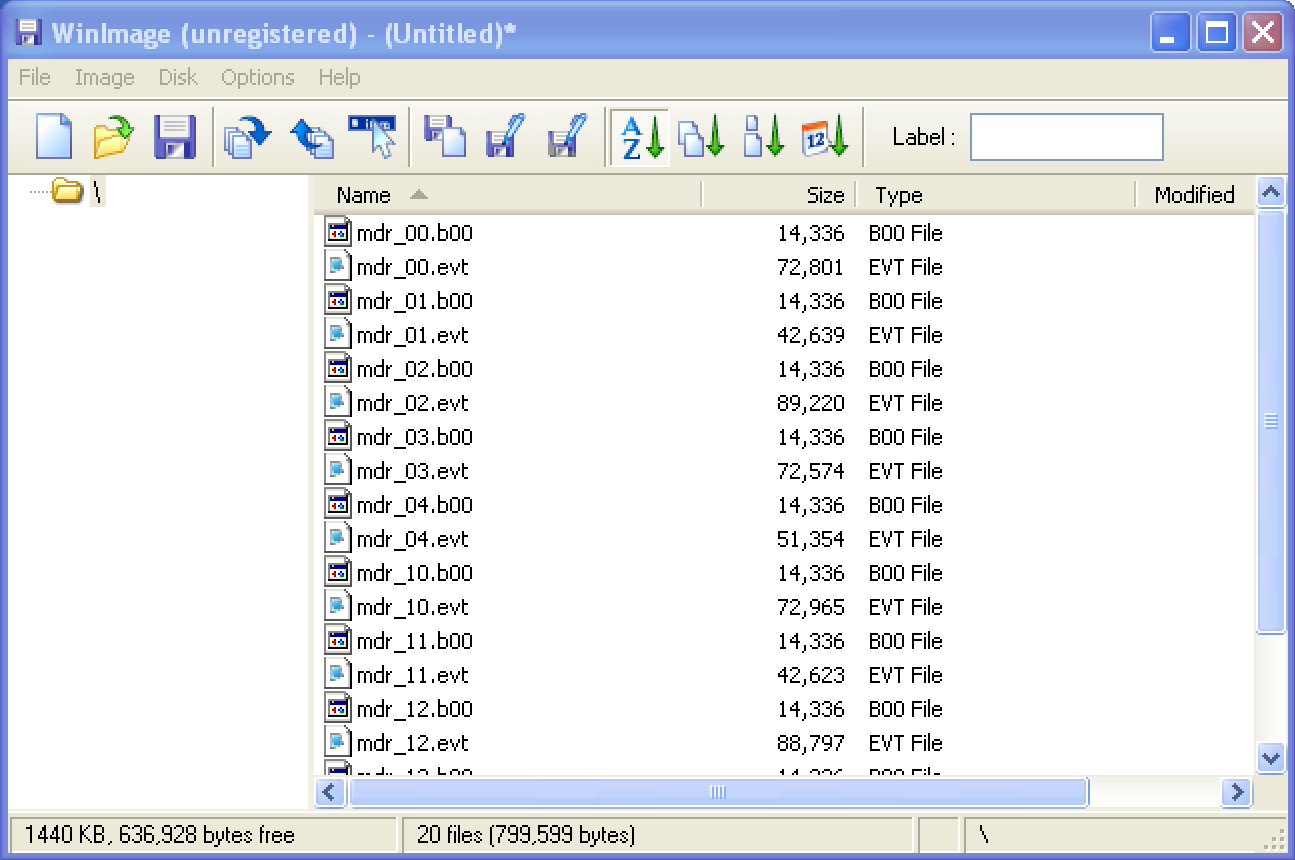
Using PPFBU to extract the files, and then export them as Renamed MIDI files. I’m using a dedicated Windows XP box that I keep just for this purpose. You can rename the files in PPFBU before you export them, or you can rename the MIDI files after (like I did in this case).

Rip the Audio tracks from CD

You’ll need to rip the audio off of the corresponding audio CD. You can rip CD audio natively on Windows using Windows Media Player. In the Linux environment, I used Asunder. In the Mac environment, you can actually use the Music App. The main point is just to extract mp3 files for each track on the CD.

Ripping an Audio CD using Asunder on a Linux system.

Name and Organize the Files

Below, you can see the files listed after ripping the audio CD, and after backing up the floppy disk drive using Player Piano Floppy Backup Utility. The floppy disk tracks are MIDI files and have a .mid extension. These contain the instructions to operate the piano. The CD tracks have been ripped as MP3 files and therefore have a .mp3 extension—these contain the audio.

'01 - Kingston Trio - Tom Dooley.mp3'
'01 - Tom Dooley.mid'
'02 - Greenback Dollar.mid'
'02 - Kingston Trio - Greenback Dollar.mp3'
...
'12 - Kingston Trio - (Sinking of the) Reuben James.mp3'
'12 Reuben James.mid'

All the files are present, but they will not yet play correctly in the Disklavier, as the filenames do not match.

I wrote a short Python script to automatically rewrite all the filenames to match. Using the numbers at the beginning of each filename, it pairs together matching MIDI and MP3 files and names them whatever the name of the MIDI file is, but without spaces or symbols. This appears to be the same formatting of downloadable Disklavier albums.

Whether you use the script or not, the before and after directory listings indicate how you must rename the files.The script is called using the following syntax:

python merge.py /path/to/your/directory "Album Name"

$ python merge.py . "Kingston Trio"

Copied and Renamed: 01 - Tom Dooley.mid -> 01TomDooley.mid

Copied and Renamed: 01 - Kingston Trio - Tom Dooley.mp3 -> 01TomDooley.mp3

Copied and Renamed: 02 - Greenback Dollar.mid -> 02GreenbackDollar.mid

Copied and Renamed: 02 - Kingston Trio - Greenback Dollar.mp3 -> 02GreenbackDollar.mp3

...

Copied and Renamed: 12 Reuben James.mid -> 12ReubenJames.mid

Copied and Renamed: 12 - Kingston Trio - (Sinking of the) Reuben James.mp3 -> 12ReubenJames.mp3

Listing of resulting directory, “Kingston Trio”:

01TomDooley.mid
01TomDooley.mp3
02GreenbackDollar.mid
02GreenbackDollar.mp3
...
12ReubenJames.mid
12ReubenJames.mp3

Note that now the MP3 and MIDI files have identical names for each song, identical capitalization, and that all spaces and symbols have been removed. In the ENSPIRE, unlike earlier iterations of the Disklavier, filename length does not seem to matter. Here’s a graphical representation of the last folder, ready to move:

The filenames match! It’s ready to be put on a USB stick and played in your ENSPIRE.

It’s Time to Play!

At this point, you can move the complete folder (in this case, Kingston Trio) onto a USB stick, and insert it into the front of your ENSPIRE controller.

Once your USB is inserted, you’ll see the My Songs (5) option appear in the ENSPIRE controller app. (This image is copied from the ENSPIRE Controller Operation Manual created by Yamaha, which is available from them.) Just open up the “Album” (which is the folder you created for all of your files on your USB stick), and select a song! It’ll play the piano parts, and the audio will accompany it.

Disklavier Floppy Disk Backups, ESEQ and MIDI Formats

This post is intended to help you read from, write to, or replace Yamaha Disklavier floppy disks.

Some of my customers choose to upgrade their older Disklavier’s floppy drive to a Nalbantov USB drive, and want to know how to copy songs from their old Disklavier floppy disks onto a USB. Some of them just want to be able to back up their disks in case they need to make new ones later. Or maybe, you’re just trying to figure out how to write to disks your Disklavier can actually read!

The content on the original floppy disk is protected by copyright and is the property of its respective owners. These instructions are provided to assist owners of legitimate copies in converting the files for personal use on their own Yamaha instruments. Unauthorized copying, sharing, distribution, or commercial use of the converted files is strictly prohibited. By using these instructions, you agree to comply with all applicable copyright laws, licensing agreements, and Yamaha’s terms of use. I disclaim any responsibility for misuse of the information provided.

If you want your floppy disks files saved on a more modern media, you can also mail your floppy disks to me (please reach out to me at [email protected] or through my Contact page). Nalbantov also has a disk transfer service, and they can be very useful if you encounter particularly challenging disks. Make sure to use the AlexPiano for a 5% discount on orders from Nalbantov.

If you’re adding new music to a floppy disk or Nalbantov USB and have an older Disklavier (such as the popular MX100II), you’ll need to make sure the files are in Yamaha’s proprietary ESEQ format. Using the tools below, you can convert your MIDI files to ESEQ so that they will be in your Disklavier’s native language.

Obtaining Files from your Yamaha Disks

Yamaha floppy disks are a great source of songs that you know will be formatted correctly for your piano. However, floppy disks often don’t age well, and are very susceptible to sunlight and magnetic fields. (This is one more reason to back them up!)

Disklavier floppy disks cannot be natively read by your computer without special software. They will appear as unformatted disks.

There are several tools that will allow you to read them: I use the Player Piano Floppy Backup Utility 1.4, created by Mark Fontana. It’s freeware, but he requests donations. You can download it from him, or you can download ppfbu_v1.4_setup.exe from me. It can read and save directly in ESEQ format, even if the disk it’s reading from is in MIDI. It appears to run acceptably on Mac / Linux using emulators, although this can add complications.

There are other tools out there. Most notably, there was a Hack-a-Day project by Tom Nardi that uses a Python script to copy the data off the floppies. His disklav.py tool is available on GitHub.

If you copied the files in ESEQ format, there’s an extra step before your Disklavier can read them. See below!

The Player Piano Floppy Backup Utility v1.4 running on my dedicated Windows XP “floppy copy” box.

Obtaining even More ESEQ Files from the Internet

In addition to the originals you might have, you can sometimes find these on eBay or at local music stores. Older disks on eBay are seldom tested, so there’s some risk of receiving junk disks.

There are several large online repositories in both ESEQ and MIDI formats. Some of these are of dubious legality. One legitimate resource was kuhmann.com, which had quite a large repository. I have a copy of their entire database. (I worry a lot about these older resources disappearing! They disappeared. Kuhmann’s inventory does appear to be available on the Wayback Machine, but his original website is now off the internet.)

You can also source files from Yamaha’s website, although this a more expensive option. Many of their MIDI files have multiple instruments (or even limited piano), and are more designed for their keyboards and other MIDI devices. However, they do have an entire category of Piano Solos, and these are what you’ll want to search for when selecting files. When you download these, you get their associated MIDI files, which are comfortably sized for floppy disk purposes.

Converting MIDI files to ESEQ

If you want to use MIDI files with your older Disklavier, you can, but you have to convert them to ESEQ first. There’s software to do this conversion. You can either get it from http://www.carolrpt.com/MIDItools.htm or you can download the whole DKVUTILS suite from me.

Once you download DKVUTILS.ZIP from my site or theirs, you’ll need to extract it. The program that converts MIDI files to ESEQ files is MID2ESEQ.EXE. This program runs only on Windows, and does not seem to run with emulators. Reach out to me and I can assist with conversion.

Using MID2ESEQ, just drag and drop MIDI files into the window.

MIDI files that have only one track are called Type 0 files. MIDI files with multiple parts are Type 1. Occasionally, the piano will be spread between two tracks. In that case, you’ll find the piano is playing only half or so of the notes it should be. You can convert Type 1 to Type 0 files using the tool gn1to0.exe. This is a slightly cumbersome tool, but will either run on Windows or on Linux/Mac using Wine.

Using conversion software to merge all the MIDI tracks.

ESEQ Files and creating your PIANODIR.FIL

If you have a Yamaha that’s capable of playing ESEQ only, you might also need to create a PIANODIR.FIL index. I have instructions here on creating a PIANODIR.FIL index.

If you are using a Nalbantov, any USB stick you use MUST be formatted either FAT16 or FAT32.

Please also note that the ESEQ filenames should be strictly eight characters long, have no spaces, and be entirely uppercase, including the FIL extension BEFORE creating the PIANODIR.FIL file. I’ve created a script to automate this proper naming process, discussed in my creating a PIANODIR.FIL index instructions.

Formatting 2DD Floppy Disks

Some people choose to use the original floppy disk drives in their 90s-vintage Disklaviers, rather than converting to a Nalbantov. First, it’s important to make certain you’re using the correct floppy disks. The more “modern” 2HD floppy disks require stronger magnetic fields to write, and may not always be compatible with older Disklaviers. The slightly older 2DD drives, however, will work. You can tell the difference readily: 2HD disks have openings at both corners of the Disk, while 2DD disks will have only one.

2HD disks have openings at both corners, but 2DD disks do not. You’ll usually find the write-protect slider in one corner, but other will be blank.

Some have reported covering the hole with electrical tape will trick the Disklavier into believing the disk is a 2DD disk. You may or may not be able to write to it using the Disklavier, but you should be able to read from it using this trick, provided your 2HD disk is formatted as a 2DD disk.

Formatting a 2DD 720KB floppy disk in Linux.

I formatted mine on my Pop!_OS Linux machine with the instruction sudo ufiformat -f 720 -v /dev/[yourdevice]. If you’re using a Windows machine, the instruction is format a: /t:80 /n:9. Pictured below, you can see what this command looks like on my Windows XP floppy transfer box. This command does work in Windows 10 and 11, but requires you to be using an external floppy disk drive that allows this format. Not all of them do.

Formatting a 720KB 2DD floppy disk in Windows XP.

At this point, you can transfer your .FIL files and PIANODIR.FIL file to your floppy disk. Put them in the root directory, and do not use any folders.

If you have a bunch of MIDI files and you’d like to put them on a floppy disk, then first format the disk as shown above. Then follow the instructions to convert your MIDI files to ESEQ and create a PIANODIR.FIL.

Potential ESEQ Problems

If you’re using a USB stick in a Nalbantov, it must be formatted FAT16 or FAT32. Nalbantov supplies a video on how to format your USB stick.

If you’re using an actual floppy disk, it must be a 2DD disk formatted to 720 KB. See the above section on identifying the disk and formatting it correctly.

Earlier Disklaviers can be finicky about their ESEQ files. Sometimes, they’ll work without any trouble, even without a PIANODIR.FIL file. However, particularly in earlier Disklaviers (such as the DK5R), you’ll need to be more careful with the naming conventions, and you’ll definitely need that PIANODIR.FIL described above.

I’m very grateful for the research of Mike Isreal (in the comments below), who did experimentation with his own Disklavier. Before creating a PIANODIR.FIL for your disk, make certain that all filenames are precisely eight characters long, and that both the filename and extension are in all-caps. The filename must contain no spaces.

Some have commented that it appears you can also omit the .FIL extension (at least in some cases). According to Nalbantov, there might be cases where a fully lower-case filename and extension are called for, although I have not run into that particular case yet.

Some of this is caused by the choosiness of the Disklavier itself, but it seems likely to me that a lot of the free tools we’re relying on probably add their own complications. If you are experiencing any trouble, please reach out to me for assistance. You can also Unable to Back Up a Disk that Still Plays

If you have a Yamaha Disklavier floppy disk that plays in your Disklavier, but you’re unable to copy the disk using any of the tools described above, you can make a scan of it using a Greaseweazle. See my article on making archival copies of disks with a Greaseweazle.