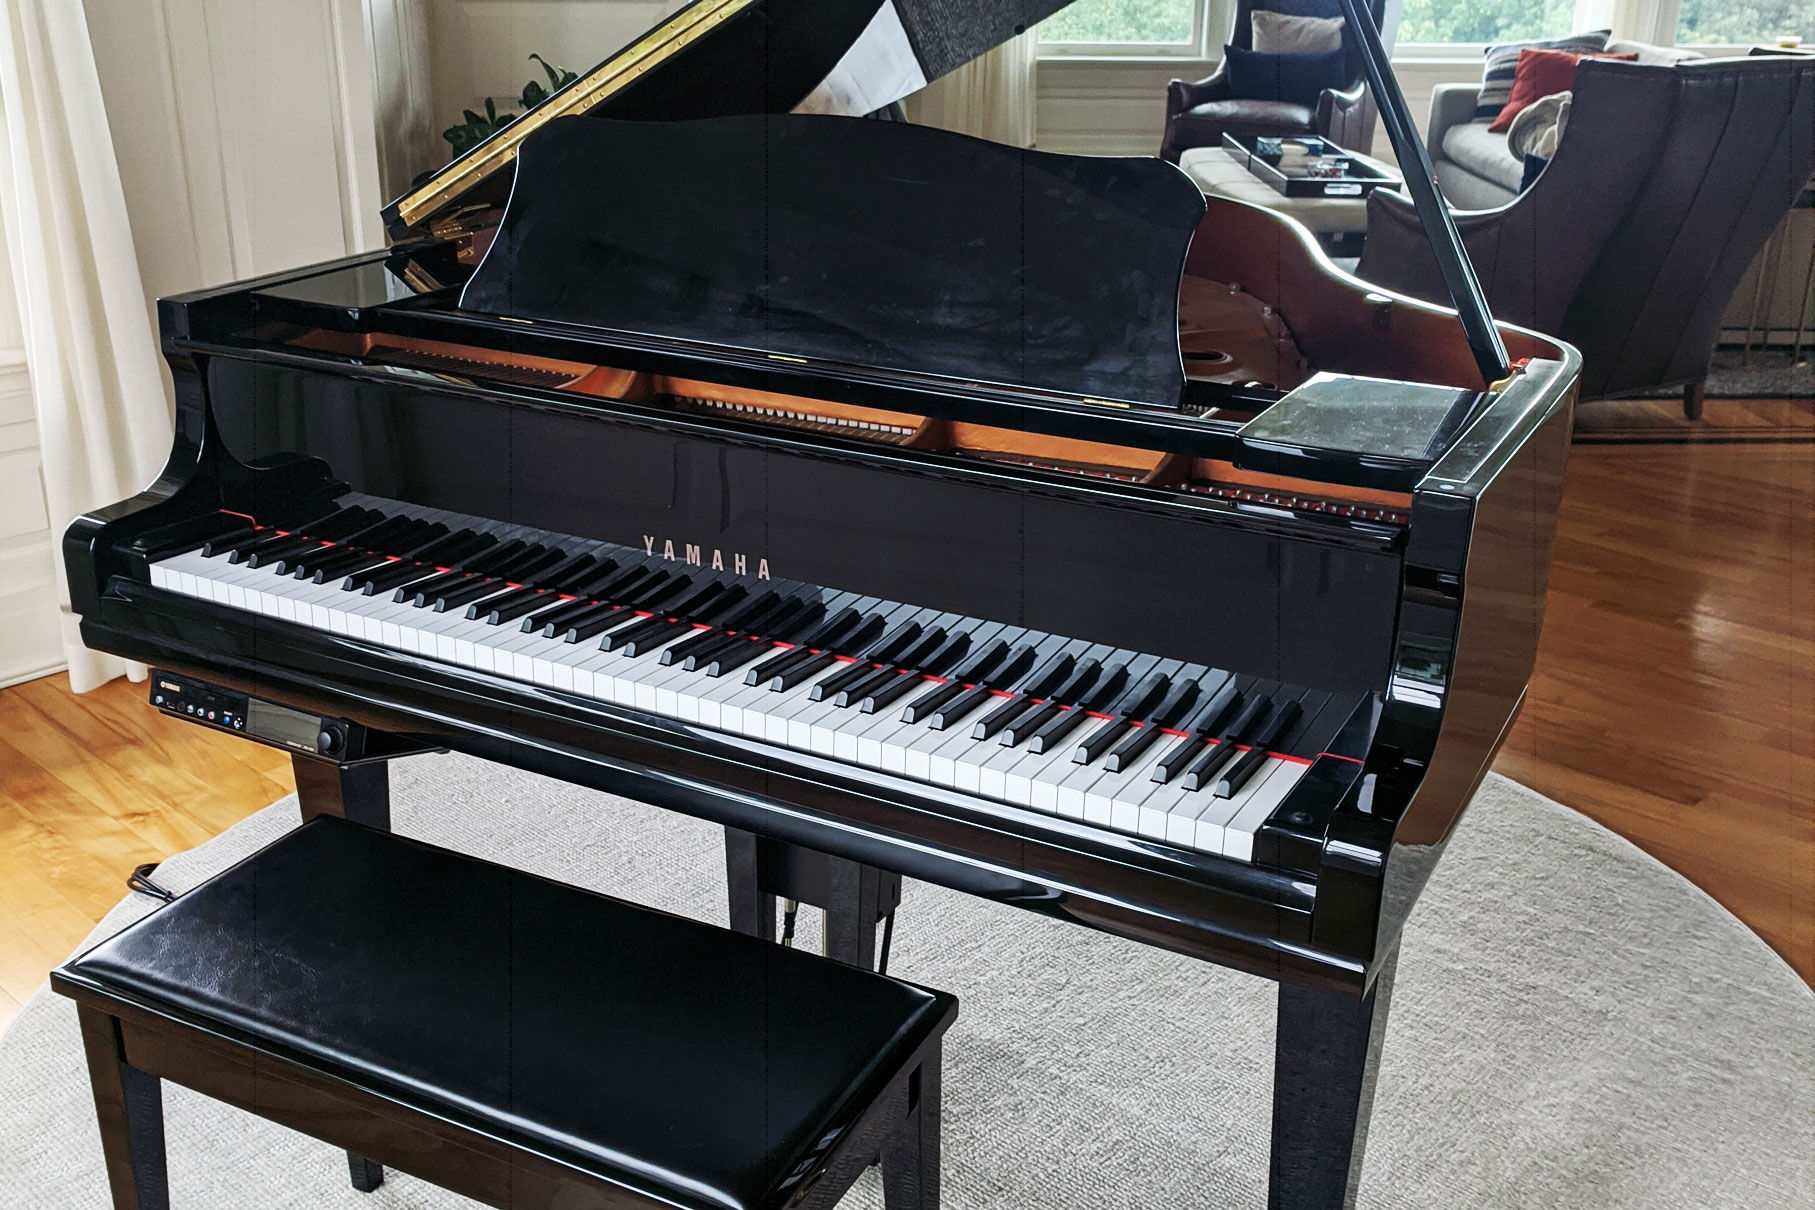
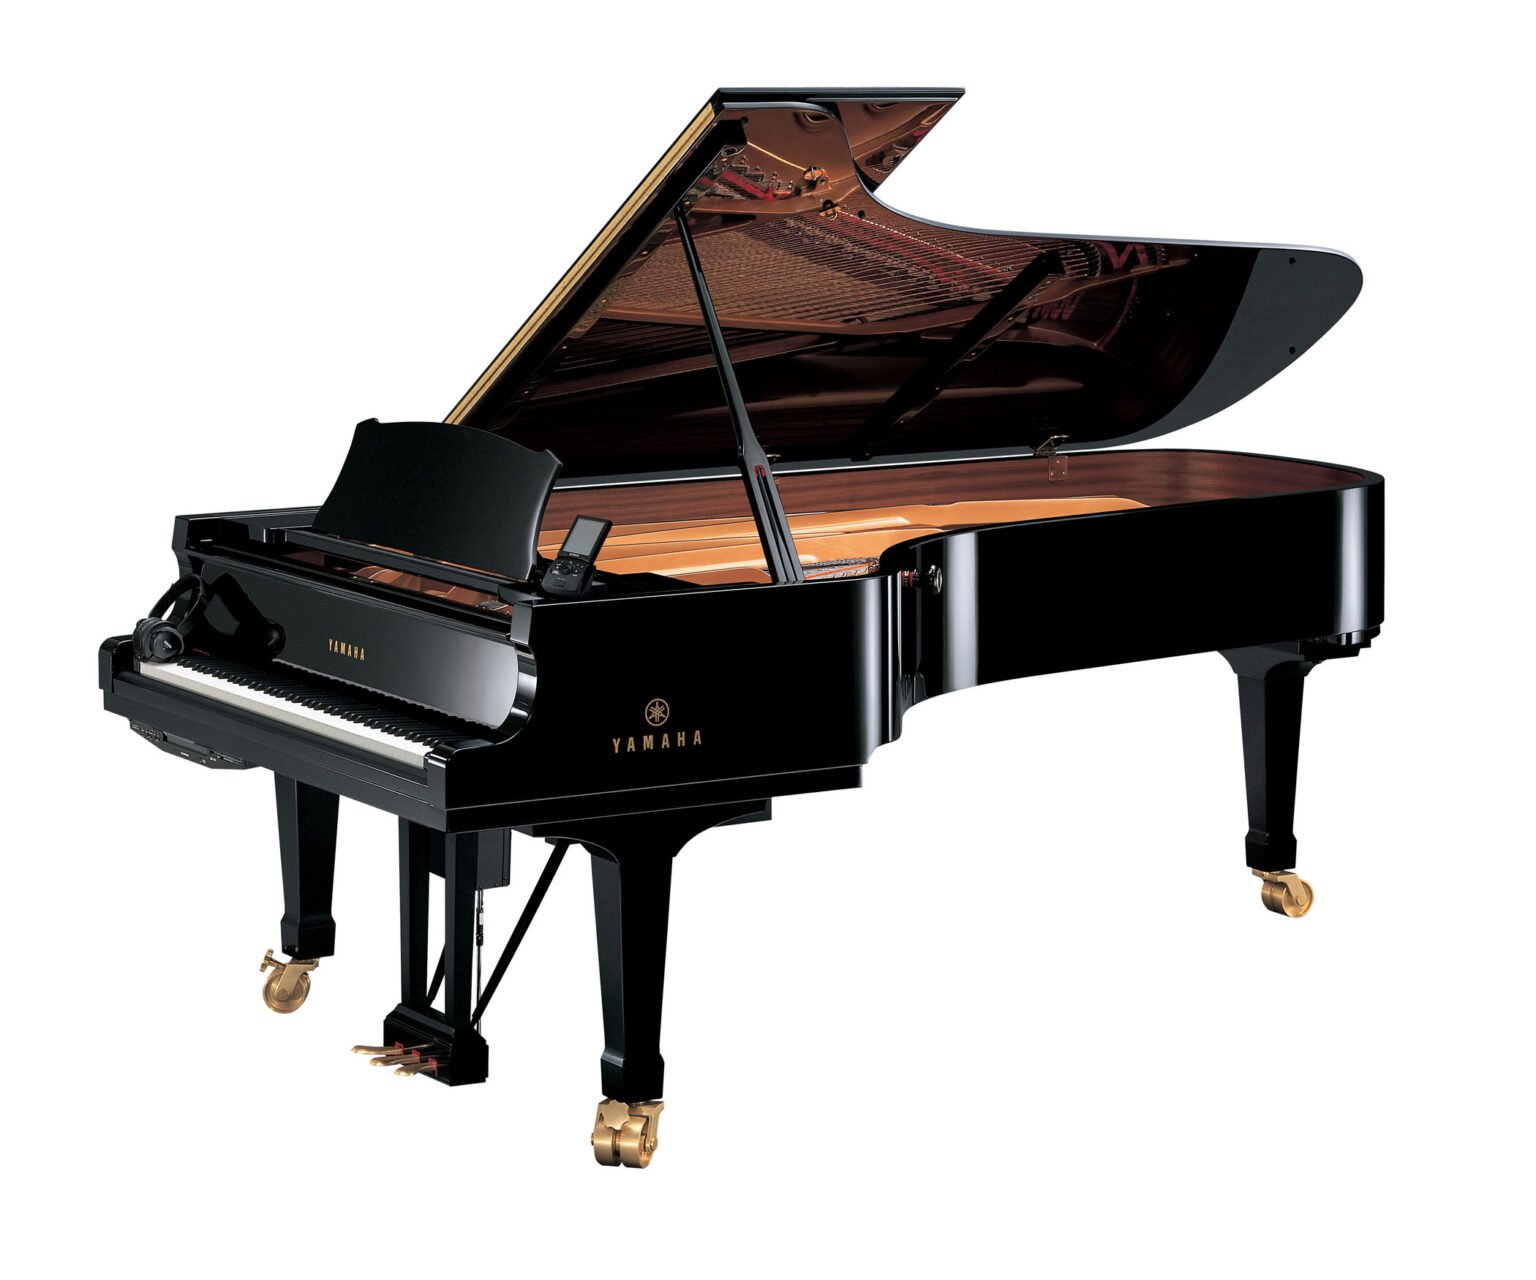
Upgrades for your Yamaha Disklavier! Where to Start?

This list is designed to help you understand the options for upgrades for your Yamaha Disklavier. It can be confusing, so start here!

No matter what model of Disklavier you have, it’s worth looking into some good sources of music! I also have a list of free MIDI sources to recommend. See my Disklavier compatibility table for an idea of what file formats your Disklavier can play.

Early Disklaviers (Mark I—III)

PianoStream App

One of my favorite simple upgrades for early Disklaviers is connecting them to PianoStream! PianoStream is a piano radio app designed to work with nearly every player piano, including the Yamaha Disklavier.

The app offers its own version of piano radio, providing you with a very large repertoire of high-quality music. It also allows you to stream MIDI files from your phone to your Disklavier, altogether bypassing the floppy drive.

Richie Hayes, the developer of PianoStream, also has an active PianoStream Facebook group where people can make requests.

Nalbantov Floppy Disk Emulator

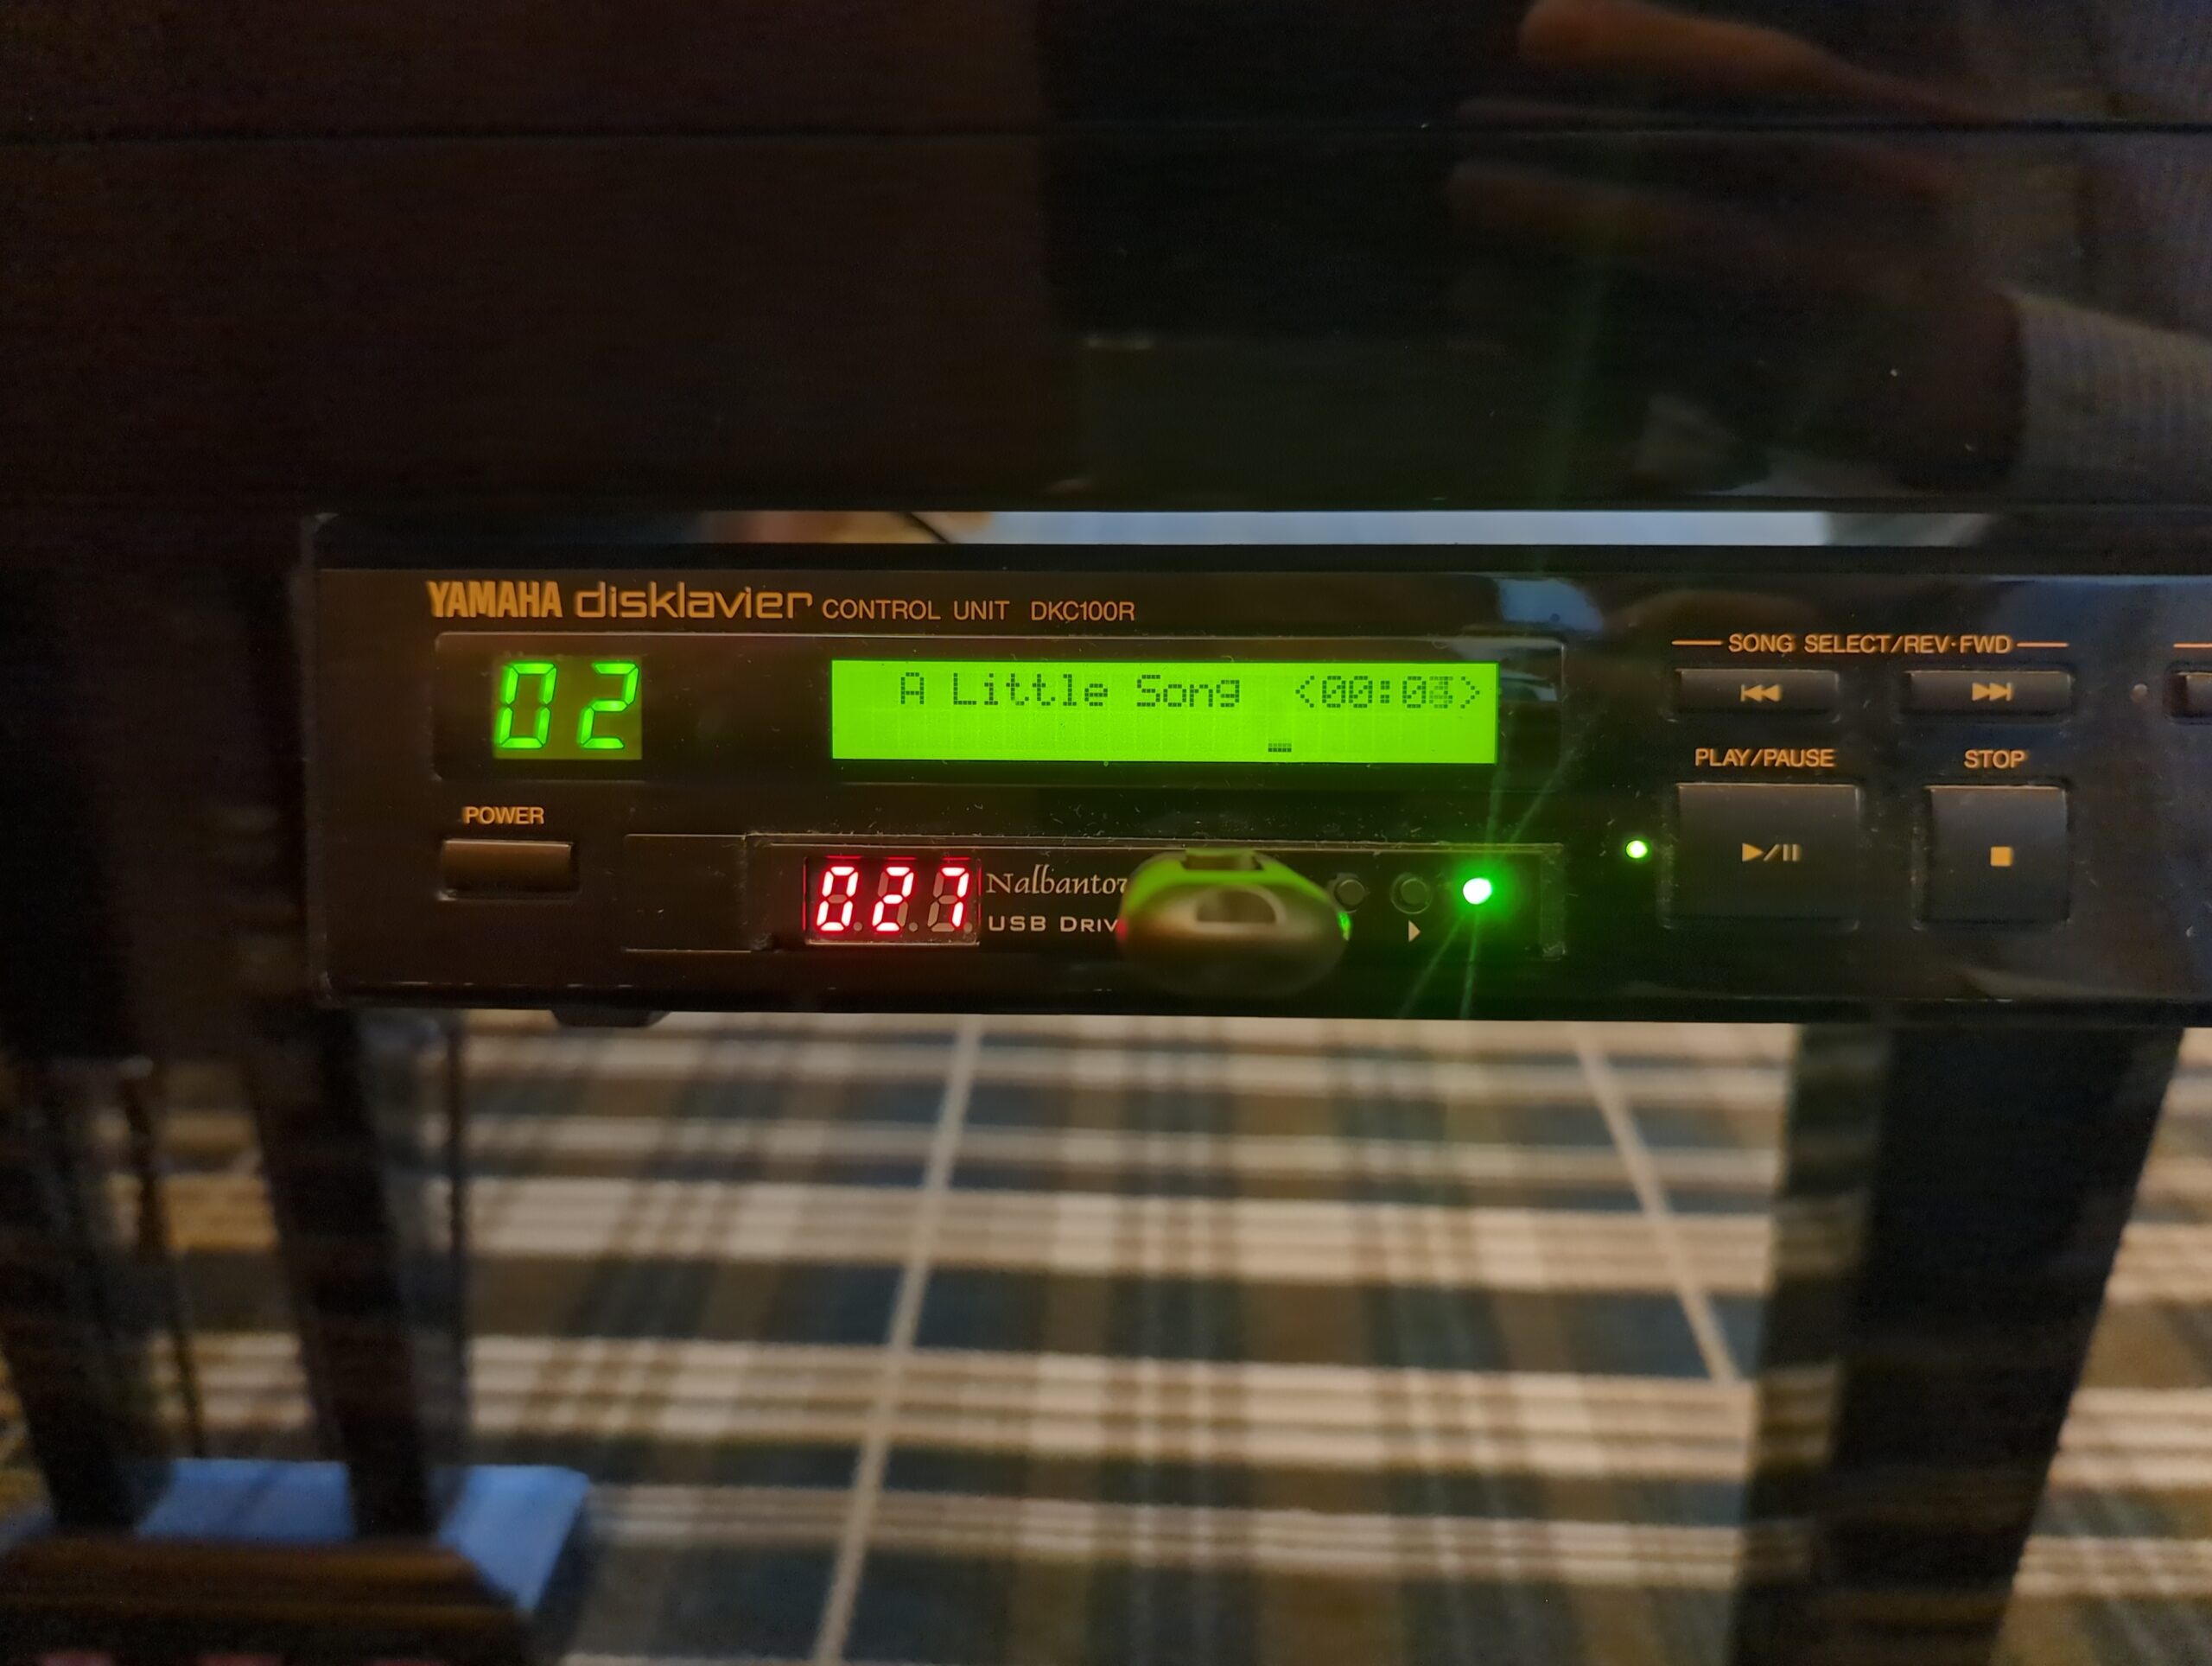
Many customers choose to upgrade their old floppy disk drives with a Nalbantov floppy disk emulator. These devices altogether replace the original floppy disk drives. You can then store your entire inventory of floppy disks on a single USB stick!

See my article on backing up your floppy disks so you can play them on the Nalbantov. Additionally, you can order my floppy disk backup service if you’d prefer not to do it yourself! I can prepare them for your particular Disklavier, and for the Nalbantov. See also my favorite USB stick for the Nalbantov. I also have an interesting article on backing up your floppy disks using a Greaseweazle, if you have either an exceptionally large number of disks, or if they’re difficult to read using other tools.

If you’re installing a Nalbantov in the Yamaha MX100II, you’ll need a bracket. You can also order the bracket directly from me.

At this time, if you want to record with your Disklavier, the Nalbantov is a necessary upgrade. The PianoStream App does not currently support recording.

Replacement Power Supplies

Power supplies on this generation of Disklavier almost invariably fail. Fortunately, TAP Electronics rebuilds Disklavier power supplies. Simply ship them your power supply, and they’ll rebuild it and ship it back. They remain the only provider endorsed by Yamaha for this service. Last I checked, this was a flat rate of $750. The rebuilt power supplies do not have the defect the original did, and will last much longer.

Replacement LCD Screens

Is your LCD screen blank? It’s quite likely that the screen has died. You can attempt to repair it yourself by replacing the capacitors on the old screen; however, replacement screens are still available! They are Yamaha #VN635201. They can be purchased on Yamaha 24×7, and are available for less from SynthParts. The new LCD screens do not use the electrolytic capacitors prone to failure, and will last much longer.

DKC-850 Upgrade

The Yamaha DKC-850 can be installed as a “piggybacked” device on the earlier Disklaviers. This means that the DKC-850 is installed in addition to the original Disklavier, and connected through its MIDI jacks. This adds most features of modern Disklaviers, including Yamaha Piano Radio and conventional USB ports.

Other Articles

If you have an HQ100 Disklavier free this era, see my article on installing a Dampp-Chaser on the back of the HQ100.

Mark IV

Wi-Fi, Internet, and Firmware

The most common question I get about Mark IV Disklaviers is how to connect them to the internet. Oftentimes, the owner is struggling to connect, even though they know their device is plugged directly in to a live internet connection. In that case, you need to update your Mark IV firmware. Out-of-date firmware will not talk properly to Yamaha servers! If you have any trouble updating on your own, you can order my firmware update kit.

DKC-900 Upgrade

The Mark IV can be upgraded with the Yamaha DKC-900. This enables you to use your phone or tablet to control the piano, and is aesthetically much subtler than the Mark IV.

Nalbantov Floppy Disk Emulator

Has your floppy disk drive stopped working? If you want to gain back that functionality, you can install a Nalbantov. On the Mark IV, this is much less useful than on previous Disklaviers, as most of your disks are already saved on the hard disk.

PianoStream

The PianoStream App does also work on the Mark IV. This is an alternative to Yamaha piano radio, and is less expensive. It also allows you to broadcast MIDI files to the piano from your phone or another device. Of course, with the Mark IV, you can already use USB sticks, so this isn’t as large an upgrade as it is on previous Disklaviers.

Solid State Hard Drives

Sometimes hard drives fail on the Mark IV. The Mark IV uses old spinning disk hard disks. If you notice them chattering or exceptionally slow performance, consider upgrading your Mark IV to use an SSD.

E3 / DKC-850

Wi-Fi, Internet, and Firmware

The most common question I get about E3 series Disklaviers is how to connect them to the internet. If you know you have your Disklavier plugged into a healthy internet connection, and it still won’t connect, it might be time to update your E3 / DKC-850 firmware.

DKC-900 Upgrade

The E3 can be upgraded with the Yamaha DKC-900. This enables you to use your phone or tablet to control the piano, and is aesthetically subtler.

PianoStream

The PianoStream App does also work on the E3, and you might be interested in this as an alternative to Yamaha Piano Radio.

Enspire / DKC-900

Wi-Fi and Internet

The Enspire and the DKC-900 represent major upgrades over previous generations of Disklavier; however, they are still surprisingly challenging to connect to the internet. See my article on a straightforward and effective way to connect your Disklavier to the internet.

PianoStream

The PianoStream App does also work on the Enspire, and you might be interested in this as an alternative to Yamaha Piano Radio.

Using External Speakers with the Disklavier

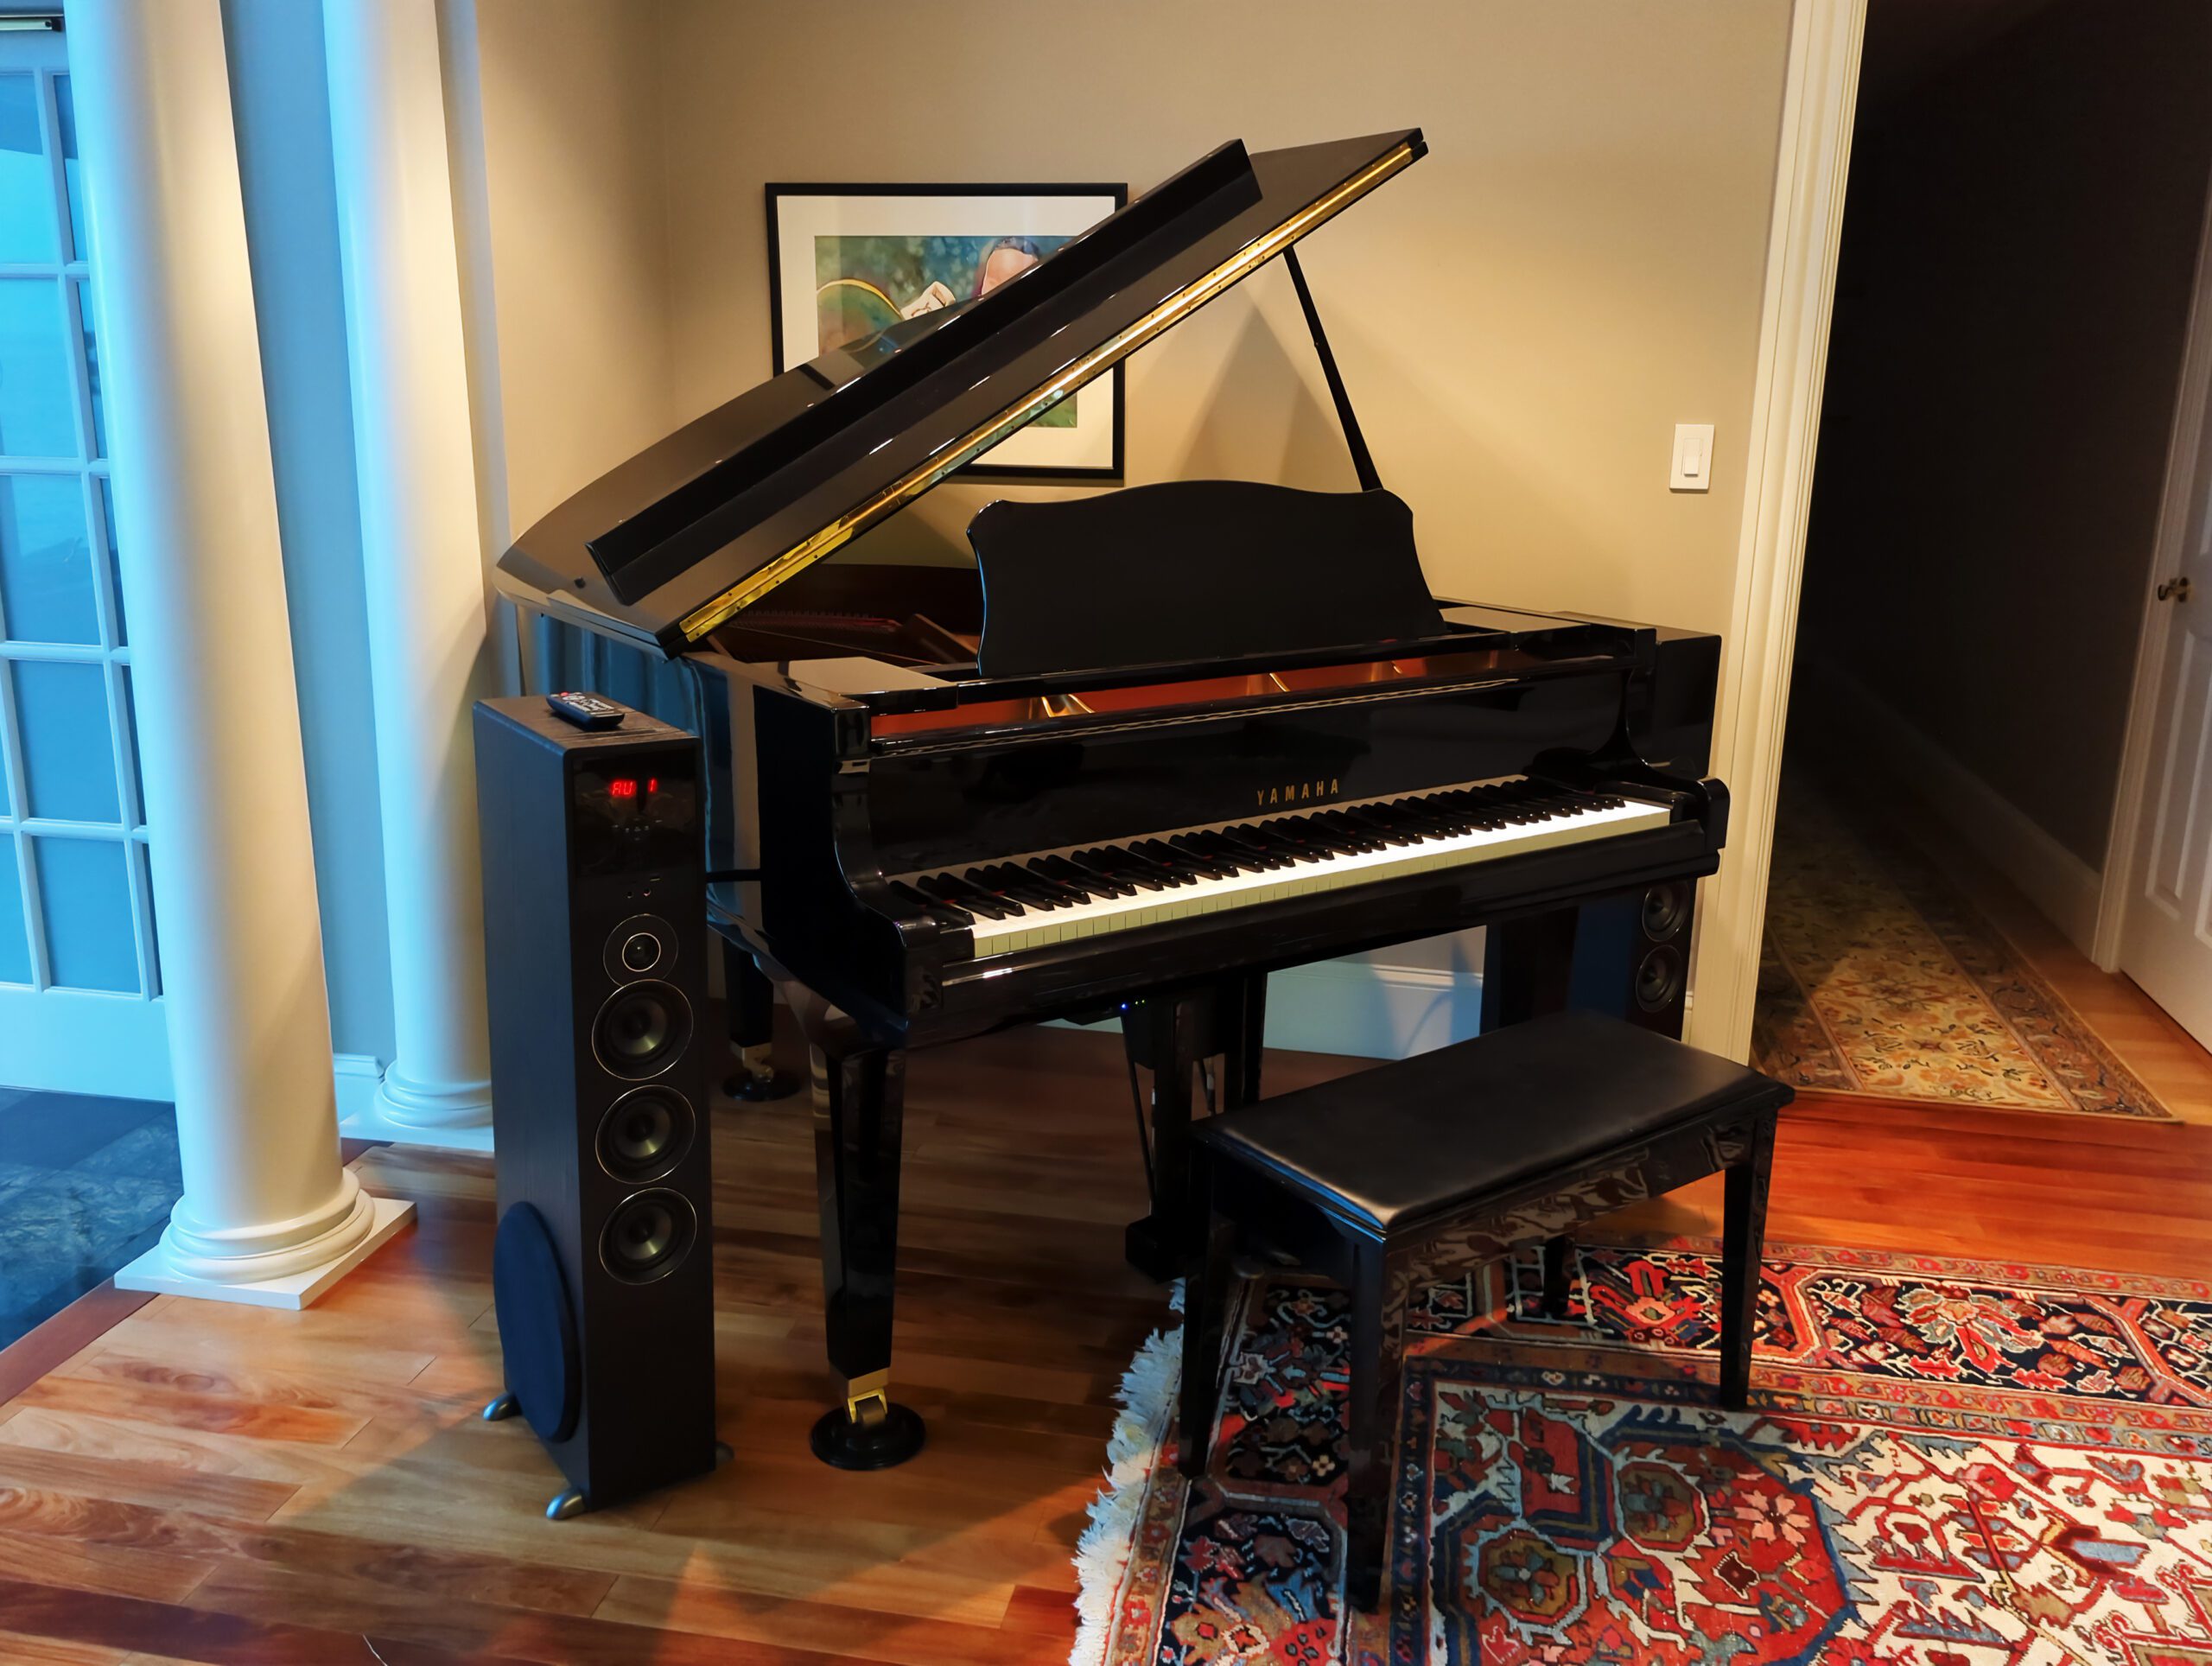
I have a customer who recently upgraded his Mark IV to a DKC-900, and wanted to add larger Bluetooth enabled speakers. We used Rockville TM150B 10″ Speakers. Although the speakers are powered, and amplify signal quite well, we nonetheless found the audio output from the Disklavier was a bit low. I added an RCA preamp to amplify the signal going into the speakers. The RCA preamp is zip tied in place using 24″ zip ties. These work wonderfully for strapping components to the beams.

The speakers underneath the piano are present, but are no longer powered or connected.

An RCA preamp installed between the control center RCA output and the speaker.
The piano alongside its powered Rockville speakers, overlooking the ocean.
This piano connects to his network using a Powerline adapter, as discussed in my Connecting Yamaha Disklaviers to a Network article.

Combining CD Audio and MusicSoft Floppy Disks from Mark IV for the Enspire / DKC-900

Here’s a basic outline of the steps involved:

  1. Copy MIDI tracks from Floppy Disks using Player Piano Floppy Backup Utility.
  2. Rip Audio tracks from CD as MP3 files.
  3. Put resulting files in the same directory, making sure the MP3 files and MID files for a given song have the same names.
  4. Put the collection of files in a folder with the album name.
  5. Put the folder onto a USB stick.
  6. Insert the USB stick into your Enspire and enjoy!

Copy MIDI tracks from Floppy Disks

First, you’ll need copies of the MIDI files from the floppy disks. The best tool for this is Player Piano Floppy Backup Utility, created by Mark Fontana. It’s freeware, but he requests donations. You can download it from him, or you can download ppfbu_v1.4_setup.exe from my Disklavier file collection. You can read more about this process on the Disklavier Floppy Disk Backups, ESEQ and MIDI Formats page.

The most important part of this step is that you write the files as “Renamed MIDI files.” I typically name each one with the name of the track, and make sure each name starts with the track number (00, 01, 02…). This makes it much easier to keep track of which MIDI file goes with which MP3 later on.

Using PPFBU to extract the files, and then export them as Renamed MIDI files. I’m using a dedicated Windows XP box that I keep just for this purpose. You can rename the files in PPFBU before you export them, or you can rename the MIDI files after (like I did in this case).

Rip the Audio tracks from CD

You’ll need to rip the audio off of the corresponding audio CD. You can rip CD audio natively on Windows using Windows Media Player. In the Linux environment, I used Asunder. In the Mac environment, you can actually use the Music App. The main point is just to extract mp3 files for each track on the CD.

Ripping an Audio CD using Asunder on a Linux system.

Name and Organize the Files

Below, you can see the files listed after ripping the audio CD, and after backing up the floppy disk drive using Player Piano Floppy Backup Utility. The floppy disk tracks are MIDI files and have a .mid extension. These contain the instructions to operate the piano. The CD tracks have been ripped as MP3 files and therefore have a .mp3 extension—these contain the audio.

'01 - Kingston Trio - Tom Dooley.mp3'
'01 - Tom Dooley.mid'
'02 - Greenback Dollar.mid'
'02 - Kingston Trio - Greenback Dollar.mp3'
...
'12 - Kingston Trio - (Sinking of the) Reuben James.mp3'
'12 Reuben James.mid'

All the files are present, but they will not yet play correctly in the Disklavier, as the filenames do not match.

I wrote a short Python script to automatically rewrite all the filenames to match. Using the numbers at the beginning of each filename, it pairs together matching MIDI and MP3 files and names them whatever the name of the MIDI file is, but without spaces or symbols. This appears to be the same formatting of downloadable Disklavier albums.

Whether you use the script or not, the before and after directory listings indicate how you must rename the files.The script is called using the following syntax:

python merge.py /path/to/your/directory "Album Name"

$ python merge.py . "Kingston Trio"

Copied and Renamed: 01 - Tom Dooley.mid -> 01TomDooley.mid

Copied and Renamed: 01 - Kingston Trio - Tom Dooley.mp3 -> 01TomDooley.mp3

Copied and Renamed: 02 - Greenback Dollar.mid -> 02GreenbackDollar.mid

Copied and Renamed: 02 - Kingston Trio - Greenback Dollar.mp3 -> 02GreenbackDollar.mp3

...

Copied and Renamed: 12 Reuben James.mid -> 12ReubenJames.mid

Copied and Renamed: 12 - Kingston Trio - (Sinking of the) Reuben James.mp3 -> 12ReubenJames.mp3

Listing of resulting directory, “Kingston Trio”:

01TomDooley.mid
01TomDooley.mp3
02GreenbackDollar.mid
02GreenbackDollar.mp3
...
12ReubenJames.mid
12ReubenJames.mp3

Note that now the MP3 and MIDI files have identical names for each song, identical capitalization, and that all spaces and symbols have been removed. In the ENSPIRE, unlike earlier iterations of the Disklavier, filename length does not seem to matter. Here’s a graphical representation of the last folder, ready to move:

The filenames match! It’s ready to be put on a USB stick and played in your ENSPIRE.

It’s Time to Play!

At this point, you can move the complete folder (in this case, Kingston Trio) onto a USB stick, and insert it into the front of your ENSPIRE controller.

Once your USB is inserted, you’ll see the My Songs (5) option appear in the ENSPIRE controller app. (This image is copied from the ENSPIRE Controller Operation Manual created by Yamaha, which is available from them.) Just open up the “Album” (which is the folder you created for all of your files on your USB stick), and select a song! It’ll play the piano parts, and the audio will accompany it.

Mark IV Disklavier SSD Conversion Or Hard Disk Replacement

This article on Mark IV Disklavier SSD Conversion was originally contributed by Richard Zajac.

The Mark IV utilized a spinning hard disk, which was more than sufficient for the technology of its time. Even advanced systems like the Yamaha Disklavier don’t demand exceptionally fast read speeds, as piano notes aren’t played within microseconds of each other. However, spinning hard disks do come with inherent drawbacks:

Being mechanical, they are prone to failure, and are noisy. Additionally, during system updates, the limitations of their read and write speeds become evident, resulting in updates that can take nearly an hour to complete.

Whether you’ve chosen to upgrade because of the improved read/write speed, or you’ve simply arrived here because the hard drive has failed, or an update has been interrupted, read on!

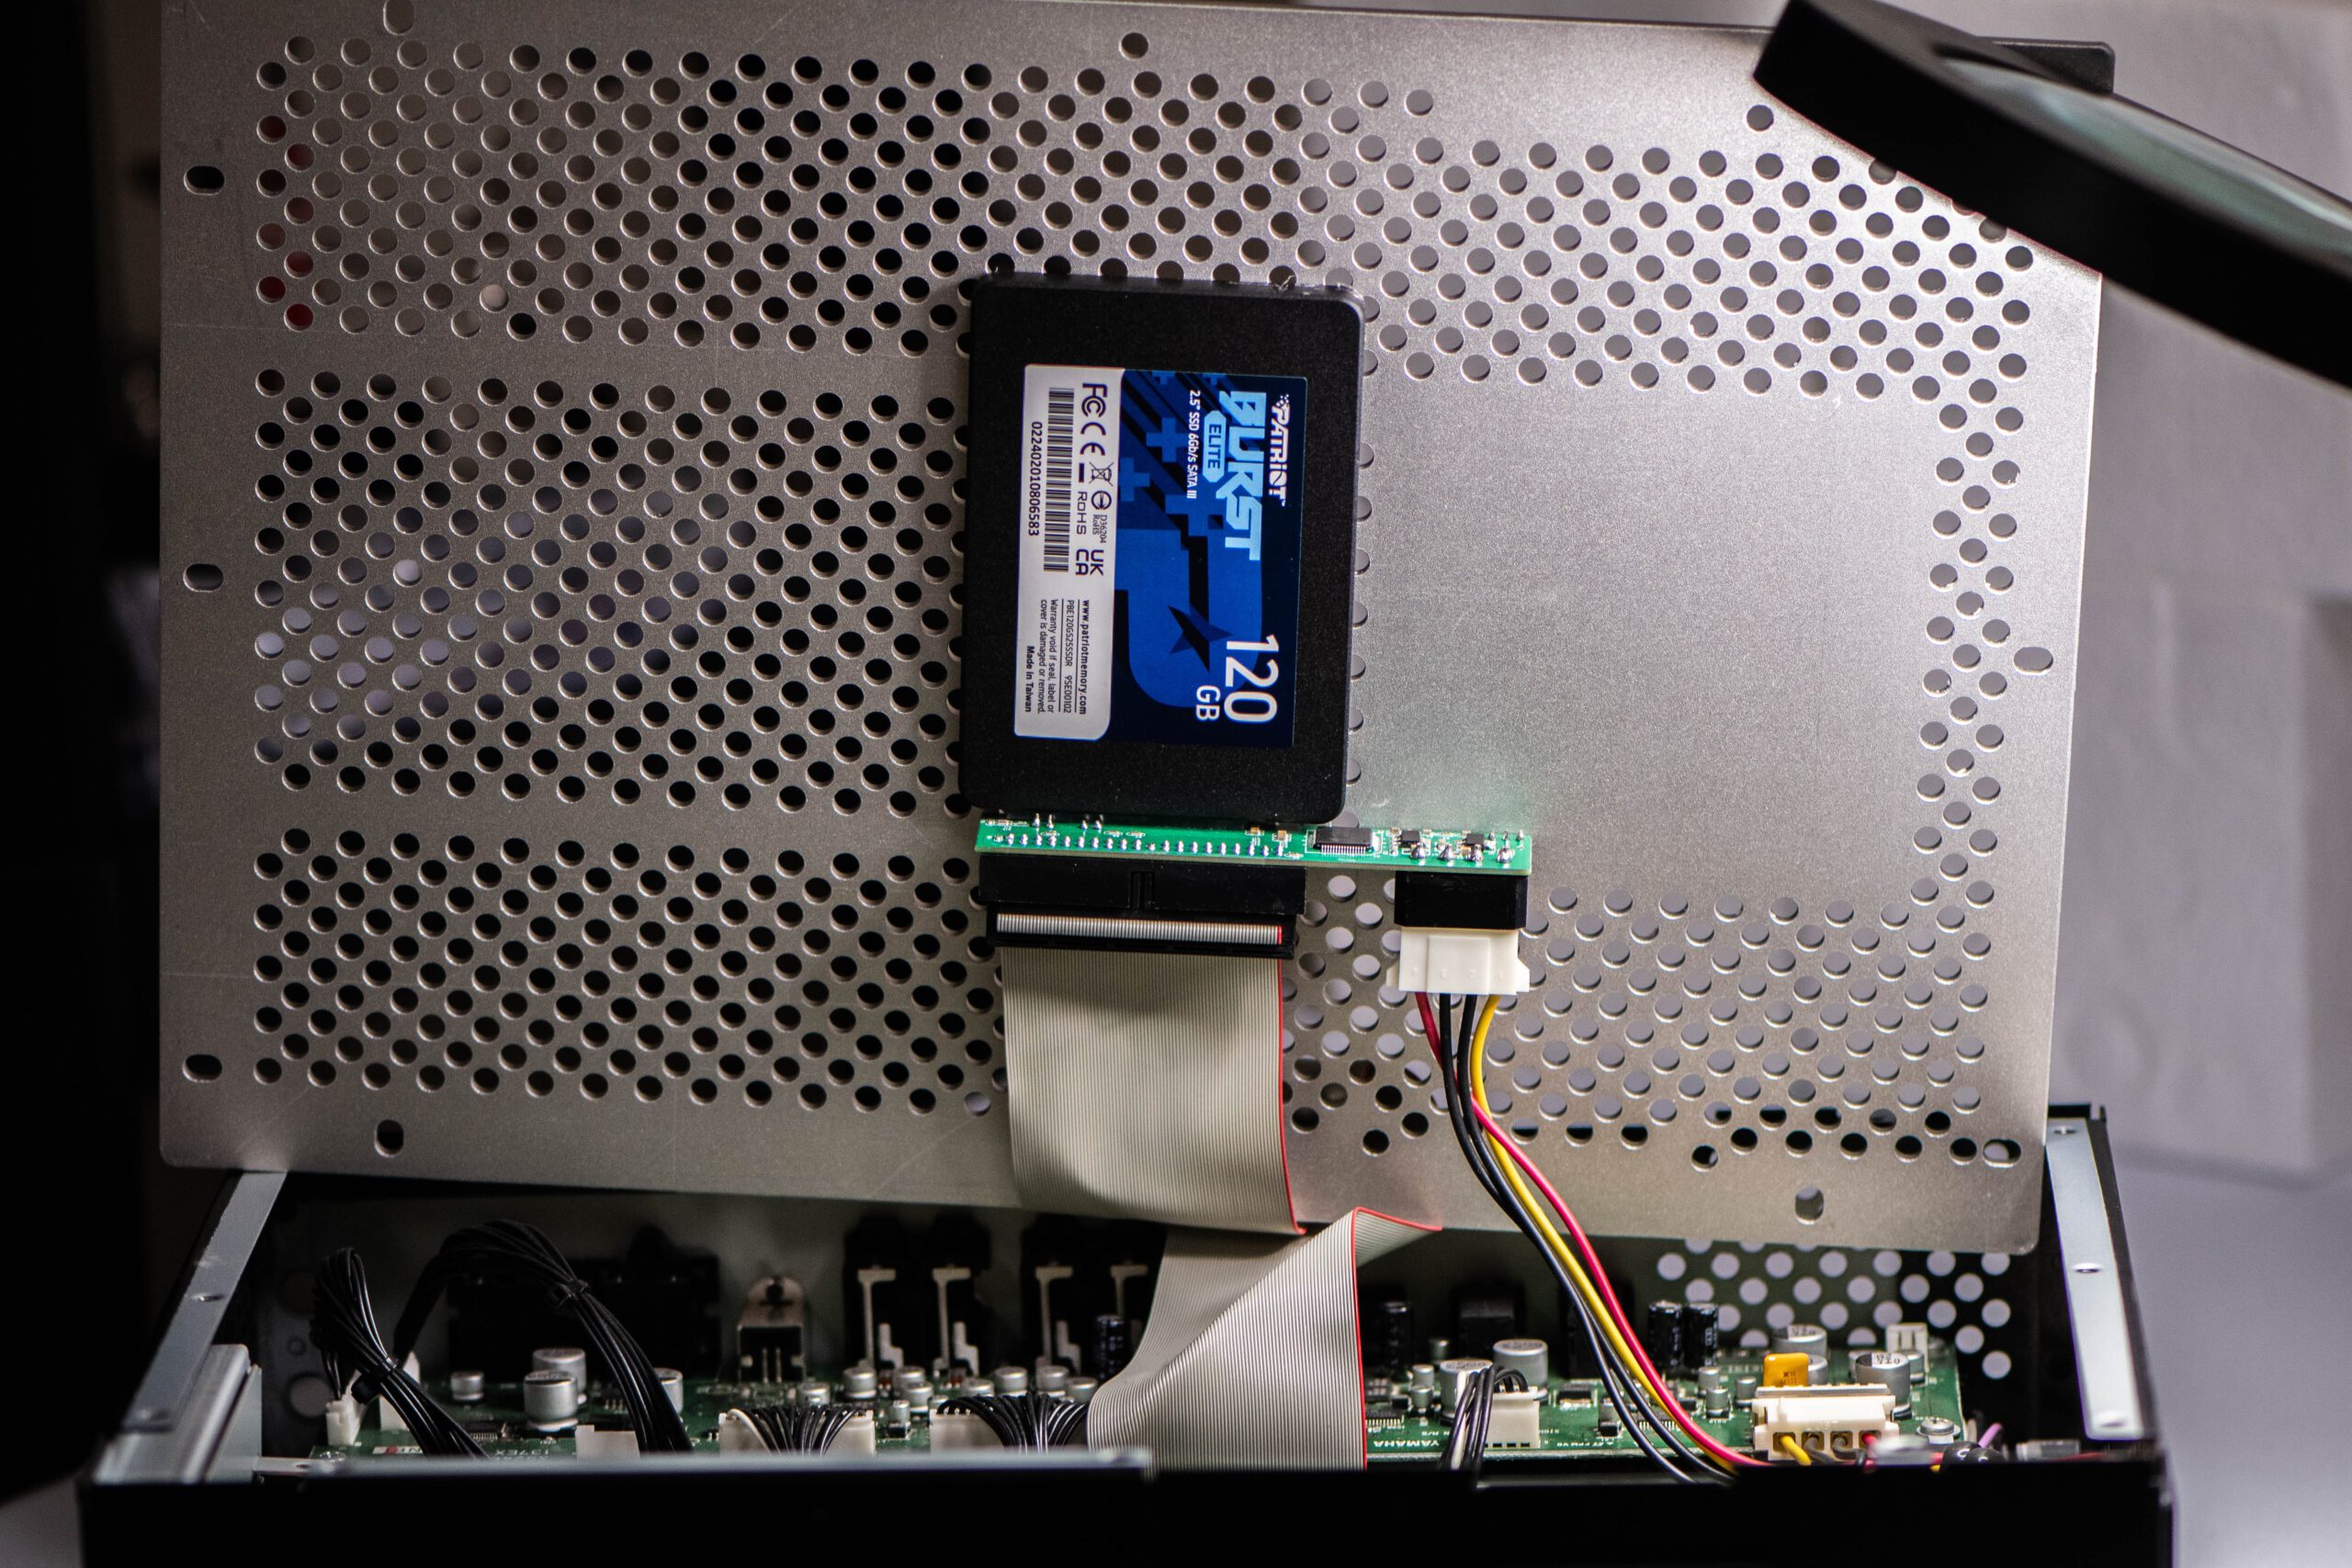
First, you’ll need a new solid state drive with a minimum of 80 GB of storage capacity, as well as an IDE to SATA adapter. The 120 GB OWC Mercury Pro Legacy comes with all necessary components. (Note that, although Richard used this, and it fit neatly into the system, I installed mine using a 120 GB Patriot Burst drive and Kingwin SATA to IDE adapter, so my pictures differ. His OWC product is a neat, all-in-one solution.)

Removing the Old HDD

  1. Remove the control unit from the piano by first unscrewing the parallel port connector using the two flat blade nuts on the sides of the port.
  2. Unplug all the cables and then carefully unscrew the control unit from the piano. It is very heavy, so carefully lift it down and turn it over.
  3. Unscrew all the black screws on the top face of the control unit that would normally be against your piano. This surface is the unpainted, silver surface.
  4. Carefully remove the two plugs from the hard drive. Unscrew the drive underneath using a Phillips screwdriver with lots of pressure taking care not to strip the screws.
The original spinning disk, at rest

Imaging the Old HDD

At this point, you’ll need to copy the contents of the old hard drive into an image file.

If your old hard disk does not work, and you’ve arrived here because your old Mark IV hard disk has failed, please contact me for a fully updated v4.26 Mark IV hard disk image, and include your serial number.

Make certain you have enough space to store a complete image! The file will be 80 GB total.

Windows

If you’re using Windows, you can use Win32 Disk Imager to take an image of the old disk. I’ve also had people recommend Balena Etcher, although I was unable to get it to work reliably on Windows 10.

Mac

To create your own backup on Linux or Mac, you can use the dd instruction in a terminal. Note that you’ll need to adjust /dev/sdX to be whatever the location of your hard disk is! On Mac, this will be similar to /dev/rdiskX.

sudo dd if=/dev/sdX of=bckup.img status=progress

Specifications for the original disk

Applying the Image to your New SSD

Take your new SSD drive and plug it into your computer using a USB adapter such as this one. Unplug the red adapter on the back of the hard drive and then plug the following cables into the hard drive itself.

Windows

You can write IMG files to a disk using Win32 Disk Imager. As mentioned above, I’ve also had people recommend Balena Etcher, but haven’t gotten it to work on Windows 10 myself.

Mac

Using the terminal, type in “diskutil list” command shown as below, then press “Enter” to list all the disks in your Mac computer. Take down the number of your USB drive. Here assume that the USB drive number is “2”.

Type in the following command, replacing “#” with your USB drive number.
diskutil unmountDisk /dev/disk#

Then press “Enter” to unmount it.

Type in the following command. Replace “/path/to/your.img” by dragging the image file from the Finder into terminal.

Then press “Enter” to burn the IMG image file to the USB drive.

sudo dd if=/path/to/your.img of=/dev/rdisk2 bs=4k status=progress

Install the SSD: Conversion Complete!

Unmount your USB drive, put the red adapter back on, and screw it into your Disklavier top assembly. You will need to use the middle screws to give it enough room to be able to have the cable attached and close it.

Voilà! You have now updated your system and changed your drive to solid state!

My Patriot Burst SSD, mounted directly to the top plate.
I was able to line up the Patriot Burst drive with the cooling holes on the upper plate such that I could screw it directly in place

Yamaha Mark IV Firmware Update

In order to connect your Yamaha Mark IV to the internet, you’ll need to update the firmware; otherwise, you’ll receive an error telling you it can’t connect to the internet. This is a pretty confusing error, since you might actually be properly connected. However, the Disklavier can’t tell the difference between no internet and just unable to talk to Yamaha. As far as it’s concerned, if it can’t see Yamaha, the internet may as well not exist!

The Problem: No Internet Connection

In October 2020, Yamaha mandated that its pianos use better encryption standards (all pianos now use TLS 1.2 instead of TLS 1.1). If you connected your piano to the internet before October 2020, it probably automatically updated to the latest firmware. However, if you weren’t so lucky, you’ll have to perform the updates yourself.

The Solution: Install Updated Mark IV Firmware

Here’s what you’ll need to complete the update:

  1. A CD-R
  2. A CD writer
  3. A blank 2HD 1.44 MB floppy diskette

The floppy diskette is used only by the Disklavier: You do not need to be able to write to the floppy disk from your personal computer, but you will need a 2HD disk. (These are high-density 2HD disks, rather than the double-density 2DD disks I recommend for earlier Disklaviers elsewhere on my site. If the disks say they’re 1.44 MB, you’ll all set!)

You can buy blank floppy diskettes from https://www.floppydisk.com/. Amazon and eBay are also good suppliers of floppy diskettes. Personally, I like to use old Sony 2HD diskettes purchased from eBay. Although these aren’t the newest floppy diskettes available, they’re some of the most reliable I’ve been able to find.

CD-Rs are readily available on Amazon, as are CD writers.

You can purchase my Mark IV firmware update kit, or contact me at [email protected]. The firmware update kit comes with both a CD and a 2HD floppy disk, with everything required for the update already on them.

Once you’ve got your media, you’ll need to burn the updated firmware to the CD. You can download the Yamaha Mark IV firmware 4.26 from me. (The correct firmware is under the Firmware / Mark IV v4.26 directory.)

Once you’ve burned this to your CD-R, you’ll need to prepare your boot floppy. If you happen to have a floppy disk drive and feel like saving a little time, you can copy the floppy disk files me and put them on your floppy disk. You can then skip the below step. The below is copied from Yamaha’s firmware update instruction manual (emphasis and notations mine).

Yamaha’s Official Mark IV Firmware Update Instructions

Unit must be completely booted — green standby light solid green
Floppy must have the Protect tab to the Unlock position-hole is covered

1. Insert one Blank High Density Disk--HD--into the floppy drive.

2. On the PRC-100, from the “Interface Main” tap on “Next -->” located on the bottom right corner, it will take you to the next page.

3. Tap on the “Setup” icon. Tap on the “Next -->” Bottom right corner.

4. Tap on “System”. Tap on “Make Install FD”. It will take approximately two minutes to make the boot Disk.

5. Tap on “OK” when the “Complete” message is displayed.

6. Press on the Back button repeatedly-the button that has the U turn arrow-until you see the “Interface Main”

Once you have the media prepared, follow their instructions for performing the update (emphasis and notations mine):

1. Hold down standby button on the Media Center until the button starts flashing. The Disklavier shuts down.

2. Wait approximately 10 seconds or more, and then press standby button on the Media Center. Update of the I/O Center starts.

3. During update, the buttons on the Media Center light in sequence. Note: The update cannot be performed if the remaining capacity of the hard disk drive is too small. The CD will eject and flash. In such case, close the CD tray, reboot the I/O Center, and then increase the storage capacity, by for example deleting song data in the PianoSoft Library or CD Library by as much as the amount of data stored on one CD. After that, try reupdating.

4. The update will continue for approximately 25 minutes before the CD tray opens. Note: The CD may eject and flash. In such a case, check that there are no scratches, stains, or dirt on the CD that can lead to readout error. If the CD is defective, clean the CD and reload it. The I/O Center reboots. If the CD is defective and a replacement is required, remove the CD and press to close the CD tray. The I/O Center reboots (though updating has stopped). 

5. Wait until the CD tray opens, and then remove the CD and the floppy disk.

(Alex's Addition: You may have to wait another 30 minutes from this point for the update to finish installing. The LED indicators sequentially flash, then illuminate solid, left to right.)

And that’s it! Your firmware is updated. You can now proceed to Connecting your Disklavier to a network! If it’s already connected, you can read more about using piano radio in their Advanced Owner’s Manual (Part 2) on Chapter 8, Page 96.

Complications

Richard Zajac reached out because his update had been interrupted during a lightning storm. He was unable to get his piano to connect to the piano, and he was unable to update it or reapply the update. The proper solution was to reimage the hard disk inside the control center. This is a technical solution, to be sure, but he took the opportunity to update the hard disk inside his control center at the same time. You can read about upgrading or replacing a corrupted Mark IV control center hard disk here.

Connecting your Yamaha Disklavier to the Internet

Yamaha Disklaviers are an innovative fusion of digital and acoustic engineering, but connecting your Disklavier to internet is somehow still very challenging! They allow you to experience famous, concert pianists performing right in your living room, on your piano. They’re an excellent tool for both entertainment and for learning. And of course, they’re just fun to watch. Take a look at this beautiful 2009 Yamaha GC1 Disklavier playing Billy Joel’s Piano Man that I recorded last summer.

If you have a previous generation of Disklavier and haven’t updated its firmware since October 2020, it is absolutely necessary to update it before attempting to connect to the internet. Your Disklavier will tell you it isn’t connected to the internet, regardless of what you do, until the firmware is updated. I have additional information on updating the firmware on the Disklavier E3 (DKC-800 / DKC-850). I can also help with updating the firmware on the Disklavier Mark IV, and can even provide you with the media.

They do have one drawback: Connecting your Disklavier to Wi-Fi networks can be confusing and difficult. Yamaha provides the UD-WL01 adapter, but this is not an intuitive device: Is your Disklavier acting as an access point for other devices, or are you connecting your Disklavier to Wi-Fi as a client? Is it doing both? Can you tell from the instructions what you’re expected to do, and how you’re supposed to use the Disklavier and connect to the internet at the same time?

I’m sharing an incredibly elegant, simple way to connect Yamaha Disklaviers to the internet. You don’t have to worry about reconnecting it if you change your Wi-Fi password or buy a new router. You can set it up quickly, and it works in most houses.

Supplies

A little redundant labeling makes all the difference. And Small-Caps adds some style.

1. NexusLink Powerline Ethernet Adapters

These devices allow you to network through the electrical lines in a house. Your piano will believe it has a physical connection, and you won’t need to do any further configuration!

These devices are effortless to use once they’re paired: All you have to do to keep your piano connected is plug them in!

Make certain that the adapters are plugged directly into outlets, or into the surge protector below. Power conditioners, universal power supplies, or even higher-end surge protectors interfere with their signal. Similarly, they must be plugged into circuits that are in the same breaker box. Multiple breaker boxes or sub-panels can interfere with the signal.

It’s worthwhile to label the adapters. This will help with troubleshooting in the future. If you have specific networking needs, you can download the full manual for the NexusLink Powerline adapters here.

I took it apart so that you don't have to!
I took it apart so that you don’t have to!

2. GE Designer 3-Outlet Surge Protector

This is an 8-foot extension cord with a three port power strip on the end. It calls itself a surge protector, but doesn’t do any regulation or conditioning which might interfere with the NexusLink signal.

I did a tear-down of the device to make sure there were no surprises: Surge protection is achieved through a metal oxide varistor, and there is no voltage regulation beyond that.

3. Black CAT6 Ethernet Cables (3 feet)

With piano work, subtlety is a must. Anywhere black or concealed equipment can be used, I use it. Three foot cords have always been more than enough for me. In many installations, I’ll even use one-foot cords. More cord just means more to hide.

4. 3m Dual Lock Reclosable Fastener (or equivalent)

These are strong, interlocking fasteners that aren’t vulnerable to vibration, and are strong enough to hold up the end of the extension cord. I’ve also used very large (2′) zip ties wrapped around the beams underneath the piano, and these work well.

Installation and Connection

A basic diagram of the installation.

1. Prepare and Pair NexusLink Adapters Beforehand

Remove the two NexusLink Adapters from their box and plug them both into the outlets where you intend for them to go. One will be next to the router and, and the other will be plugged into the extension cord you intend to put underneath the piano. No Ethernet connections are necessary at this time.

If the green connection lights on your NexusLinks turn on (the top light on each adapter), that means they’ve found one another, and are now communicating through your household power. Great!

Now you can secure their connection to each other. On the bottom of each unit (near the Ethernet jack) there’s a small configuration button. Hold it down for three seconds, and the bottom of the three lights—labeled with a padlock—will begin to blink. Now press the same button on the other NexusLink for three seconds. After a short period of time, the padlock lights will turn solid. Then, some seconds later, the connection lights should turn solid as well.

These two NexusLinks are now a permanently bonded pair. No matter where you put them, they’ll find one another. In fact, they’re so tightly paired that they’ll even ignore other NexusLinks.

If you have specific networking needs, you can download a full manual for the NexusLink Powerline adapters here.

2. Run the extension cord up underneath the piano

A NexusLink plugged into a power strip, with a ghastly yellow Ethernet plugged into it.

With the Disklavier turned off, unplug the Disklavier.

Pick a good spot to mount the power strip underneath the piano. This is usually parallel to the floor on the side of one of the wooden beams adjacent to the Disklavier controller. (Also, make certain if there is a Dampp-Chaser installed, make sure the NexusLink isn’t near the humidistat, where the small amount of heat it produces might cause less accurate readings.)

Wipe the area down with alcohol. Take two pieces of your Scotch Interlocking Fastener and, after removing the backing, affix both to the back of the power strip. Mount the power strip to the beam.

If possible, try to route the power cord over a beam. This will keep it a more secure in the event it gets pulled on. You can even loop it around the beam once if you have enough cord.

3. Plug everything in

Plug your other NexusLink Powerline Ethernet Adapter into the bottom port of the three of your power strip. Run a short length of Ethernet cord to your Disklavier controller. If possible, loop the Ethernet cord up over the beam to apply a bit of tension. Pianos produce plenty of shaking and vibration, so keep things as secure as possible. Use no more cable than you need.

Now plug the Disklavier power into the power strip (and the Dampp-Chaser as well if one is installed). This extension cord is comfortably rated for the power consumption of all three devices.

At this time, both the green connection lights should be on, and both the padlock lights, meaning the NexusLink Adapters have discovered one another. If this isn’t the case, skip to the troubleshooting below.

Use zip-ties, twist ties, and other appropriate cable management to bundle everything up and out of sight. Stick-on conduit can be used to run cords along the beams if precise positioning is needed, such as if the piano is positioned next to a low couch or somewhere else people might easily see underneath. I’ll actually sit in various chairs in the room and look at the piano.

You’re all done! If it doesn’t work immediately, read on.

No connection! What went wrong?

First: It’s probably a power strip or Universal Power Supply (UPS)

Do not plug either Powerline adapter into a power strip or surge protector if you can avoid it. These often filter out the signal. Only simple power strips (like the GE one I recommend) will not block the signal. When in doubt, plug directly into the wall. And don’t forget to check the adapter that’s near your router. This also needs to be plugged directly into the wall.

Second: It might be the outlet

If the outlet isn’t receiving power, it won’t work. Make sure that the outlet can power other devices, and that it isn’t controlled by a switch.

Third: It might be the breaker boxes

If the house has multiple breaker boxes, then the devices might not be able to see each other. In this case, try different outlets. You can try changing outlets both near the piano and near the router.

Has it been working for a while, but suddenly stopped?

As with many other pieces of sensitive electronics, if it’s been behaving and suddenly stops, you should power cycle the devices. Unplug each Powerline adapter in turn and plug it back in. If that doesn’t work, pair the adapters again in the manner described in step one.

Other Options to Connect your Disklavier to Wi-Fi

If none of the available outlets work, you’ll need to try a different approach. This article is specifically on the Powerline adapter technique, but you’ll need to consider using a Wi-Fi bridge, since the Powerline adapters won’t work for you. These bridges are also an easy way to connect your Disklavier to Wi-Fi, but will require you to update your login information if your network changes.