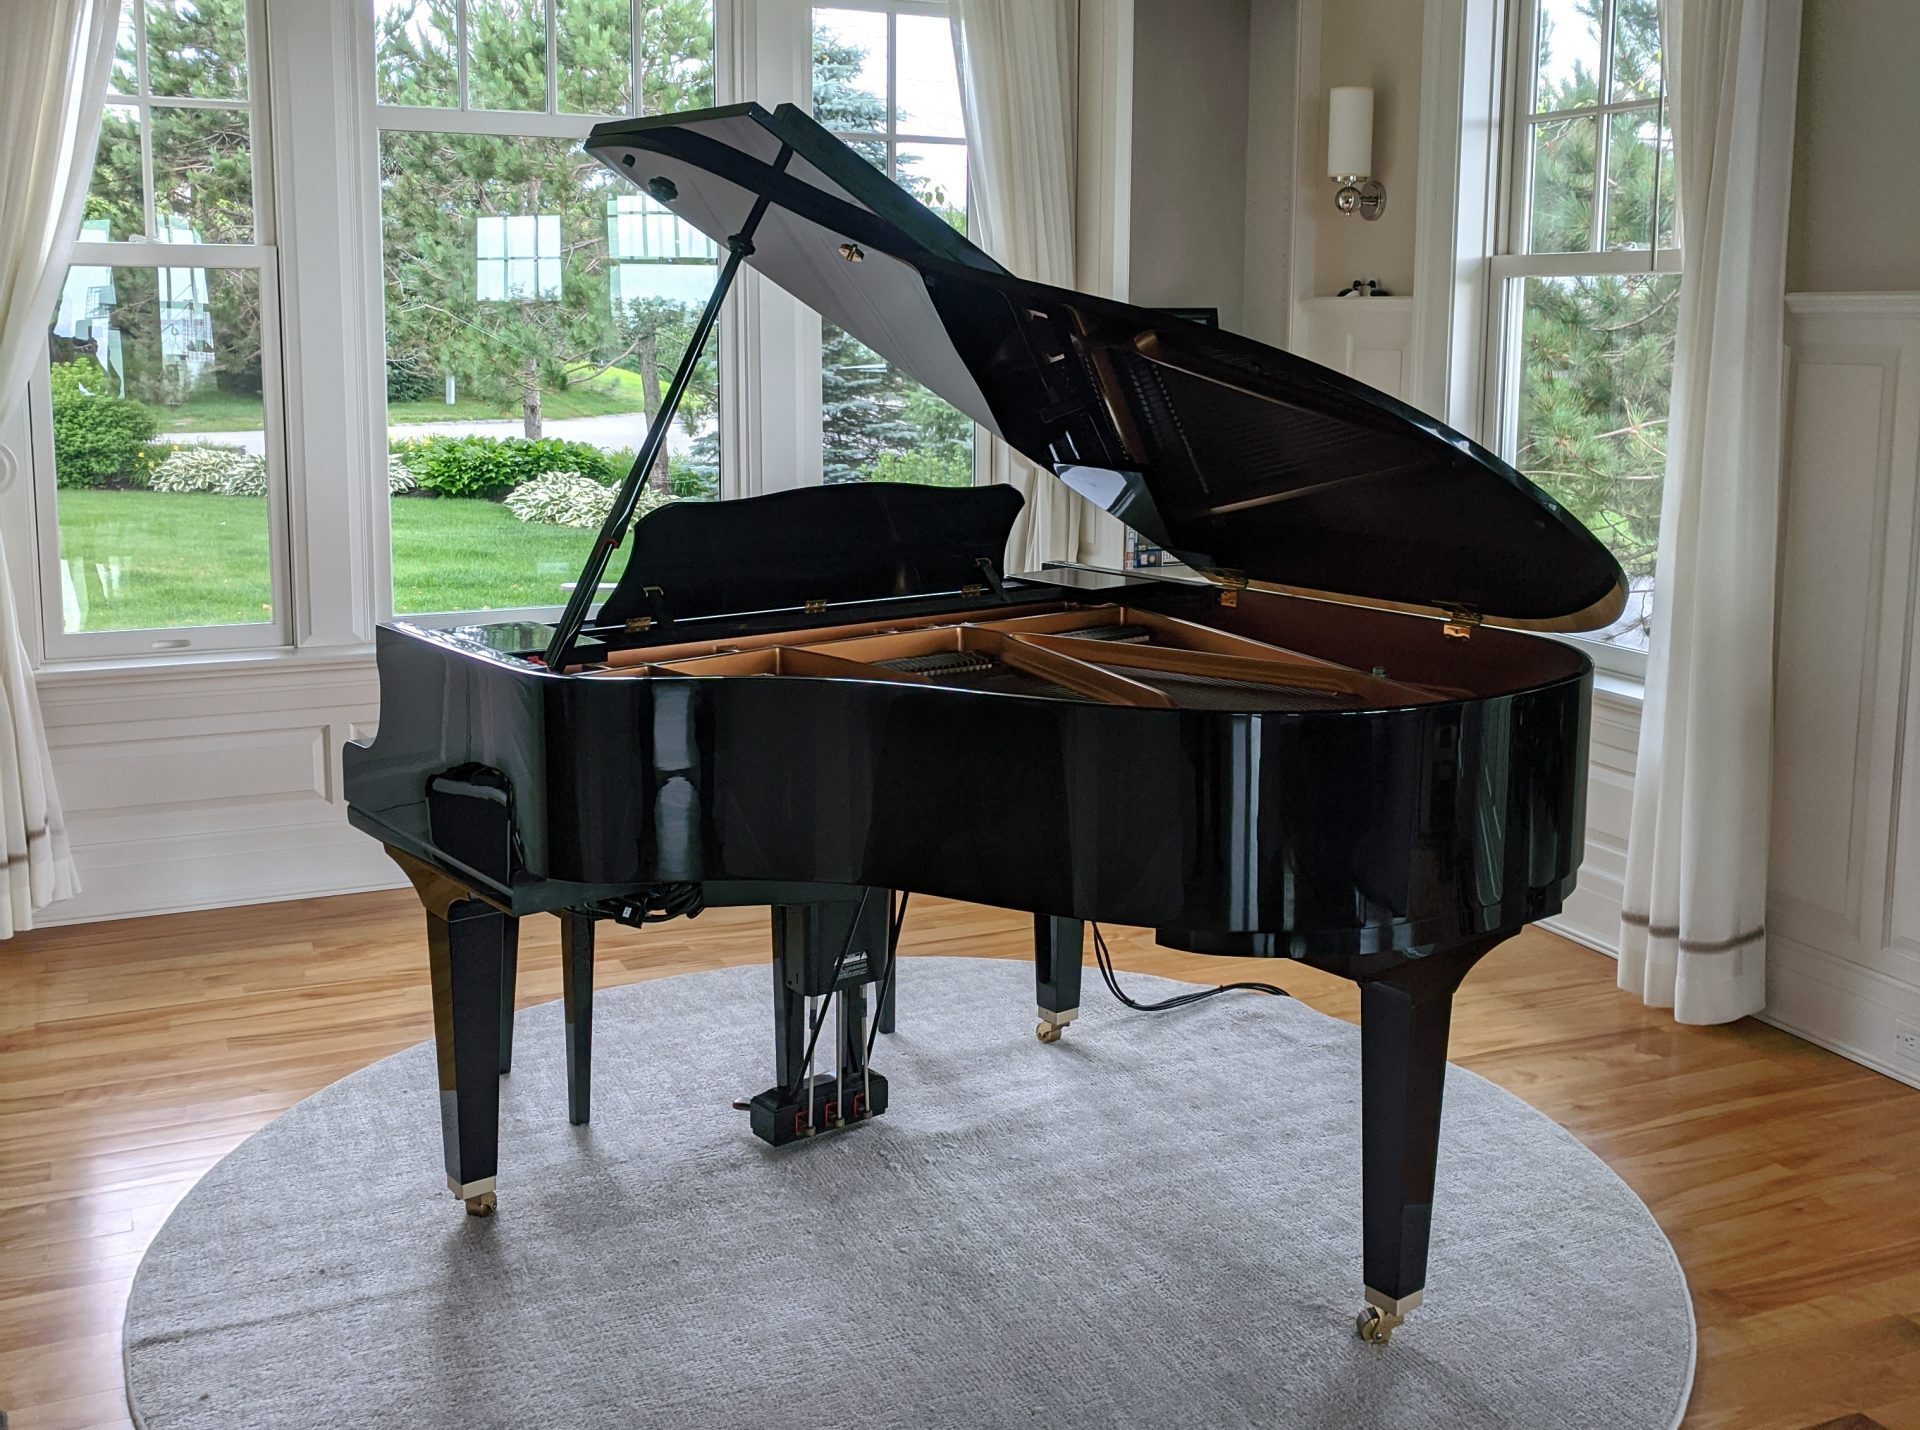
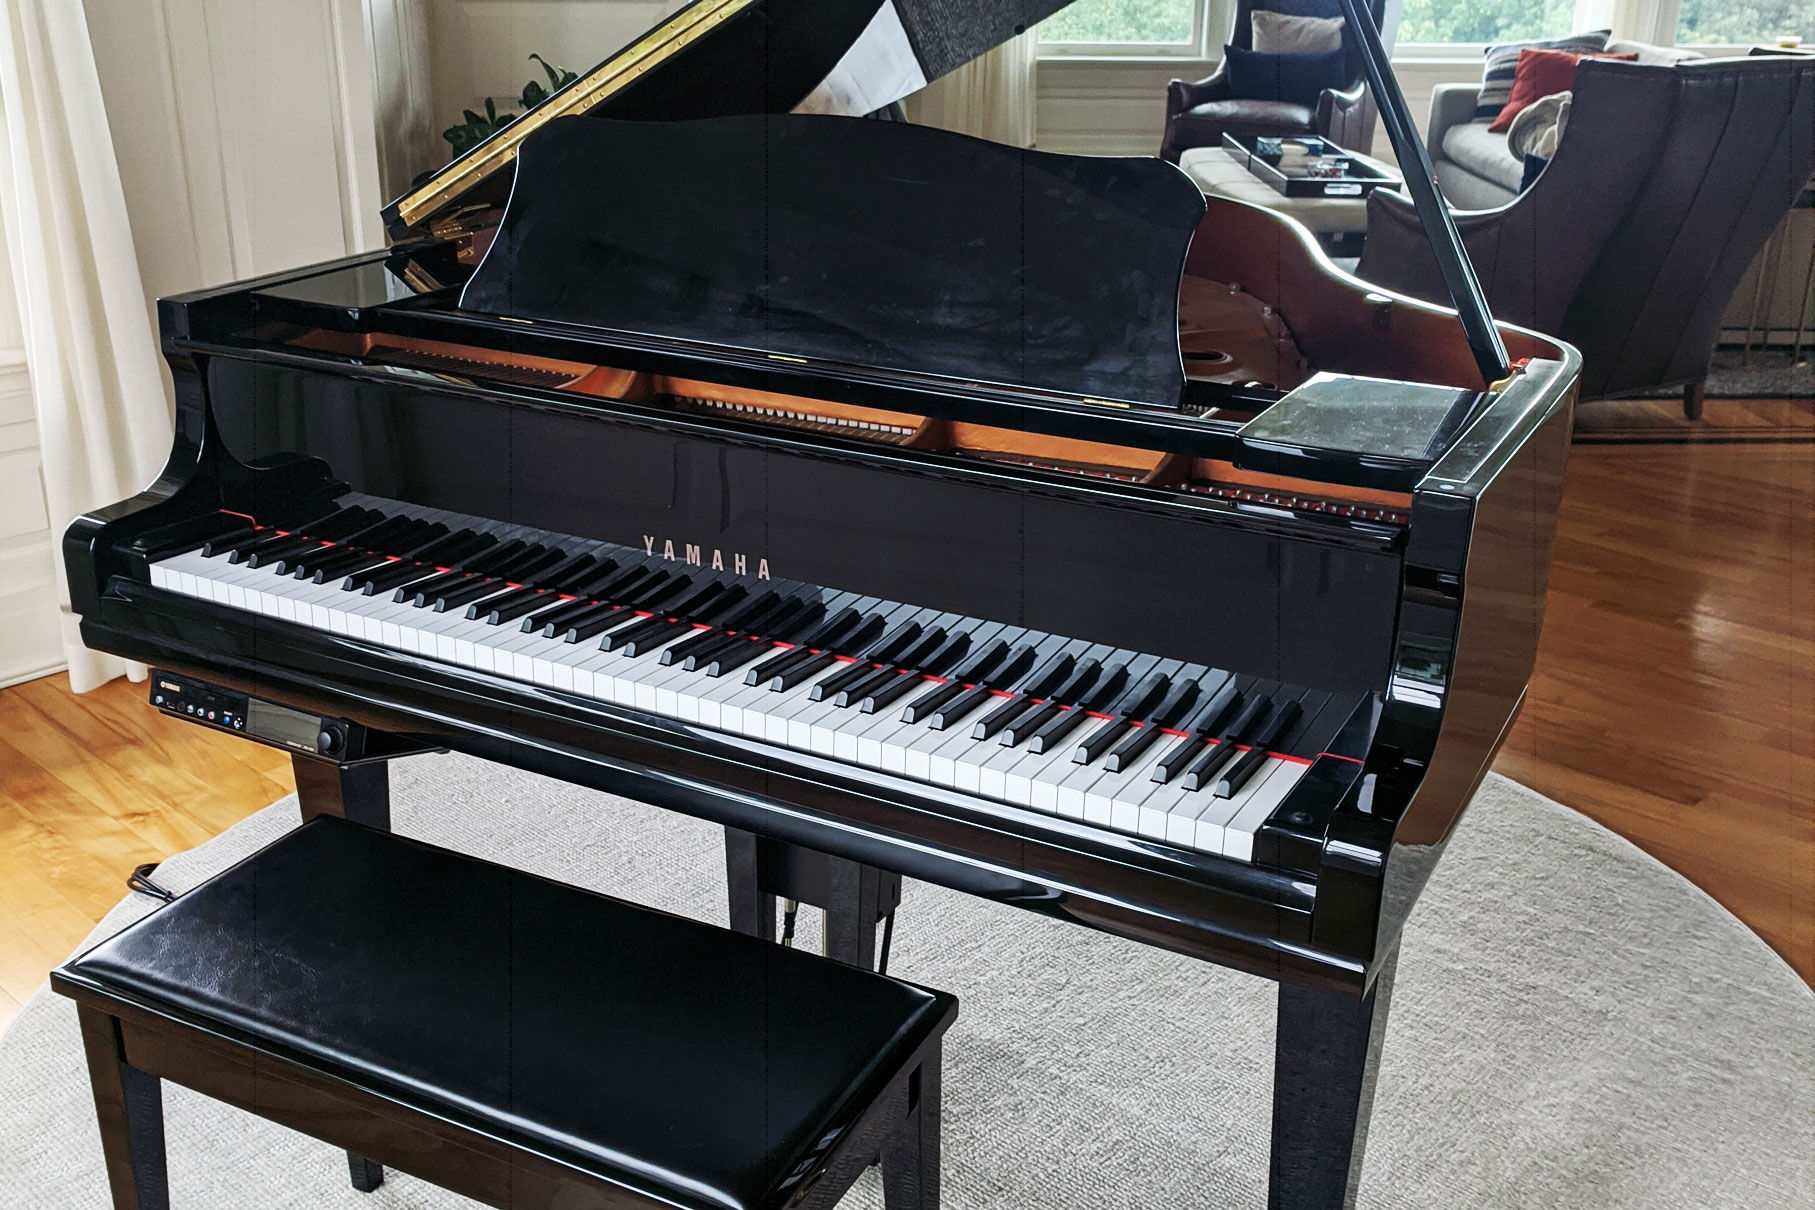
The Yamaha E3 (or DKC-850) firmware update is wonderfully simple, unlike its older Mark IV sibling. The entire update can be done using just a USB stick with at least 20MB of memory.
The Problem
In October of 2020, Yamaha mandated that its pianos use better encryption standards (all pianos now use TLS 1.2 instead of TLS 1.1). If you connected your piano to the internet before October of 2020, it probably automatically updated to the latest firmware. However, if you weren’t so lucky, you’ll have to perform the updates yourself.
The Solution
First, you’ll need to download a copy of the new firmware, and you’ll need a USB stick.
You can obtain this either by downloading the Yamaha E3 v3.54 file (dkv_update.bin) from me, or you can visit Yamaha’s website for an archived copy. Once you have the dkv_update.bin file, simply copy it on a USB stick (not in any directories or folders). Take that USB stick and insert it into your Disklavier. Now hold down the Play / Pause button and power on the system (with the Play / Pause button still held). From there, you can follow the on-screen instructions.
If you have any difficulties, I’ve attached a PDF of their instructions below. You’ll need to start with “Downloading the Update Program using a PC and USB Flash Memory” on page three.
In order to connect your Yamaha Mark IV to the internet, you’ll need to update the firmware; otherwise, you’ll receive an error telling you it can’t connect to the internet. This is a pretty confusing error, since you might actually be properly connected. However, the Disklavier can’t tell the difference between no internet and just unable to talk to Yamaha. As far as it’s concerned, if it can’t see Yamaha, the internet may as well not exist!
The Problem
In October of 2020, Yamaha mandated that its pianos use better encryption standards (all pianos now use TLS 1.2 instead of TLS 1.1). If you connected your piano to the internet before October of 2020, it probably automatically updated to the latest firmware. However, if you weren’t so lucky, you’ll have to perform the updates yourself.
The Solution
Here’s what you’ll need to complete the update:
A CD-R
A CD writer
A blank 2HD 1.44 MB floppy diskette
The floppy diskette is used only by the Disklavier: You do not need to be able to write to the floppy disk from your personal computer.
You can buy blank floppy diskettes from https://www.floppydisk.com/. Amazon and eBay are also good suppliers of floppy diskettes. Personally, I like to use old Sony 2HD diskettes purchased from eBay. Although these aren’t the newest floppy diskettes available, they’re some of the most reliable I’ve been able to find.
CD-Rs are readily available on Amazon, as are CD writers.
You can also purchase both the CD-R (pre-written) and blank floppy disk from me. I sell both for $30.00 at this time. You can purchase one from me here, or contact me at [email protected].
Once you’ve got your media, you’ll need to burn the updated firmware to the CD.
Once you’ve burned this to your CD-R, you’ll need to prepare your boot floppy. Now, if you happen to have a floppy disk drive and feel like saving a little time, you can copy the floppy disk files me and put them on your floppy disk. You can then skip the below step. The below is copied from Yamaha’s firmware update instruction manual (emphasis and notations mine):
Unit must be completely booted — green standby light solid greenFloppy must have the Protect tab to the Unlock position-hole is covered
1. Insert one Blank High Density Disk--HD--into the floppy drive.
2. On the PRC-100, from the "Interface Main" tap on "Next -->" located on the bottom right corner, it will take you to the next page.
3. Tap on the "Setup" icon. Tap on the "Next -->" Bottom right corner.
4. Tap on "System". Tap on "Make Install FD". It will take approximately two minutes to make the boot Disk.
5. Tap on "OK" when the "Complete" message is displayed.
6. Press on the Back button repeatedly-the button that has the U turn arrow-until you see the "Interface Main"
Once you have the media prepared, follow their instructions for performing the update (emphasis and notations mine):
1. Hold down standby button on the Media Center until the button starts flashing. The Disklavier shuts down.
2. Wait approximately 10 seconds or more, and then press standby button on the Media Center. Update of the I/O Center starts.
3. During update, the buttons on the Media Center light in sequence. Note: The update cannot be performed if the remaining capacity of the hard disk drive is too small. The CD will eject and flash. In such case, close the CD tray, reboot the I/O Center, and then increase the storage capacity, by for example deleting song data in the PianoSoft Library or CD Library by as much as the amount of data stored on one CD. After that, try reupdating.
4. The update will continue for approximately 25 minutes before the CD tray opens. Note: The CD may eject and flash. In such a case, check that there are no scratches, stains, or dirt on the CD that can lead to readout error. If the CD is defective, clean the CD and reload it. The I/O Center reboots. If the CD is defective and a replacement is required, remove the CD and press to close the CD tray. The I/O Center reboots (though updating has stopped).
5. Wait until the CD tray opens, and then remove the CD and the floppy disk.
(Alex's Addition: You may have to wait another 30 minutes from this point for the update to finish installing. The LED indicators sequentially flash, then illuminate solid, left to right.)
Richard Zajac reached out because his update had been interrupted during a lightning storm. He was unable to get his piano to connect to the piano, and he was unable to update it or reapply the update. The proper solution was to reimage the hard disk inside the control center. This is a technical solution, to be sure, but he took the opportunity to update the hard disk inside his control center at the same time. You can read about upgrading or replacing a corrupted Mark IV control center hard disk here.
Yamaha Disklaviers are an innovative fusion of digital and acoustic engineering. They allow you to experience famous, concert pianists performing right in your living room, on your piano. They’re an excellent tool for both entertainment and for learning. And of course, they’re just fun to watch. Take a look at this beautiful 2009 Yamaha GC1 Disklavier playing Billy Joel’s Piano Man that I recorded last summer.
They do have one drawback: Connecting them to Wi-Fi networks can be confusing and difficult. Yamaha provides the UD-WL01 adapter, but this is not an intuitive device: Is your Disklavier acting as an access point for other devices, or is it connecting to your Wi-Fi as a client? Is it doing both? Can you tell from the instructions what you’re expected to do, and how you’re supposed to use the Disklavier and connect to the internet at the same time?
I’m sharing an incredibly elegant, simple way to hook up Yamaha Disklaviers. You don’t have to worry about reconnecting it if you change your Wi-Fi password or buy a new router. You can set it up quickly, and it works in most houses.
These devices allow you to network through the electrical lines in a house. Your piano will believe it has a physical connection, and you won’t need to do any further configuration!
These devices are effortless to use once they’re paired: All you have to do to keep your piano connected is plug them in!
Make certain that the adapters are plugged directly into outlets, or into the surge protector below. Power conditioners, universal power supplies, or even higher-end surge protectors interfere with their signal. Similarly, they must be plugged into circuits that are in the same breaker box. Multiple breaker boxes or sub-panels can interfere with the signal.
This is an 8-foot extension cord with a three port power strip on the end. It calls itself a surge protector, but doesn’t do any regulation or conditioning which might interfere with the NexusLink signal.
I did a tear-down of the device to make sure there were no surprises: Surge protection is achieved through a metal oxide varistor, and there is no voltage regulation beyond that.
With piano work, subtlety is a must. Anywhere black or concealed equipment can be used, I use it. Three foot cords have always been more than enough for me. In many installations, I’ll even use one foot cords. More cord just means more to hide.
These are strong, interlocking fasteners that aren’t vulnerable to vibration, and are strong enough to hold up the end of the extension cord. I’ve also used very large (2′) zip ties wrapped around the beams underneath the piano, and these work well.
Installation
1. Prepare and Pair NexusLink Adapters Beforehand
Remove the two NexusLink Adapters from their box and plug them both into the outlets where you intend for them to go. One will be next to the router and, and the other will be plugged into the extension cord you intend to put underneath the piano. No Ethernet connections are necessary at this time.
If the green connection lights on your NexusLinks turn on (the top light on each adapter), that means they’ve found one another, and are now communicating through your household power. Great!
Now you can secure their connection to each other. On the bottom of each unit (near the Ethernet jack) there’s a small configuration button. Hold it down for three seconds, and the bottom of the three lights—labeled with a padlock—will begin to blink. Now press the same button on the other NexusLink for three seconds. After a short period of time, the padlock lights will turn solid. Then, some seconds later, the connection lights should turn solid as well.
These two NexusLinks are now a permanently bonded pair. No matter where you put them, they’ll find one another. In fact, they’re so tightly paired that they’ll even ignore other NexusLinks.
With the Disklavier turned off, unplug the Disklavier.
Pick a good spot to mount the power strip underneath the piano. This is usually parallel to the floor on the side of one of the wooden beams adjacent to the Disklavier controller. (Also, make certain if there is a Dampp-Chaser installed, make sure the NexusLink isn’t near the humidistat, where the small amount of heat it produces might cause less accurate readings.)
Wipe the area down with alcohol. Take two pieces of your Scotch Interlocking Fastener and, after removing the backing, affix both to the back of the power strip. Mount the power strip to the beam.
If possible, try to route the power cord over a beam. This will keep it a more secure in the event it gets pulled on. You can even loop it around the beam once if you have enough cord.
3. Plug everything in
Plug your other NexusLink Powerline Ethernet Adapter into the bottom port of the three of your power strip. Run a short length of Ethernet cord to your Disklavier controller. If possible, loop the Ethernet cord up over the beam to apply a bit of tension. Pianos produce plenty of shaking and vibration, so keep things as secure as possible. Use no more cable than you need.
Now plug the Disklavier power into the power strip (and the Dampp-Chaser as well if one is installed). This extension cord is comfortably rated for the power consumption of all three devices.
At this time, both the green connection lights should be on, and both the padlock lights, meaning the NexusLink Adapters have discovered one another. If this isn’t the case, skip to the troubleshooting below.
Use zip-ties, twist ties, and other appropriate cable management to bundle everything up and out of sight. Stick-on conduit can be used to run cords along the beams if precise positioning is needed, such as if the piano is positioned next to a low couch or somewhere else people might easily see underneath. I’ll actually sit in various chairs in the room and look at the piano.
You’re all done! If it doesn’t work immediately, read on.
No connection! What went wrong?
First: It’s probably a power strip or Universal Power Supply (UPS)
Do not plug either Powerline adapter into a power strip or surge protector if you can avoid it. These often filter out the signal. Only simple power strips (like the GE one I recommend) will not block the signal. When in doubt, plug directly into the wall. And don’t forget to check the adapter that’s near your router. This also needs to be plugged directly into the wall.
Second: It might be the outlet
If the outlet isn’t receiving power, it won’t work. Make sure that the outlet can power other devices, and that it isn’t controlled by a switch.
Third: It might be the breaker boxes
If the house has multiple breaker boxes, then the devices might not be able to see each other. In this case, try different outlets. You can try changing outlets both near the piano and near the router.
If none of the available outlets work, you’ll need to try a different approach. This article is specifically on the Powerline adapter technique, but you’ll need to consider using a Wi-Fi bridge, since the Powerline adapters won’t work for you.
Has it been working for a while, but suddenly stopped?
As with many other pieces of sensitive electronics, if it’s been behaving and suddenly stops, you should power cycle the devices. Unplug each Powerline adapter in turn and plug it back in. If that doesn’t work, pair the adapters again in the manner described in step one.