Upgrades for your Yamaha Disklavier—Where to Start?
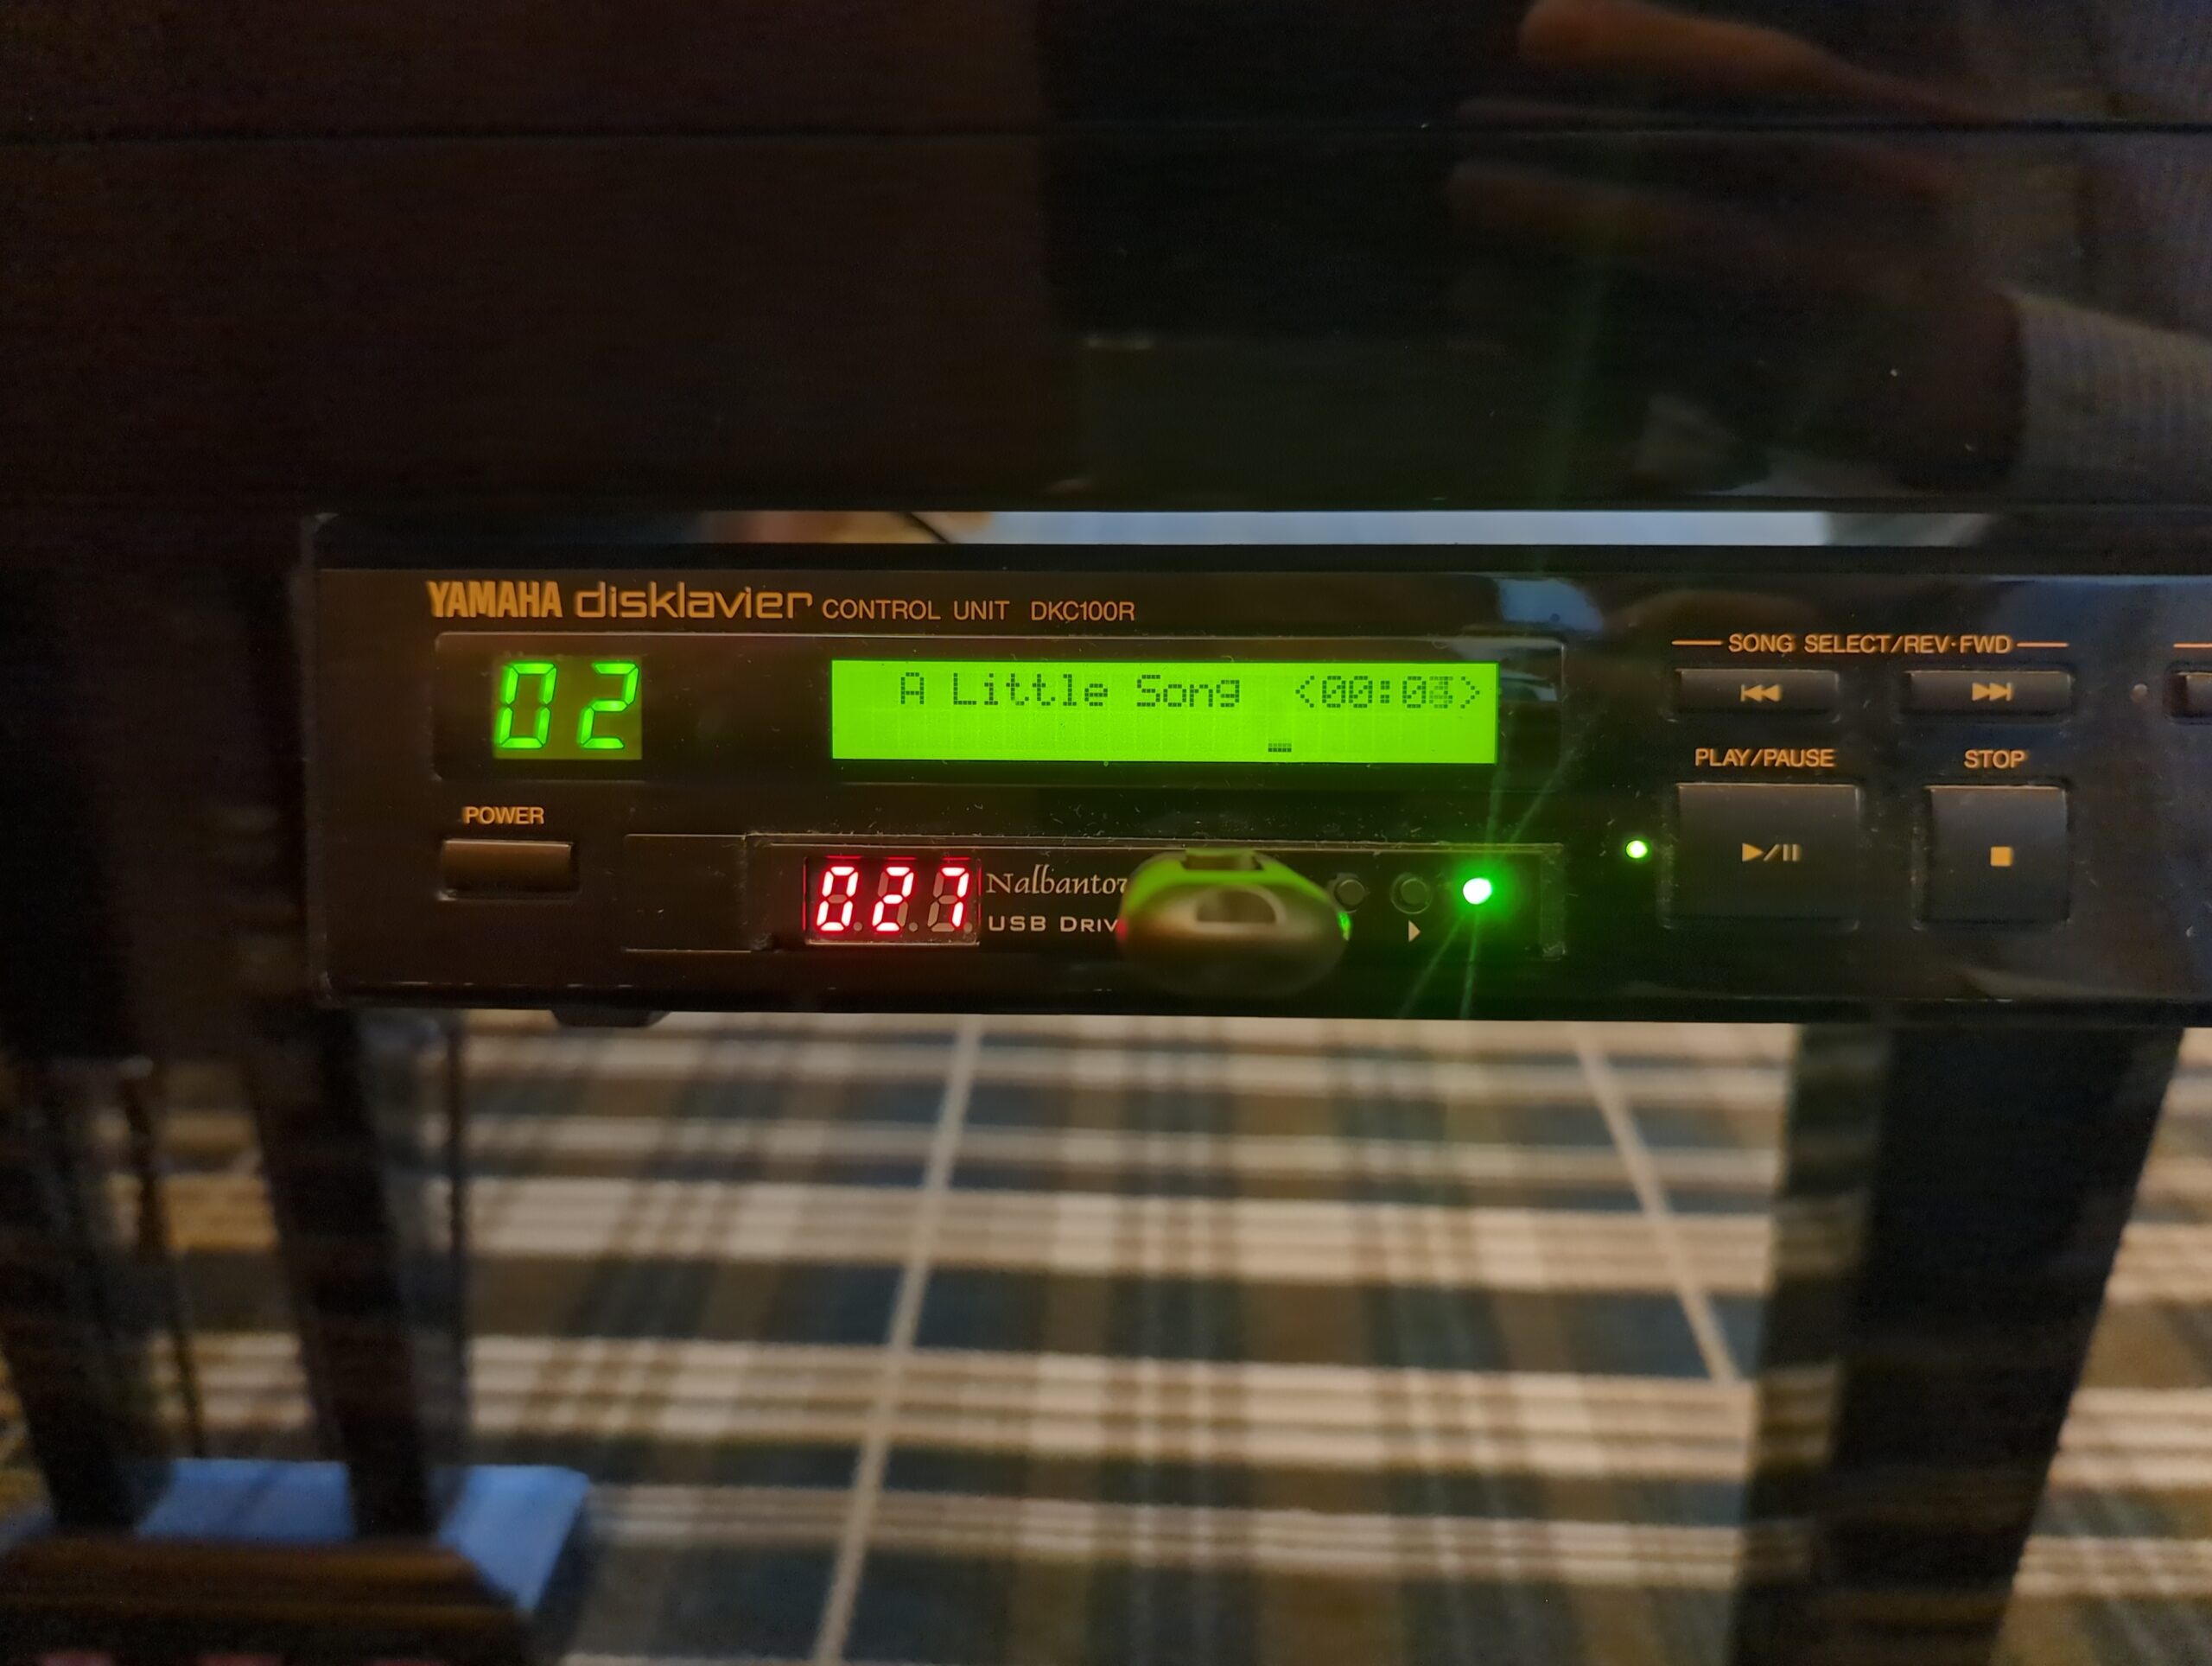
Start planning Yamaha Disklavier upgrades, from PianoStream and Nalbantov emulators to DKC-850, DKC-900, power supplies, LCDs, and firmware.
Start planning Yamaha Disklavier upgrades, from PianoStream and Nalbantov emulators to DKC-850, DKC-900, power supplies, LCDs, and firmware.
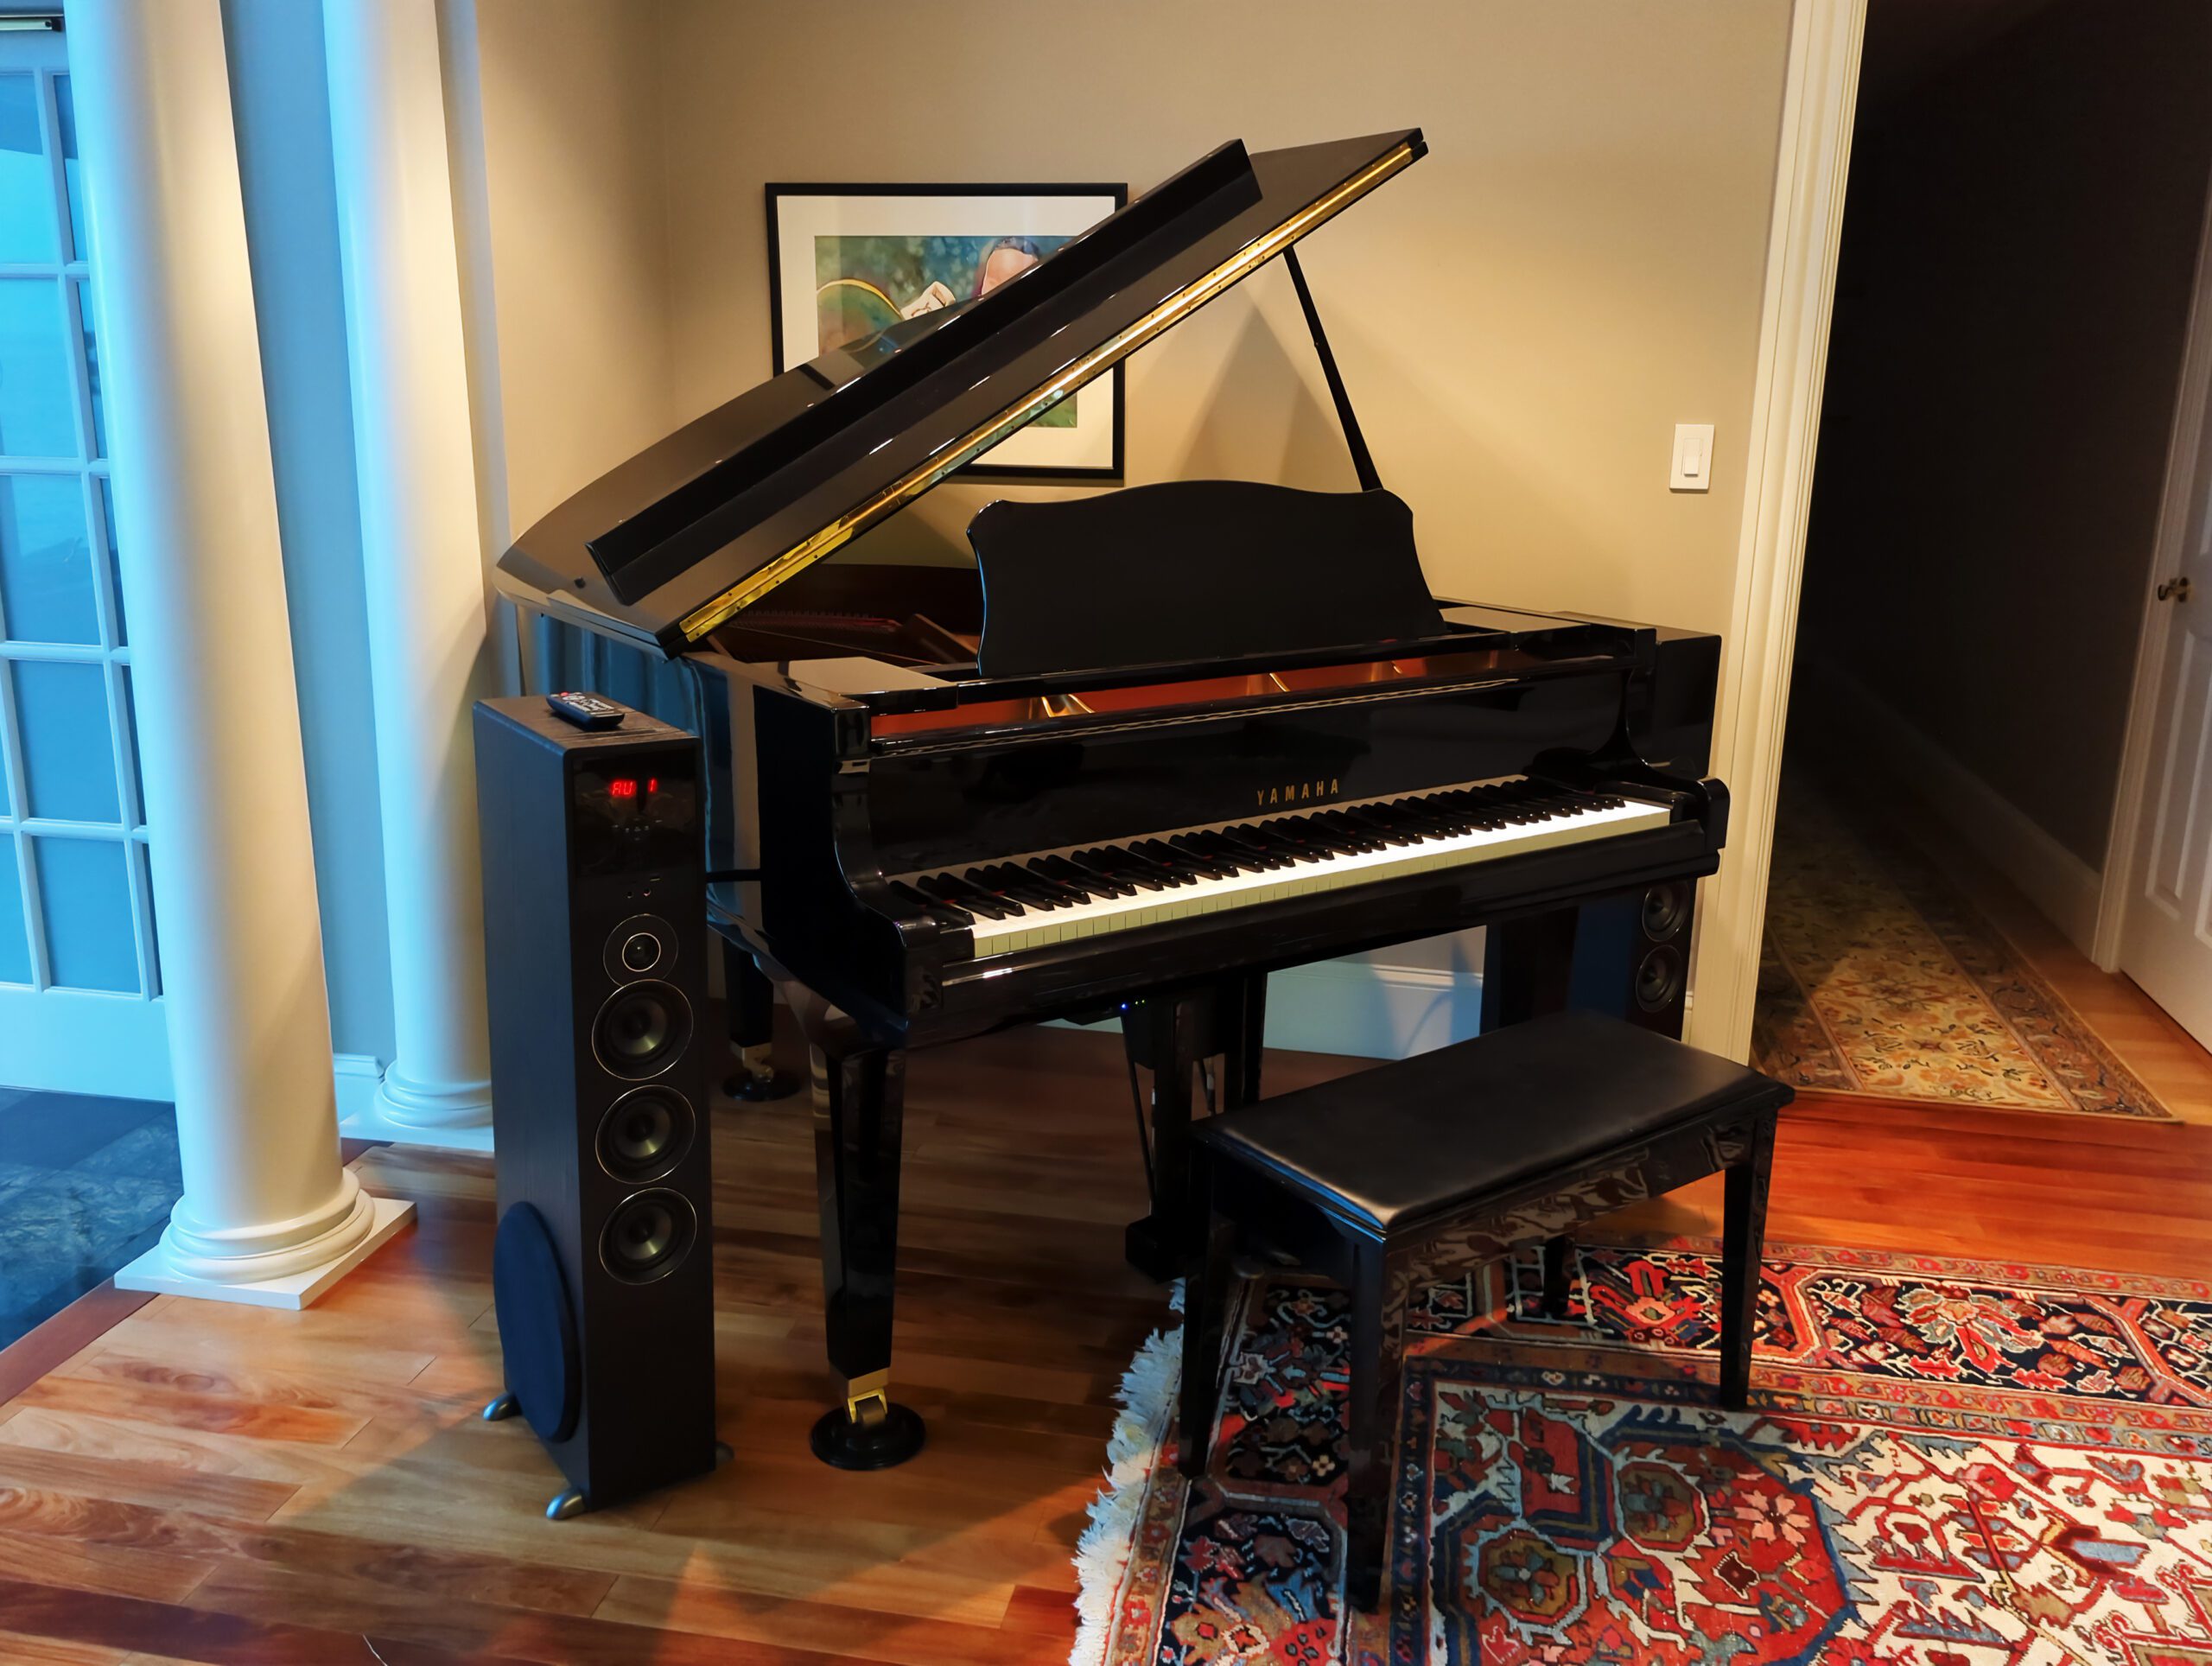
Use external speakers, Sonos, or upgrades with Yamaha Disklaviers for louder ensemble playback, better audio, and modern streaming options.