Yamaha CLP-370 with Sticking, Clunking, and Dead Keys

Today I’m sharing a few pictures of a repair on a Yamaha CLP-370 with sticking keys, clunking sounds, and dead keys. But this could happen on most Yamaha Clavinovas. See my Digital Keyboard FAQs for more!

Hammer Rest Felt (Sticking and Clunking)

One of the most common complaints I receive from customers is that their keys are making a noisy thunk when the release them.

This is typically caused by worn key felts, and in particular, a worn hammer rest felt. In fact, this problem is nearly ubiquitous in Clavinovas, and many Yamaha portables, that are over a decade old. And of course, this wear can be dramatically worsened by spills or foreign substances finding their way into the keyboard!

Just a friendly reminder not to set your soda on your valuable Clavinova!

This particular CLP-370 had a soda spilled in it, which also meant that several keys were sticking quite badly. In the CLP-370, this is part V7640101, and is readily available through Syntaur. See below the difference between the original hammer rest felt, and the replacement:

Oh boy! That's one worn hammer rest felt. The worn felt is below, with the replacement above it.
Oh boy! That’s one worn hammer rest felt. The worn felt is, obviously, below, with the replacement above it.

And the Dead Keys

Yamaha Clavinovas and, in fact, most digital keyboard instruments, use contacts underneath the keys to sense how quickly you press them. If those contacts misbehave, they can either imagine you’re playing at maximum intensity, all the time, or they can miss that you’re playing at all! In this case, the Clavinova wasn’t registered key presses at all.

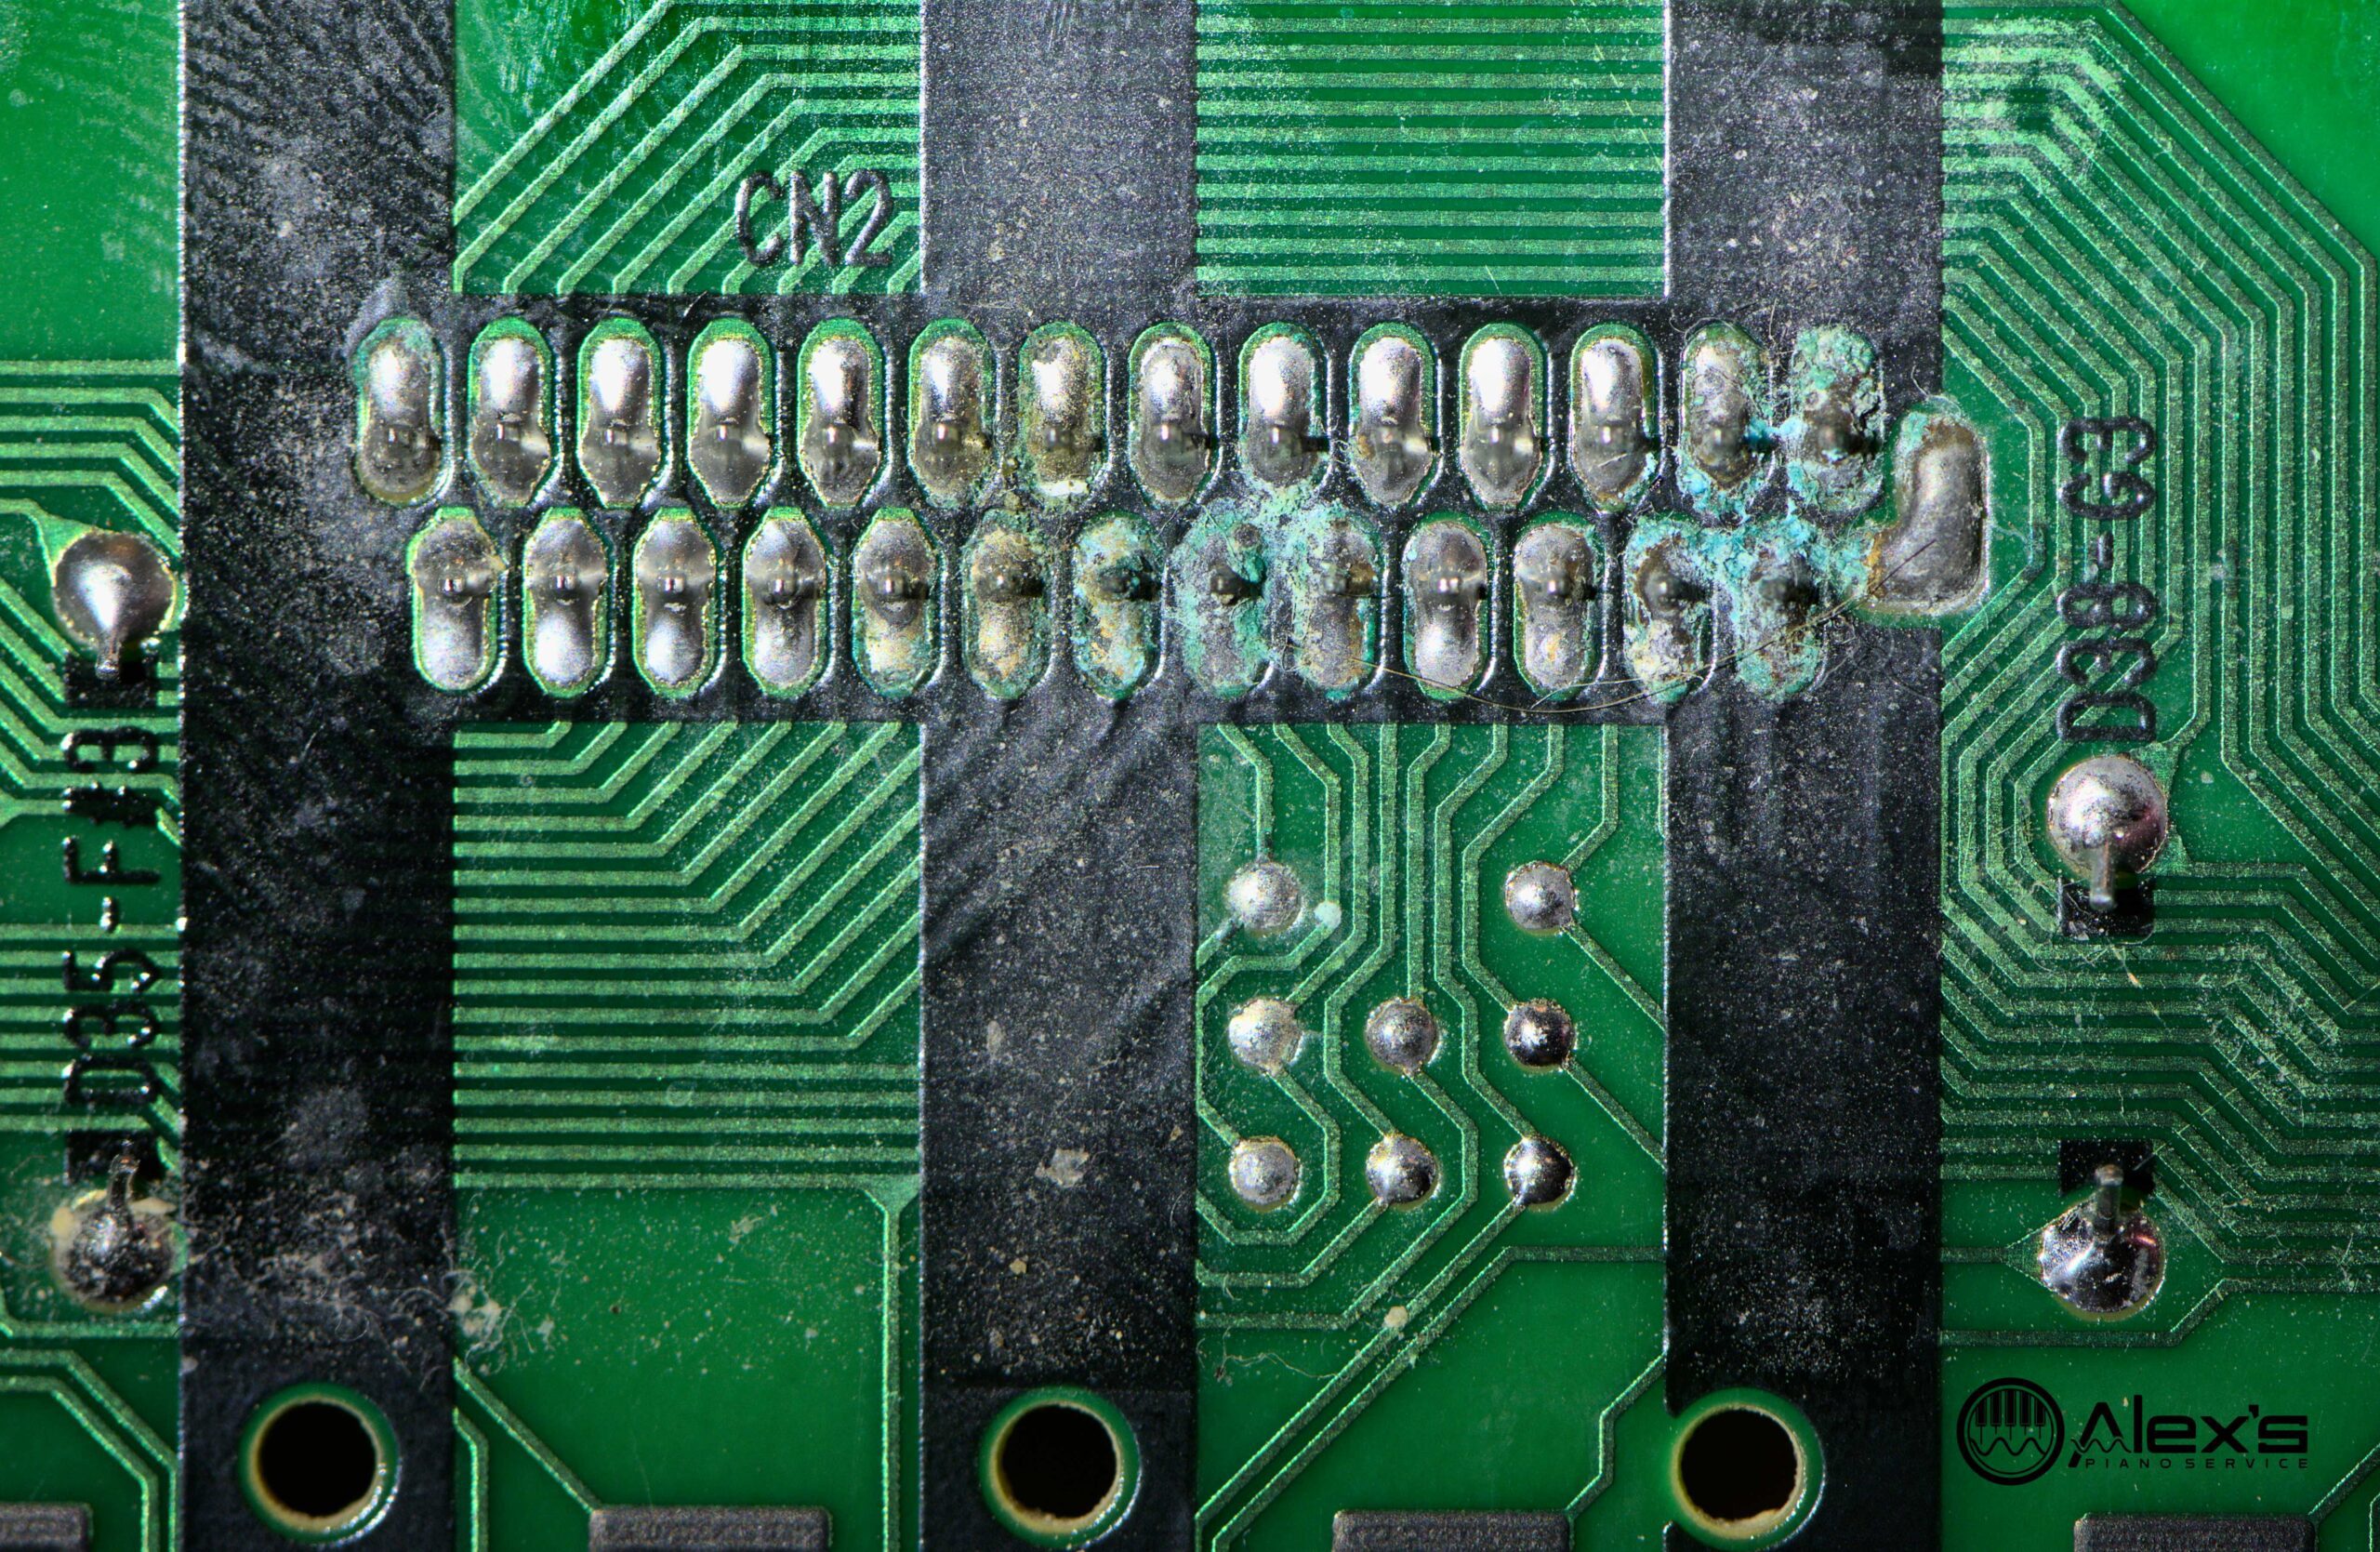
On disassembly, I observed that soda had found its way onto the contact circuit boards. See the image below:

A closeup of a soda spill on the vias. Exposed Yamaha contacts can be seen mere millimeters away.

Here’s a closeup of some similar damage on a Yamaha P-125:

A closeup of a Yamaha contact from another angle. Here, you can see pocking in the trace underneath the surface of the circuit board. A little bit of a rust on a solder joint stands out like a flag to help locate the damage.

Depending on where the damage is located, it can be cleaned and bypassed. It’s often less time-consuming (and more permanent) to replace the contact board.

A closeup of a corroded connection on the center circuit board of the P-125 referenced above.