I’m often asked by clients how to clean their pianos safely without dulling the finish or hurting the action. This short guide distills the tips I give on service calls in one easy-to-reference list.
If you’re unsure about any cleaning procedure, you should contact your piano technician.
Some links in this article are affiliate links. As an Amazon Associate I earn from qualifying purchases. Your click fuels hours of reviewing old service manuals—at zero added cost to you.
How do I clean my keys?
If you search for “how to clean piano keys,” you’ll find a thousand confident answers… and a lot of ways to accidentally create sticky keys, stained ivory, or micro-cracks in keytops. This guide is simple, conservative, and aligned with major manufacturer and Piano Technicians Guild (PTG) guidance.1,2,3,4,5,6
In short, use a barely-damp cloth, clean back-to-front, do only a few keys at a time, and dry immediately. Avoid turning your piano into a chemistry experiment.1,2,3
Don’t let moisture run down the sides of the keys or drip between them.1,2 That’s how people “clean” their way into sticky keys. Some key tops and the wooden keys themselves are very sensitive to moisture.
If you’re looking for a slightly stronger solution, my favorite key cleaner is Cory Key-Brite. Cory makes an excellent line of both cleaners and polishes, several of which are indispensable for routine piano cleaning. Always spray it onto the cloth—never directly onto the keys.1,2
Modern plastic keytops
The general method above is appropriate for routine cleaning. The biggest risk is still moisture getting between keys.
Ivory keytops (older uprights and grands)
Ivory is porous and more sensitive to moisture and staining.1 For ivory, I recommend being extra conservative:
- Use less moisture than you think you need.
- Use plain water first; only add a trace of mild soap if needed.
- Use a clean white cloth (bright/dark dyes can transfer).
- Dry immediately, every few keys.1
If your ivory is loose, chipped, or separating at the seams, stop and call a technician—cleaning can make a fragile keytop worse. Cory Key-Brite is still safe and effective for ivory keytops when used sparingly.
“Matte” / textured / synthetic-ivory keys (common on digital pianos)
Matte and textured finishes can hold skin oils in the texture, so gentle and frequent cleaning is better than aggressive scrubbing. Avoid strong chemicals.3,4,5,6
Manufacturer/organization guidance on disinfection
Over the past few years, the topic of disinfecting piano keys has become more popular. However, most popular disinfectants are risky to use on piano keys. I’ve put together a short list of manufacturer guidance.
Too much information? Here’s the short version: Most manufacturers support using damp cloths, gentle cleaners, and washing your hands with antibacterial soap rather than the keys. Some allow for the limited use of hydrogen peroxide.
Yamaha’s “How to Clean Piano Keys” warns against cleaners or wipes containing ingredients like alcohol (isopropyl), chlorine, ethanol, benzene, peroxide, or salts, and recommends a microfiber + mild dish soap method; it also notes that “popular disinfectants” may damage key surfaces over time.3
Kawai’s “How do I care for my Kawai digital piano?” and “Can I use alcohol to disinfect my Kawai piano?” advises refraining from alcohol, benzine, thinner, chlorine bleach, etc., and for digital pianos recommends a soft dry cloth or a tightly-wrung damp cloth followed by immediate drying.4
Steinway & Sons’ “Cleaning Your Piano” states that over-the-counter hydrogen peroxide is safe for keys and describes wiping keytops back-to-front; it also discusses using diluted alcohol-based disinfectants while avoiding bleach-based and citrus products, and emphasizes applying liquid to the cloth (not the piano) and drying afterward.2
Piano Technicians Guild (PTG) recommends damp cloth cleaning with immediate drying, mild soap if needed, avoiding solvents, cleaning back-to-front, doing only a few keys at a time, using a separate cloth for painted sharps, and being cautious with ivory due to porosity and moisture sensitivity.1
Roland’s cleaning/disinfecting guidance recommends non-alcohol disinfecting sheets, then wiping dry with a soft wrung-out cloth, and says to refrain from alcohol or chlorine-based disinfectants that can cause discoloration/cracks.5
Casio’s “Sterilization and Disinfection” includes similar guidance in support docs/manuals. Use non-alcohol sanitizing wipes, wipe dry, and avoid cleaning agents/disinfectants containing benzene/organic solvents/alcohol that can cause discoloration or cracking.6
How do I clean the case or body of the piano?
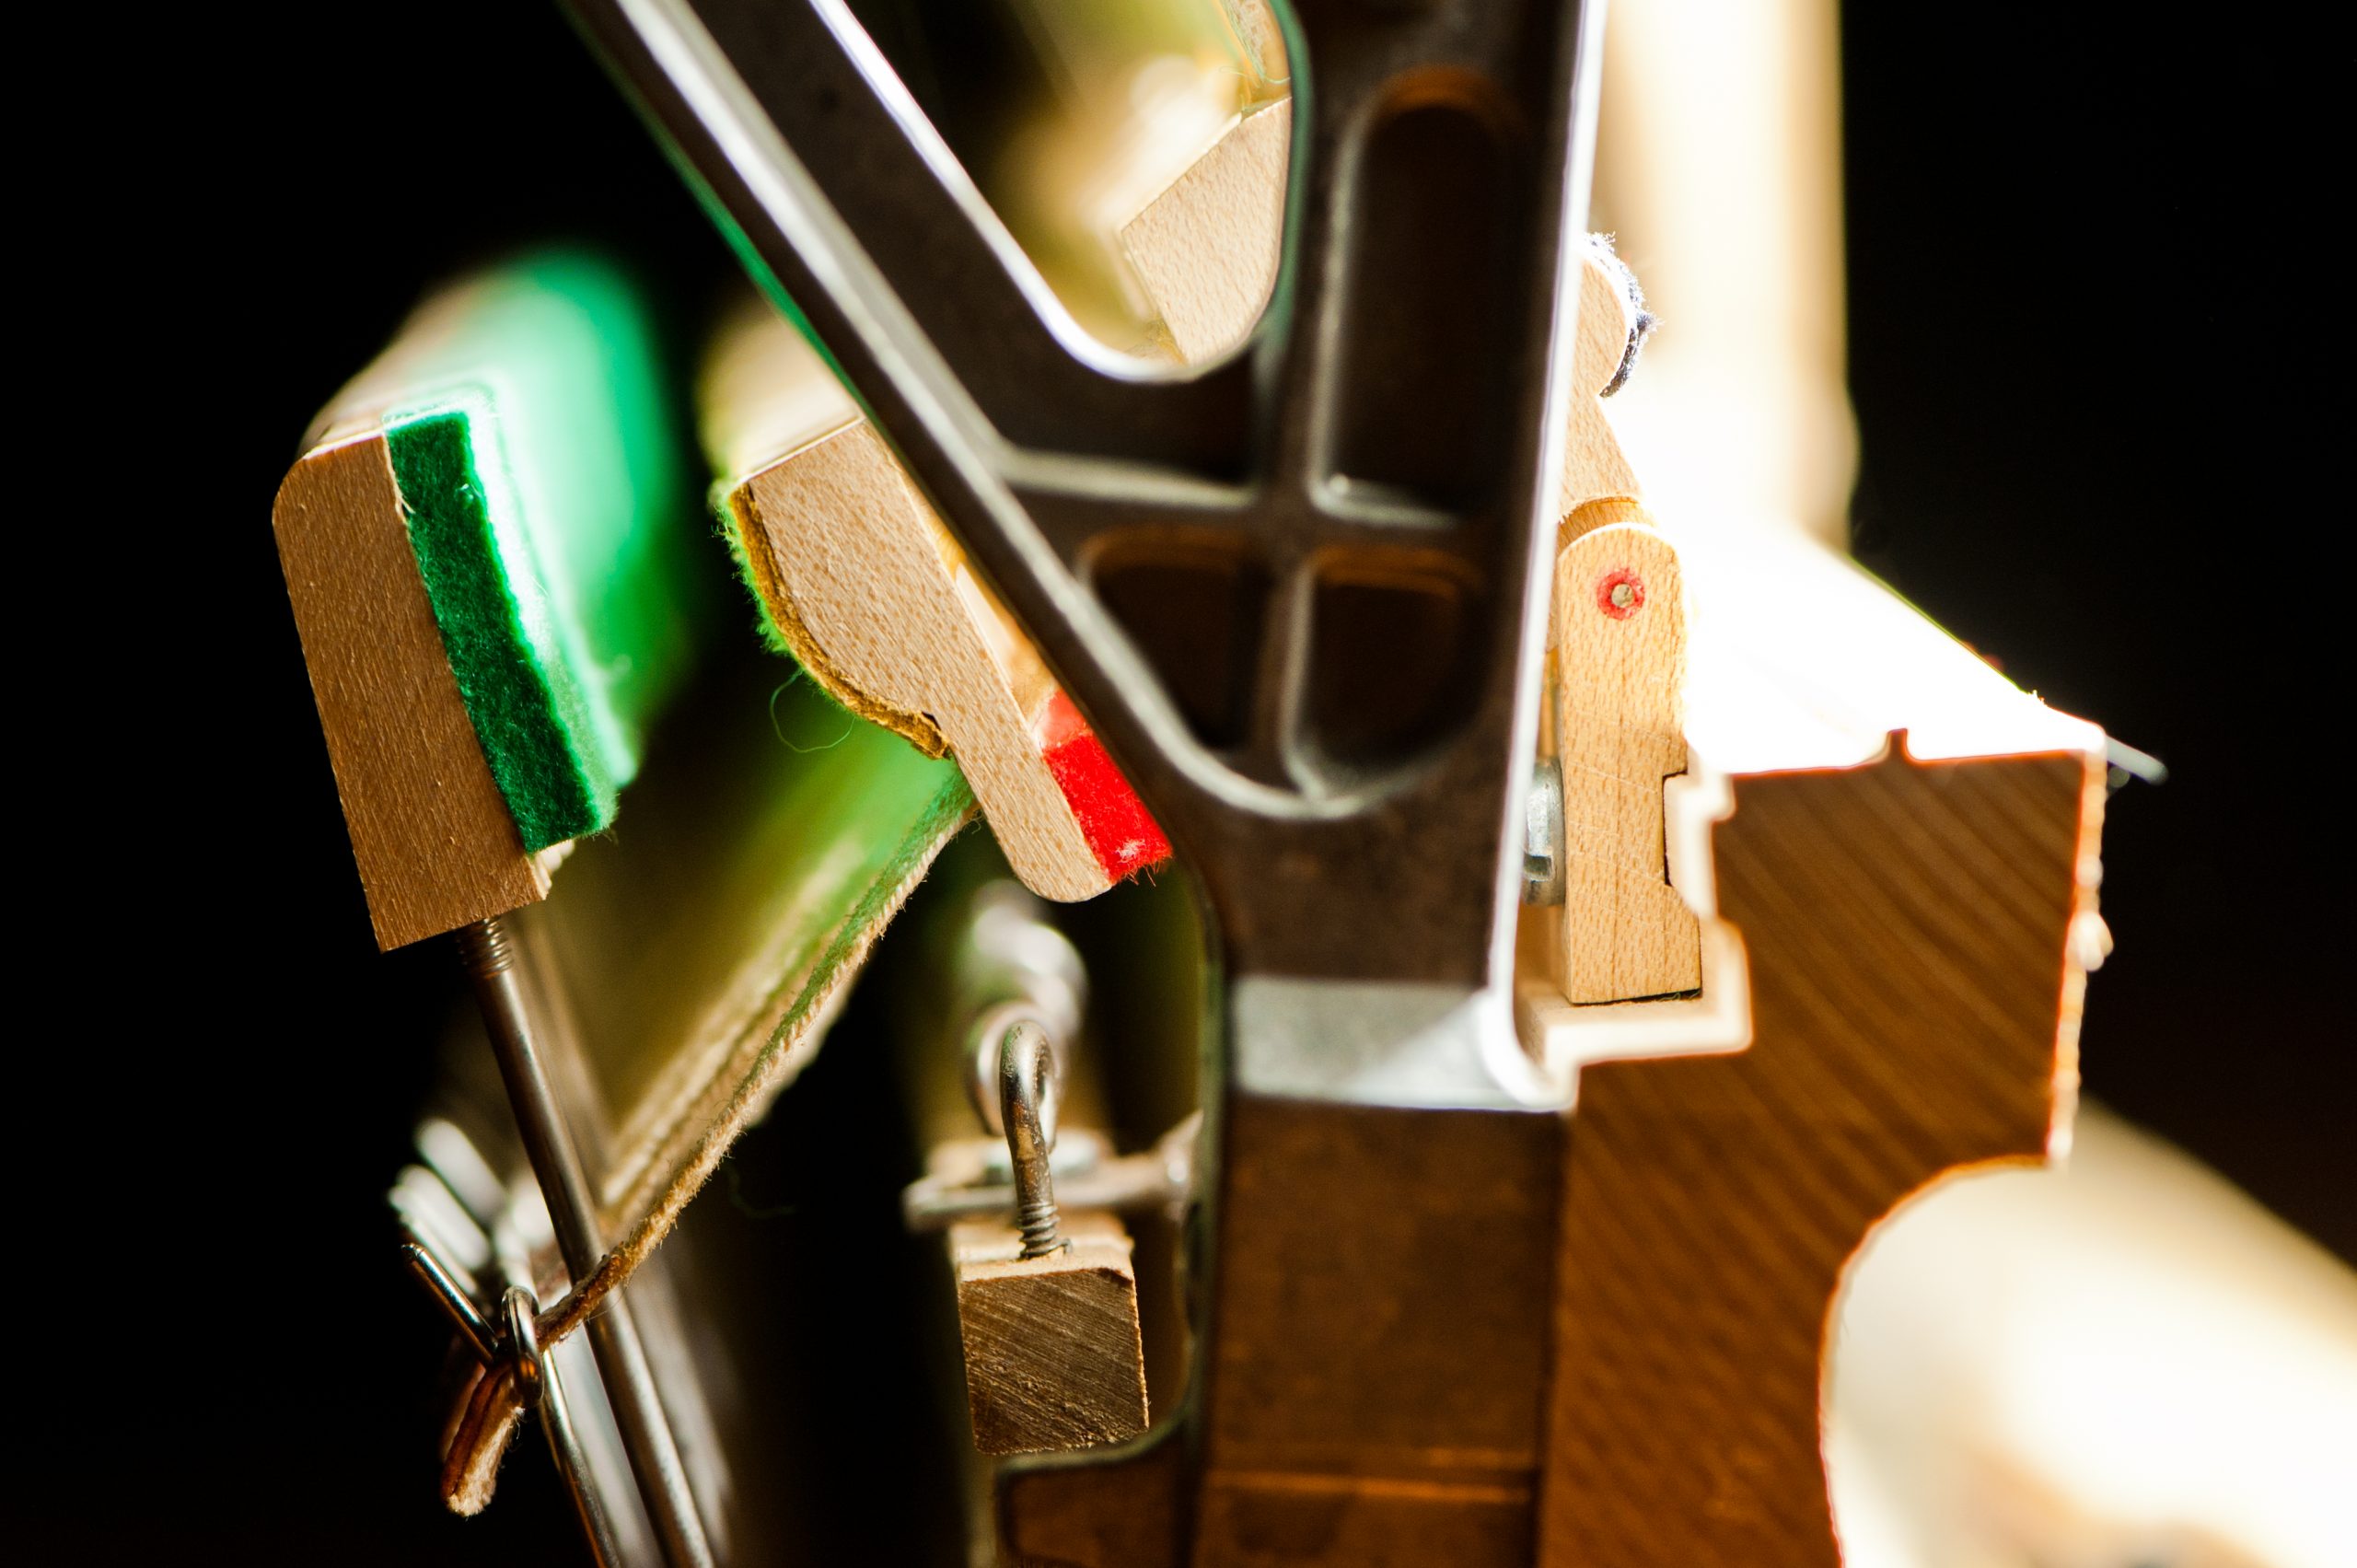
Microfiber cloths are the quickest, safest way to dust a piano’s exterior.1,2 If you have a high-gloss piano, it is worth investing in Cory Super High Gloss Polish, which can also be purchased at Starbird Piano in Portland or through me. You can purchase it on its own, or Cory also offers kits including key and case cleaners, polish, and cloths for either high-gloss pianos or satin finish pianos. Cory products are widely regarded as the safest products to use on your piano.
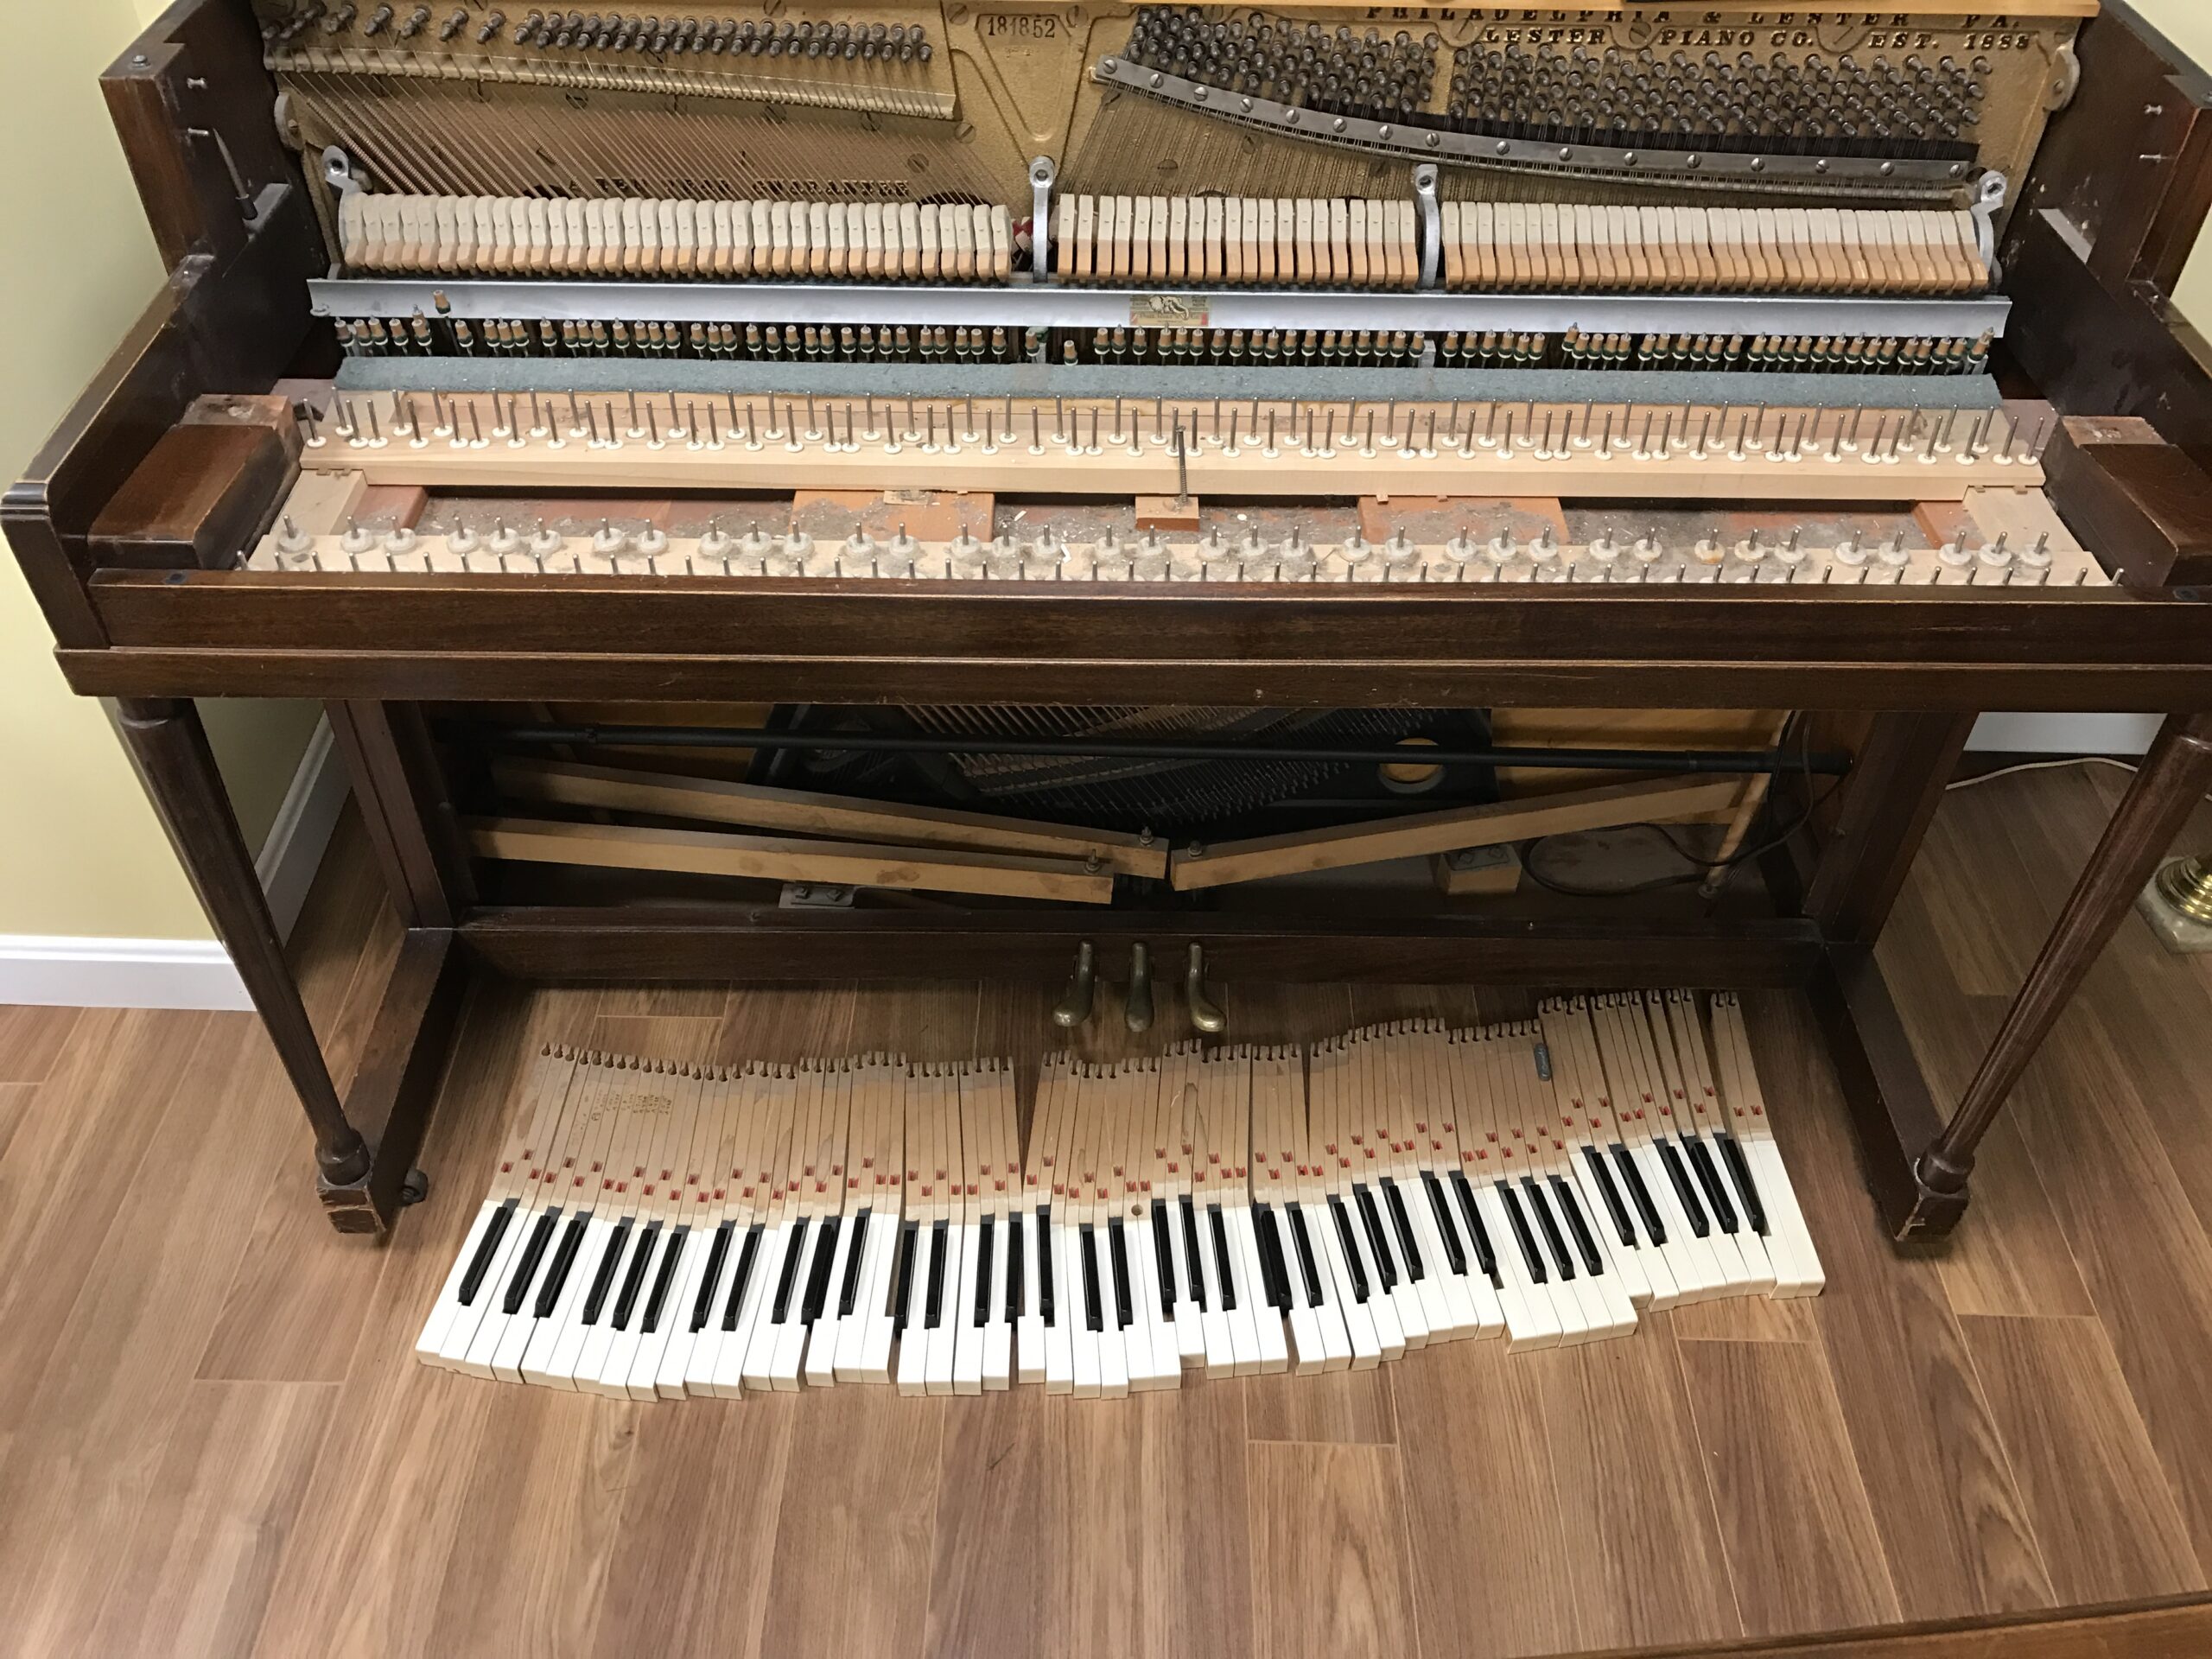
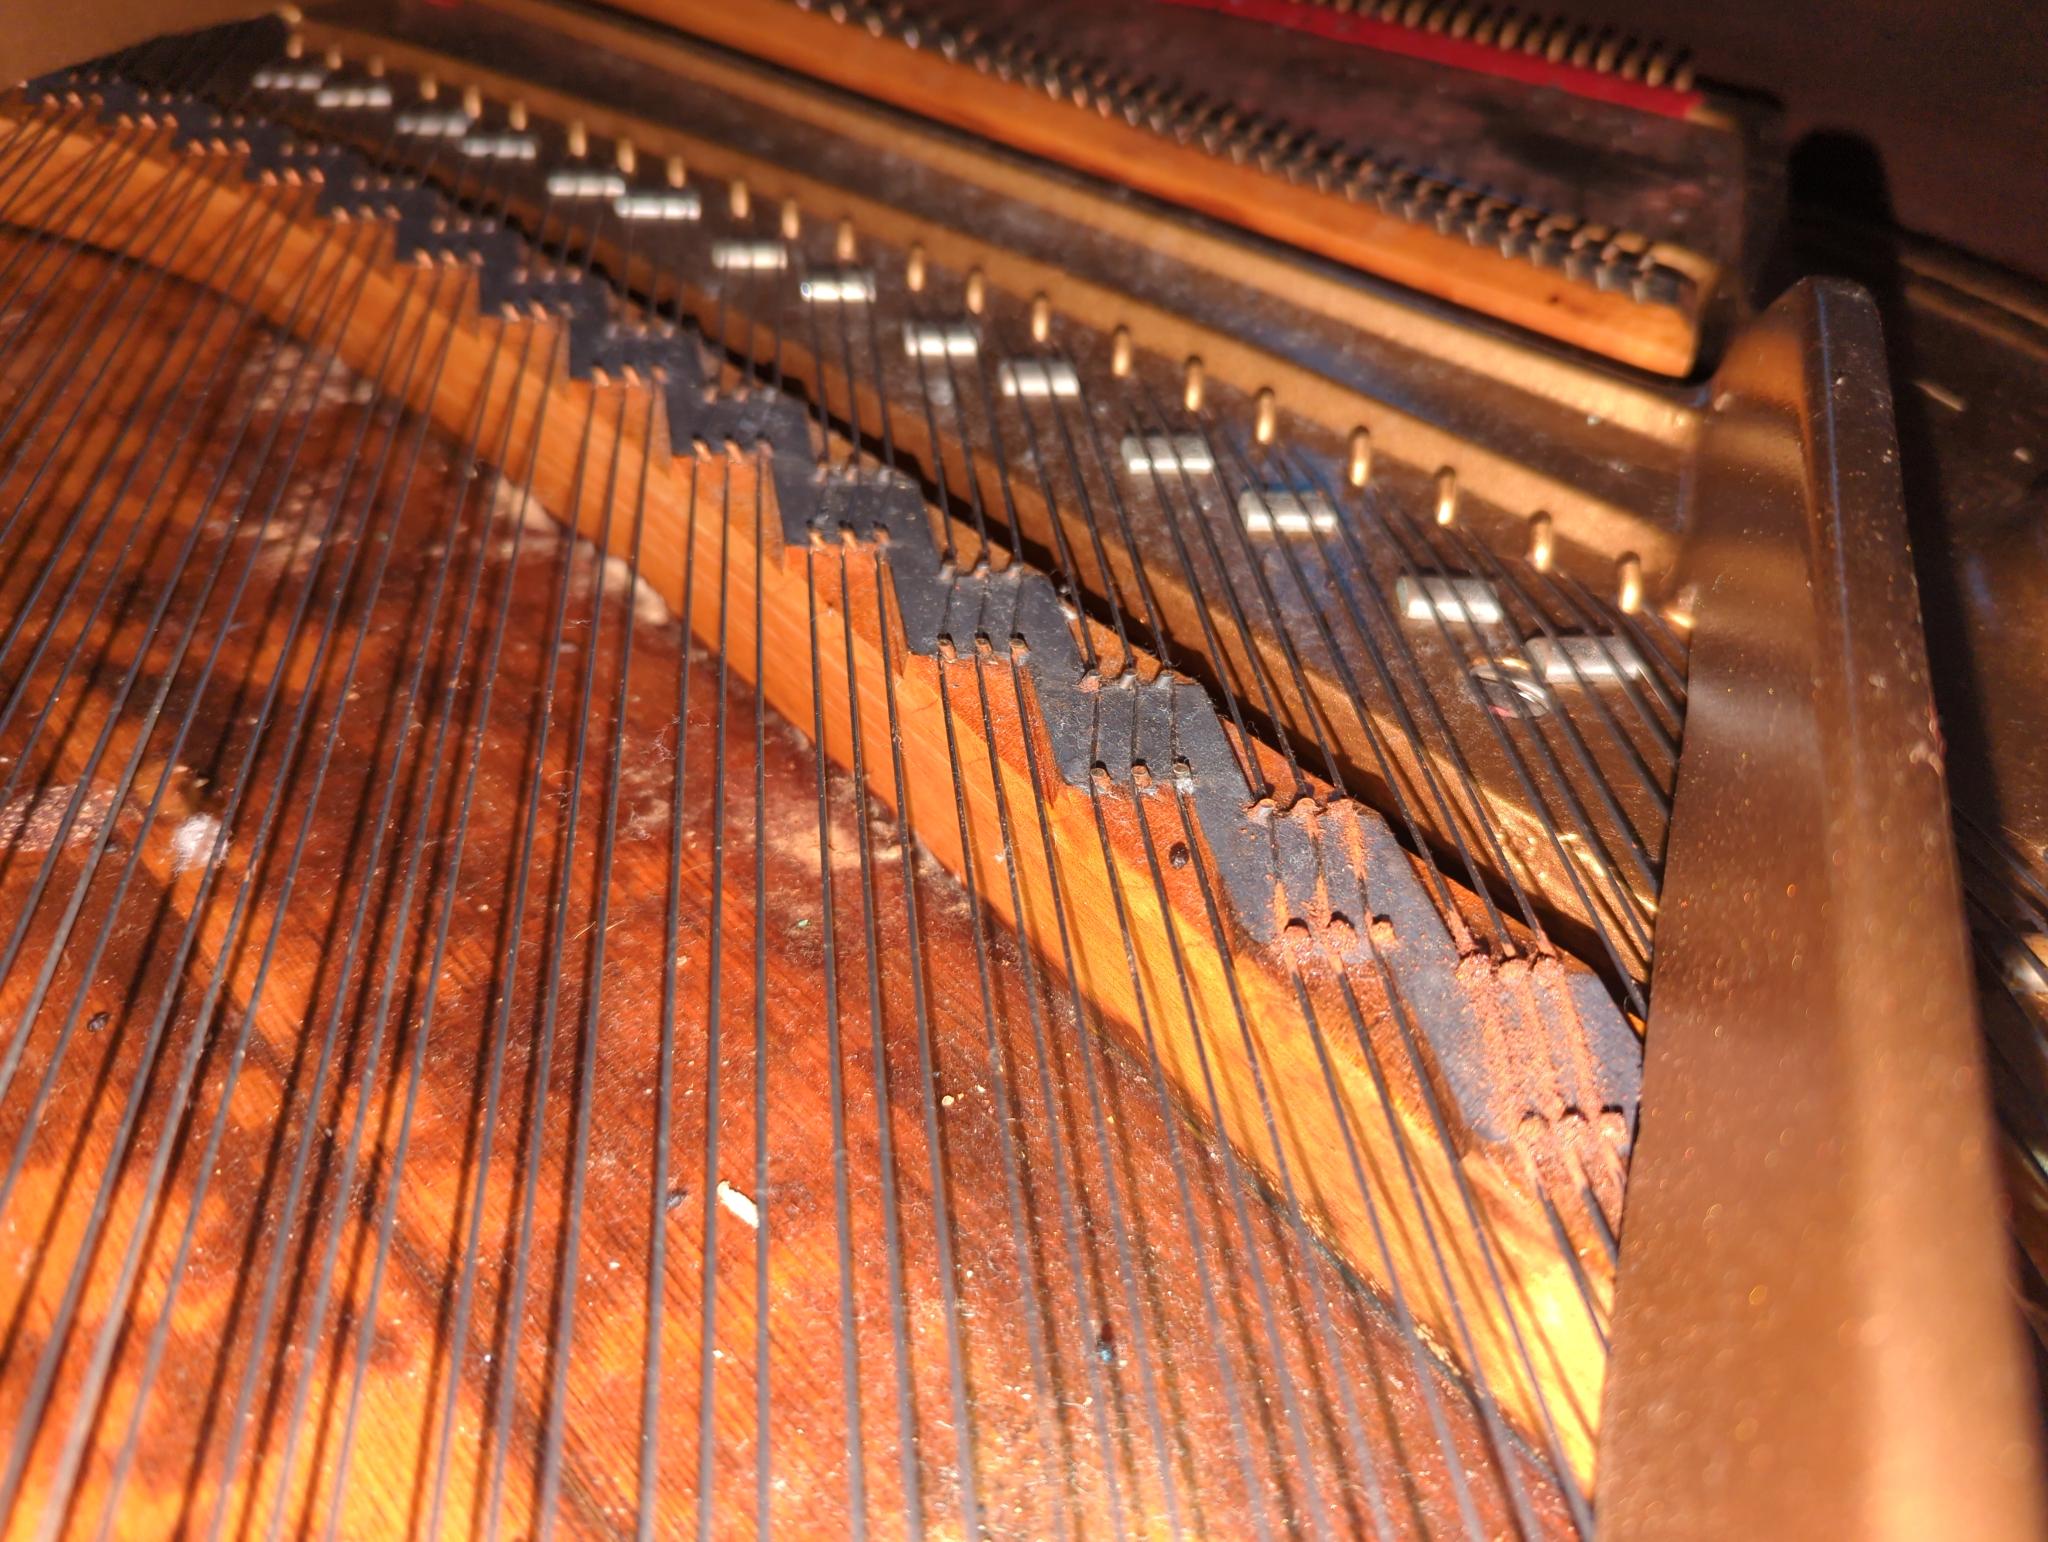
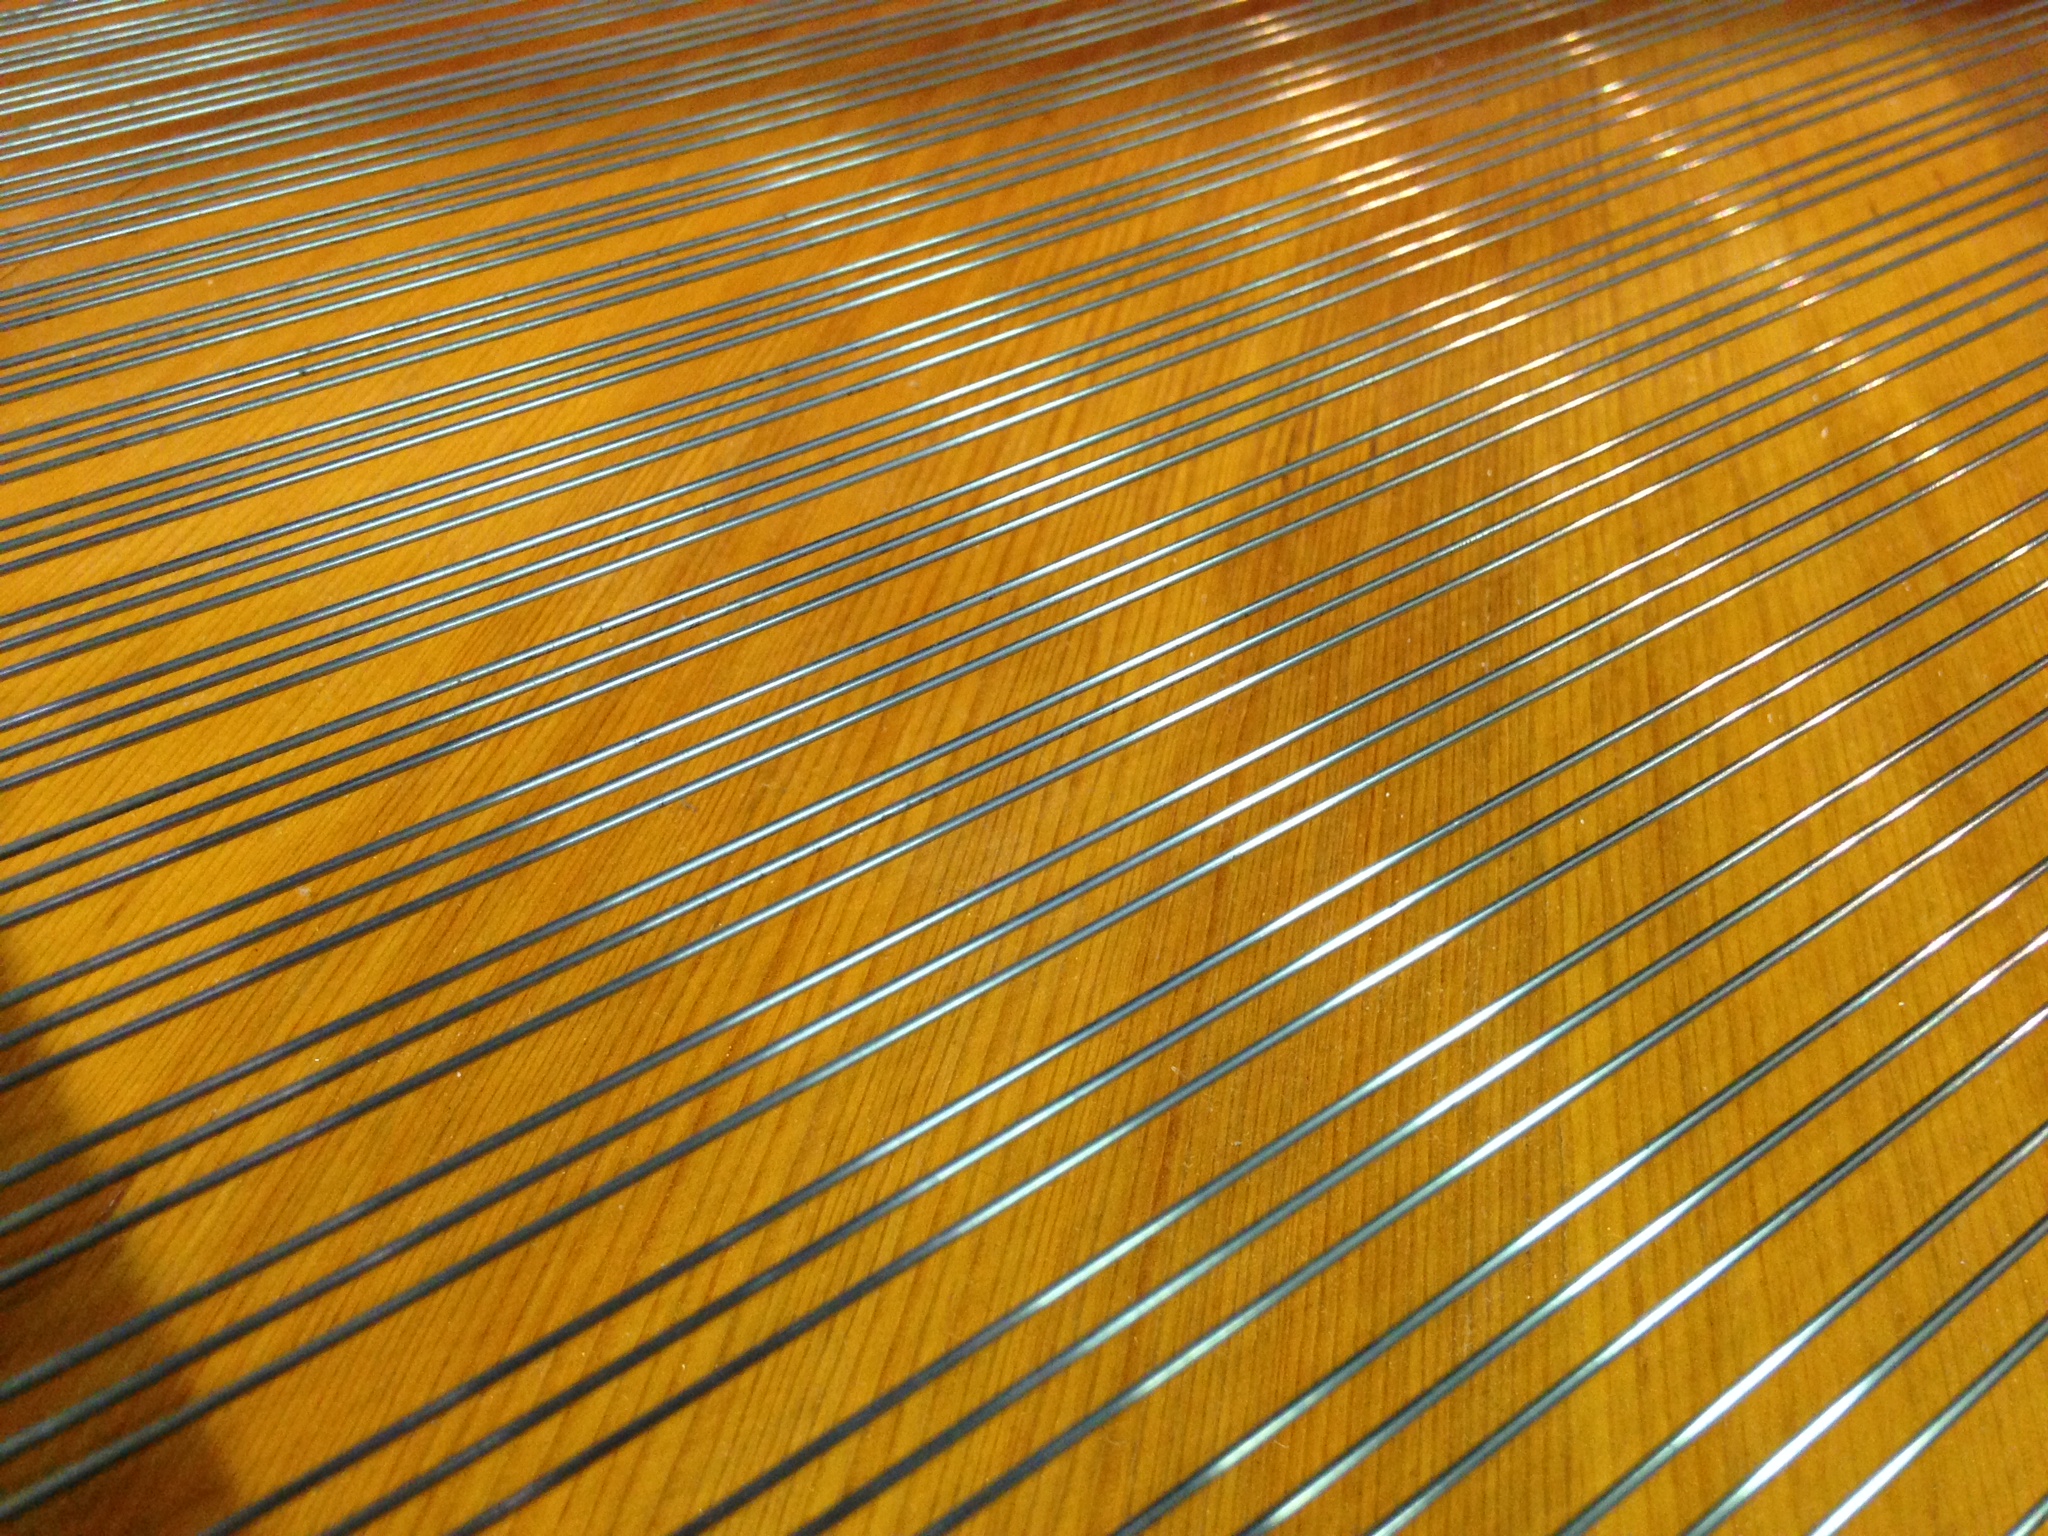
How do I clean a grand piano underneath the strings?
Cleaning underneath the strings and cast iron plate of a grand piano manually can be an involved process. This is a service I provide; however, if it is something you are interested in doing yourself, or you are located outside my service area, consider purchasing piano cleaning tools:
Spurlock Tool’s “Squeegee Type” Soundboard Cleaner is a very professional tool costing about $100.13 It will give you excellent and reliable results, without having to remove the lid of the piano. I especially recommend these tools if you have a venue or other location where cleaning is important and routine.
Soundboard steels are inexpensive, but they are a labor-intensive option that will require removing the lid of the piano for convenient access. If you have patience, this is an inexpensive solution.
I typically use a vacuum with a HEPA filter in conjunction with the Spurlock Tool’s Soundboard Cleaner mentioned above. I use the Atrix Omega Supreme: I carry the Atrix because, in addition to having a HEPA filter, it’s electrostatic-safe and can be used with keyboards and digital pianos. However, with an acoustic grand piano (as opposed to a Disklavier or hybrid), any vacuum with a HEPA filter will work.
Compressed air is a fast, easy solution, but it’s messy and spreads dust and debris. If it’s necessary, I carry a small MECO Eleverde air duster, because it delivers a strong, directed airflow without an external compressor.

My piano smells awful! What can I do?
The folk remedy for piano odor, which I learned working on consignments at Starbird Music, is to put dryer sheets inside the piano. This is effective for dealing with minor smoke odor. However, with any strong, offensive smell, it’s essential to find the source of the problem. Over the years, I’ve seen many pianos devastated by moths, mold, and mice. If you believe your piano has fallen victim to any of these, it needs a thorough and professional cleaning.
Often, in cases of mold, I will clean the piano out and then install a Dampp-Chaser dehumidifier system inside the piano to make sure the issue doesn’t return.
As always, verify that the humidity in and around the piano is in the optimal 42-45% range.1 See my guide to piano humidity for more information. If the humidity is high, there’s a much higher chance for smelly things to grow.7,8
You can also try Cory Piano Mold & Mildew Odor Eliminator, which advertises that it reduces smell associated with mold and mildew. However, this does not mean you can ignore the underlying issue.
Something fell in! Can you get it out?
Yes! This is a very common issue. I’ve removed everything from pens and pencils to guitar picks, model airplanes, drumsticks, and iPhones. In general, these objects won’t cause much trouble, aside from perhaps some clunking sounds. However, the object should be removed. Keep in mind that if you now have a key that feels “stuck,” then you absolutely should not force it. Have it removed at your next tuning by your tuner or technician.
If something wet spills inside your piano, then this is an emergency.1,7 You should get a technician there as soon as possible. Pianos are highly sensitive to moisture, and keys can warp if they get wet.
What can I do about mold?
Mold invades the felt and wood inside the piano. It can be extremely difficult to remove in older pianos where it has been allowed to flourish. Newer pianos are generally chemically treated, and mold invasions tend to be smaller in scale. In any mold invasion, the entire piano should be professionally cleaned and treated, with the action and keys removed.
Sunlight is the Best Disinfectant
If possible, the piano should be left disassembled and placed in direct sunlight for several days to kill the remaining mold.7,10 Direct sunlight dries things out, and the ultraviolet light is lethal to the mold. As a rule, pianos should have indirect sunlight, rather than direct; however, when it comes to killing and removing mold, you can make an exception.1
If your piano has high-gloss case parts, make sure to mask or cover them, or remove them where possible. Although UV light does kill mold, it also fades finishes.1,10
This option is only practical if the piano can be placed in a location where it receives direct sunlight, but is not otherwise exposed to the elements.
Clean With Hydrogen Peroxide
Hydrogen peroxide is my preferred choice for mold cleaning. It’s commonly used, similarly effective, and less corrosive.9 It’s less likely to damage the instrument when used appropriately. Finally, it’s less dangerous to you, as bleach emanates harmful fumes.9
The normal 3% hydrogen peroxide purchased at a grocery or drug store works well. This is the correct solution to use if you notice a spot or two that looks suspicious. In addition to being highly effective against mold, peroxide ultimately leaves behind nothing but oxygen.
Hydrogen peroxide is very effective at killing mold, but it should be handled with gloves, safety glasses, and caution. Long-term exposure to skin can be harmful. Keep it away from children and pets. Do not mix it with other cleaners such as ammonia or bleach.9
In my research, I’ve found 12% hydrogen peroxide is highly effective, but it requires much more cautious handling. Higher concentrations such as 12% should only be handled by professionals with appropriate PPE. For most owners, I strongly recommend sticking to 3% and having a technician handle deep mold cleaning. However, this is typically what I use when deep-cleaning mold.
Install a Dehumidifier
If you have mold, a dehumidification system must be installed directly inside the piano.1 You can either install an entire Dampp-Chaser® Piano Life Saver System, which keeps both the piano dehumidified and humidified when the weather is dry. Or you can install their dehumidifier only system. The dehumidifier is all that’s necessary for controlling mold.
These work very well. They keep the relative humidity too low for mold to grow, and so provide a longer-term solution.7,8
See my page on Dampp-Chaser FAQ for more, or my price list if you’re interested in installing one locally in the state of Maine.
Monitor the Humidity
Consider a humidity monitor. This is a tiny sensor installed inside the piano, which will operate on battery power, and will set off an alarm (in the form of an email or text message) if the relative humidity exceeds a certain threshold (such as 80%). The Temp Stick is a particularly good choice. You’ll get an immediate alert if there’s the potential for mold to grow inside the cabinet, and can correct it quickly. Most likely, this would happen if the dehumidifier were unplugged.
This device allows us to trust that the dehumidifier is operating as intended. This is important, since you can’t actually see or hear the device, people might accidentally unplug it, and so forth. I have a few recommendations for good quality hygrometers. But the main thing is that you get a decent one that you can actually trust.
What about mice?
Mice can do colossal damage. Newer pianos tend to be safer because of their chemical mold treatments, but large, unattended mouse populations can still be very destructive. In older pianos, if the colony nests inside the piano, the damage can be terminal.
The initial response is a total cleaning and an evaluation of the damage to moving parts.11 Mouse urine can cause warping, sticking keys, and mold. Once all visible evidence is removed and parts are replaced, there are two possible forms of prevention.
You can discourage mice using natural products. The piano interior can be scrubbed with a solution containing peppermint oil, and a cloth saturated with peppermint oil left in the bottom. Another highly rated chemical repellent is Grandpa Gus’s Mouse Repellent. Any visible openings can then be covered with steel exclusion fabric.12
If you use poisons, use only reputable products, or those provided by a pest control service. Do not place poison near the piano itself. I once had a customer who soaked dog food in cyanide in an effort to kill his rodents. Legality and morality aside, this became quite a problem for me. The rodents chose to store several pounds of these poisonous nuggets in his player piano.
Some customers use ultrasonic rodent repellent, but I have none that I can recommend at this time. They do not seem to be effective as a long-term solution, although your results may vary.
Can I polish the strings?
Yes, it’s possible to polish the strings, although it’s not necessarily recommended.
Sometimes, piano dealers polish the strings using red 3M Scotch-Brite or other mild abrasives. Russell Berkley has a video sharing the use of Polita bars to polish strings. This can only be done to treble strings, not copper-wound bass strings, and will almost certainly throw the piano out of tune.
If your strings are regularly breaking or are severely rusty, it might be worth considering having your piano restrung by a rebuilder.
Citations
1Piano Technicians Guild. (n.d.). Piano care (cleaning keys, moisture cautions, sunlight, spills). https://www.ptg.org/piano-care
2Steinway & Sons. (n.d.). Cleaning your piano (key cleaning/disinfecting precautions). https://www.steinway.com/news/features/cleaning-your-piano
3Yamaha (The Hub). (n.d.). How to clean your piano keys (recommended methods and chemicals to avoid). https://hub.yamaha.com/pianos/p-how-to-clean-your-piano-keys/
4Kawai Global. (n.d.). Digital piano FAQ: Cleaning and care (what to use/avoid). https://www.kawai-global.com/support/faq/digital/?faq=516
5Roland Support. (n.d.). Cleaning and disinfecting the keyboard (recommended wipes; avoid alcohol/chlorine disinfectants). https://support.roland.com/hc/en-us/articles/360042303991-Cleaning-and-disinfecting-the-keyboard
6Casio Support. (n.d.). Cleaning/disinfecting keyboards (non-alcohol wipes; avoid solvents). https://support.casio.com/en/support/faq/article.php?cid=008&aid=654
7U.S. Environmental Protection Agency. (n.d.). A brief guide to mold, moisture, and your home (moisture control principles). https://www.epa.gov/mold/brief-guide-mold-moisture-and-your-home
8U.S. Environmental Protection Agency. (n.d.). Mold course, Chapter 2 (humidity and mold growth). https://www.epa.gov/mold/mold-course-chapter-2
9U.S. Environmental Protection Agency. (n.d.). Should I use bleach to clean mold? https://www.epa.gov/mold/should-i-use-bleach-clean-mold
10U.S. Environmental Protection Agency. (n.d.). Does ultraviolet (UV) radiation from UV lamps kill mold? https://www.epa.gov/mold/does-ultraviolet-uv-radiation-uv-lamps-kill-mold
11Centers for Disease Control and Prevention. (n.d.). Cleaning up after rodents (safe cleanup steps). https://www.cdc.gov/healthy-pets/rodent-control/clean-up.html
12National Park Service. (2019). Mechanical rodent proofing techniques (rodent exclusion manual). https://www.nps.gov/orgs/1103/upload/NPS-Rodent-Exclusion-Manual-Mechanical-Rodent-Proofing-Techniques_2019_508.pdf
13Spurlock Specialty Tools. (n.d.). Grand piano soundboard cleaners (tool purpose/use). https://spurlockspecialtytools.com/grand_piano_soundboard_cleaners.htm


We live in Mechanicsville MD. We have an upright piano belonging to my mother-in-law that is full of mustiness. I began wiping the exterior from the top down. The keyboard is as far as I got. I know I can’t tackle this job without professional assistance. Who could I call upon for help?
Hello Debbie!
Although I don’t personally know anybody in your area, there are several resources for finding a local competent technician. The quickest is the Piano Technicians Guild’s search tool (https://portal.ptg.org/technician/find). Any technician you find here will, at least, have passed their evaluations and should be able to assist. It doesn’t look like you have many choices within a 25-mile radius: I see only Patrick Presnell (http://presnellpianoservice.com/).
There are many excellent piano technicians who are not part of the guild. When seeking such competent but low-profile individuals, the first place to check is with local piano teachers. They often get reviews and tips from their students. You’re not far from Waldorf Music Academy (https://waldorfmusicacademy.com/), and you might ask them for a recommendation for a technician.
Thank you!