Best USB Floppy Drives for Reading Yamaha Disklavier Floppy Disks
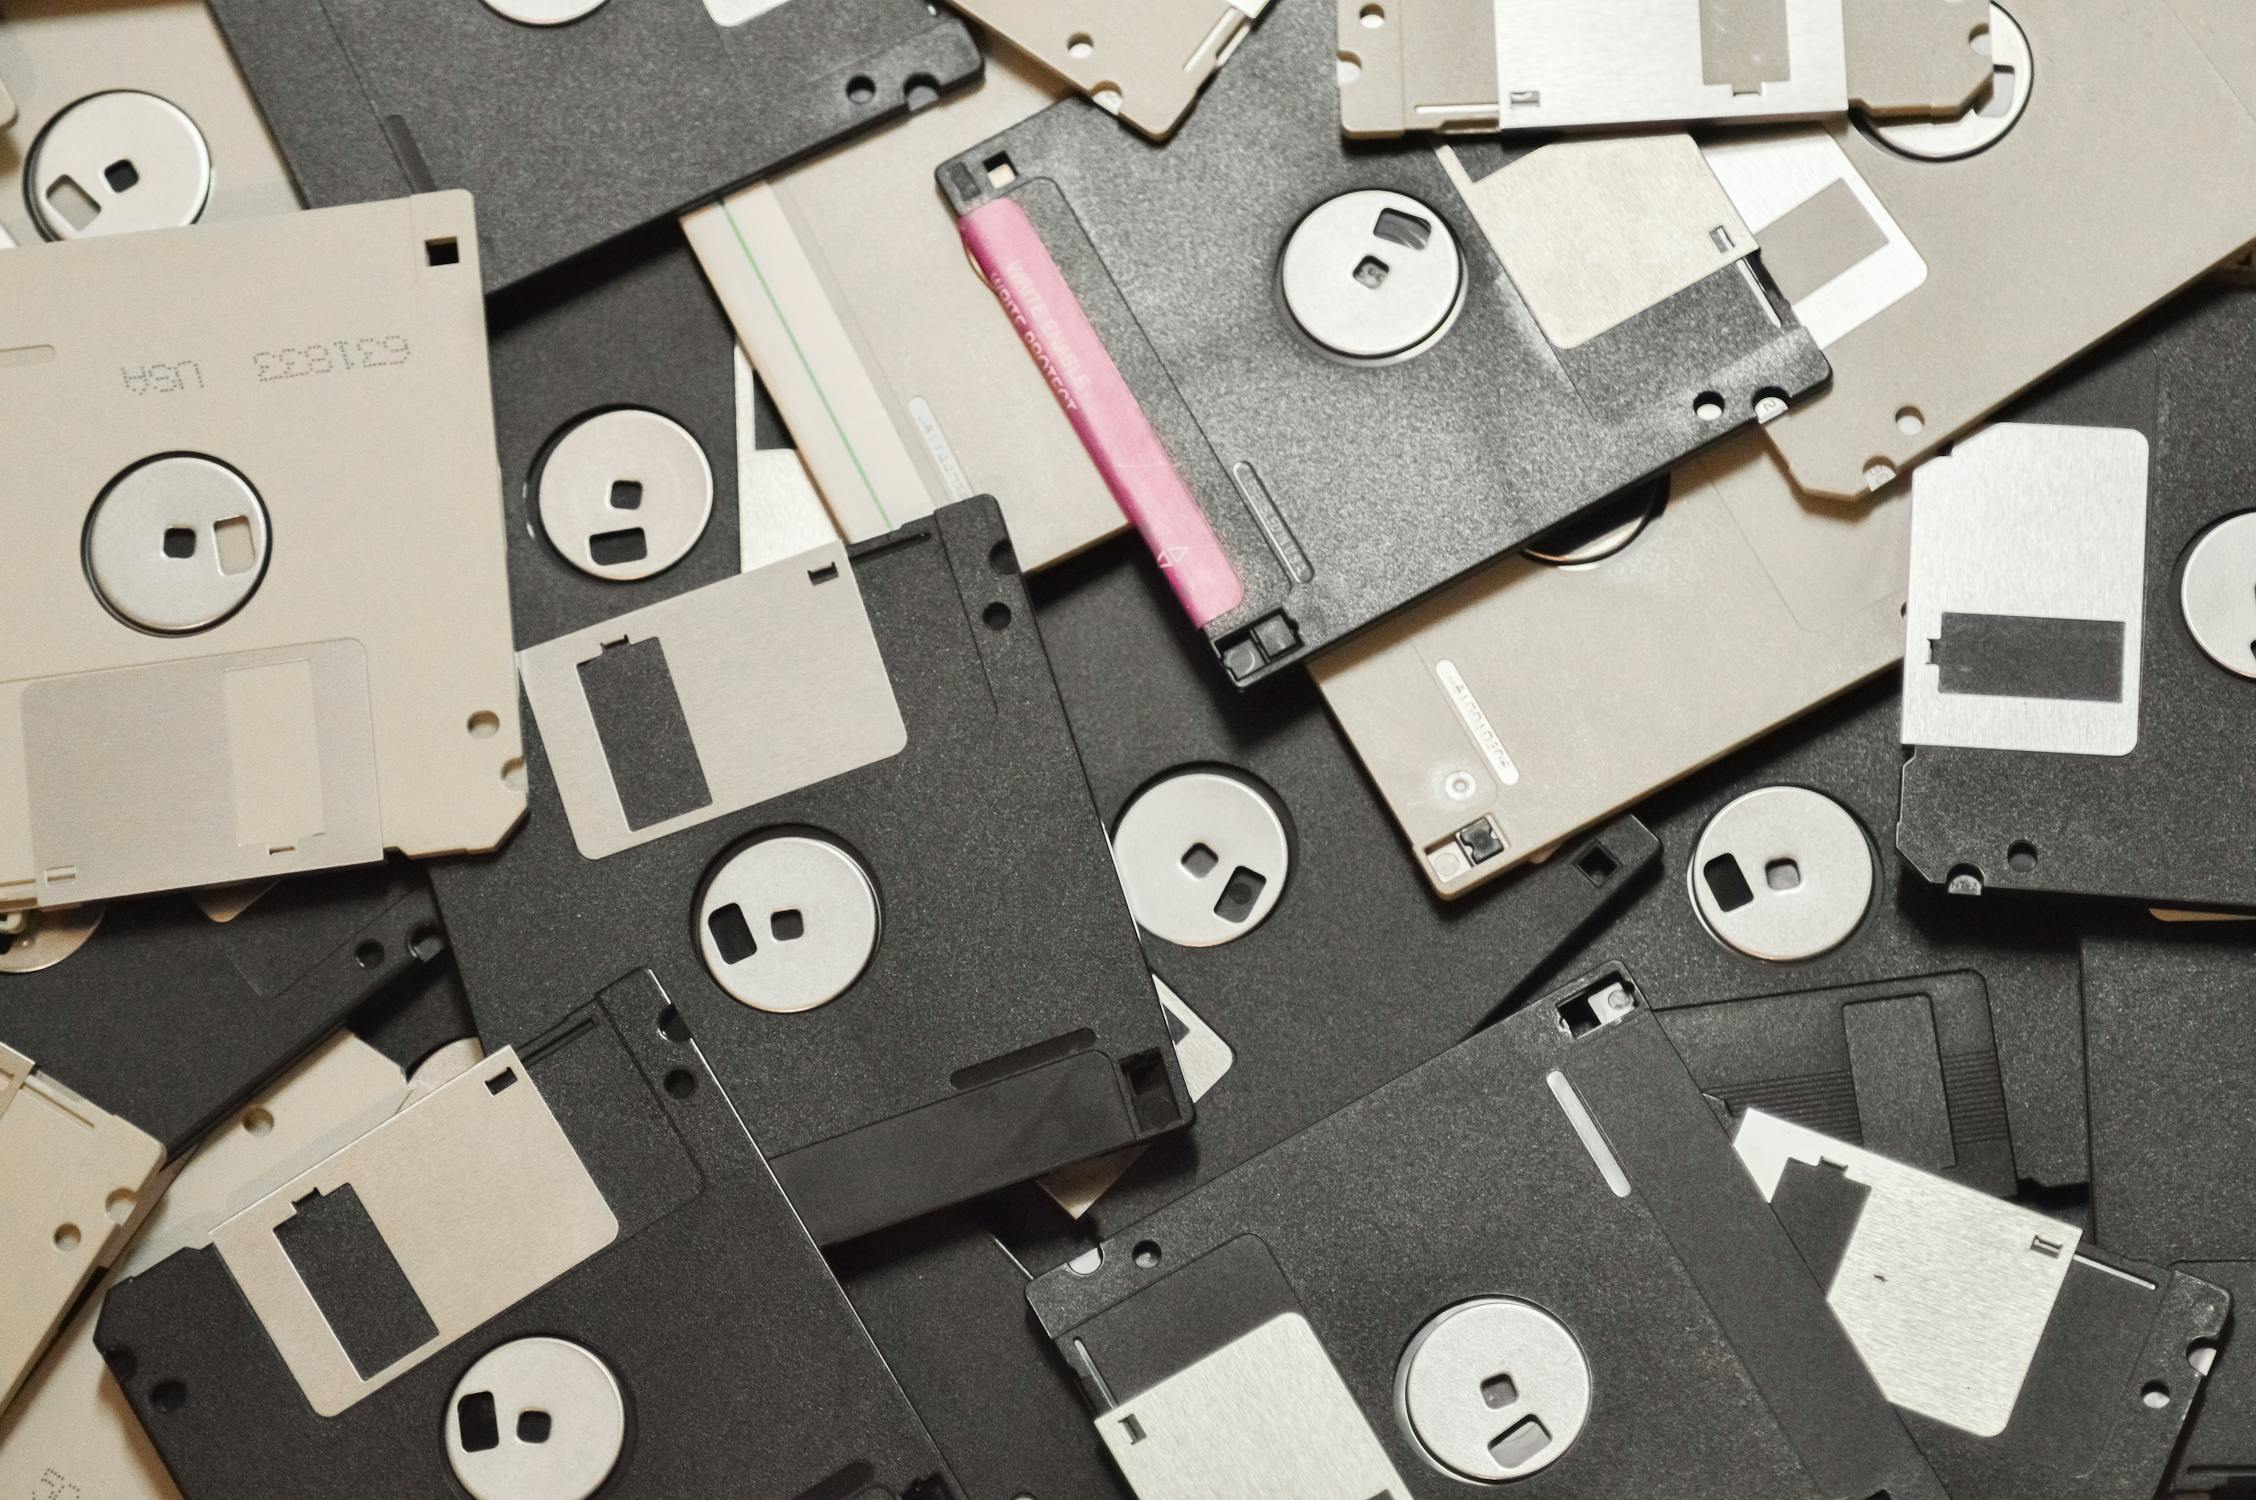
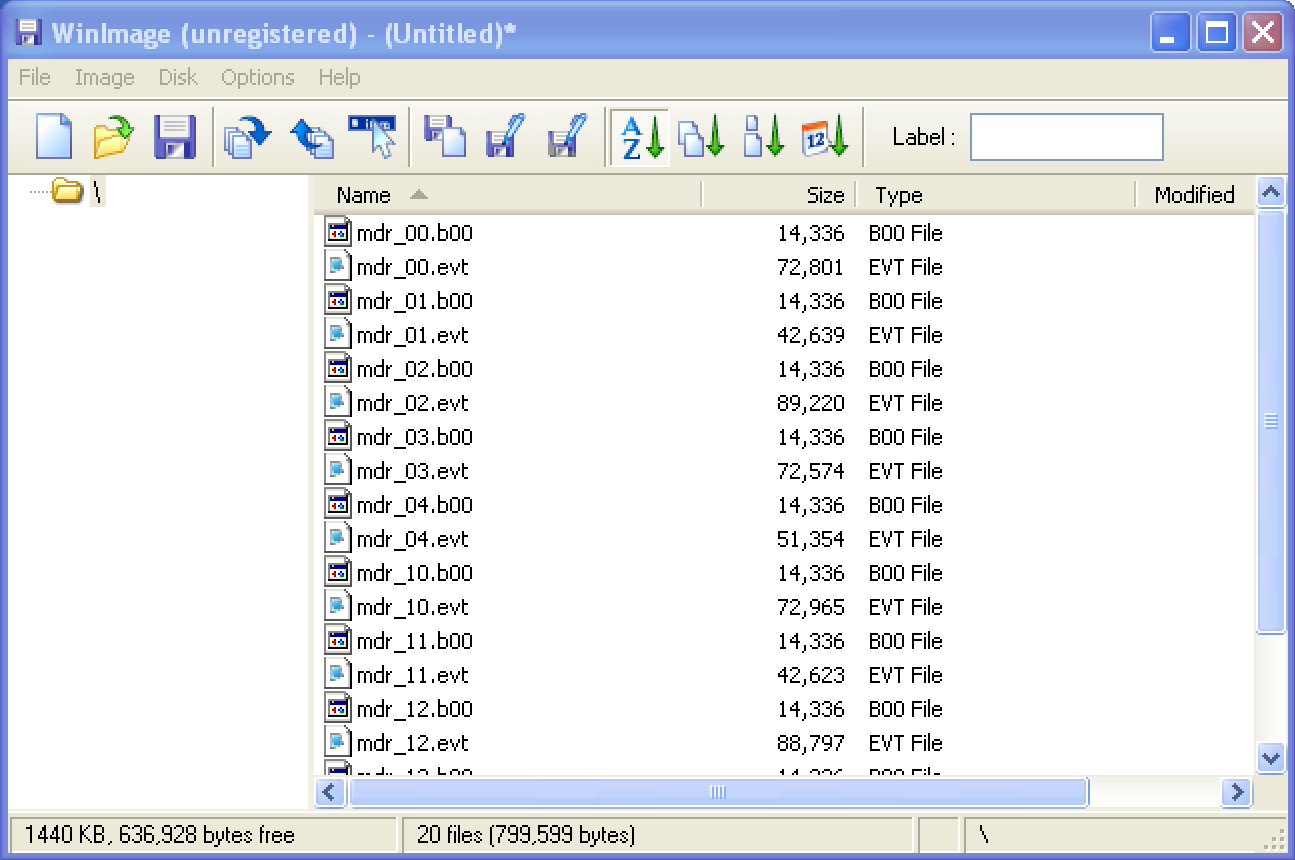
So you’ve decided to back up your Yamaha Disklavier floppy disks. And now you need a floppy disk drive that can read them! So what’s the best USB floppy disk drive for our purpose, and especially for reading those earlier, pesky 720 KB double-density (DD) variants used by early Disklaviers? This article explores various options, including … Read more