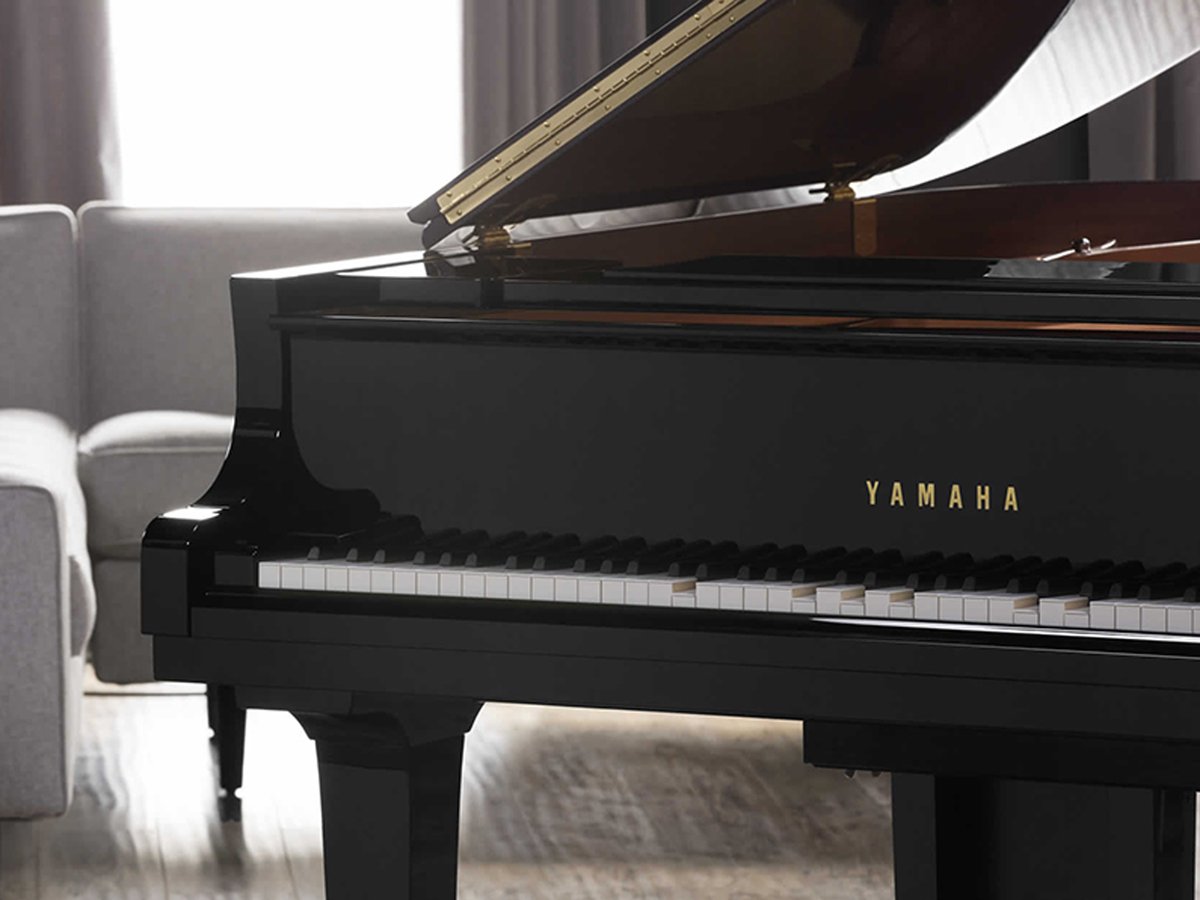
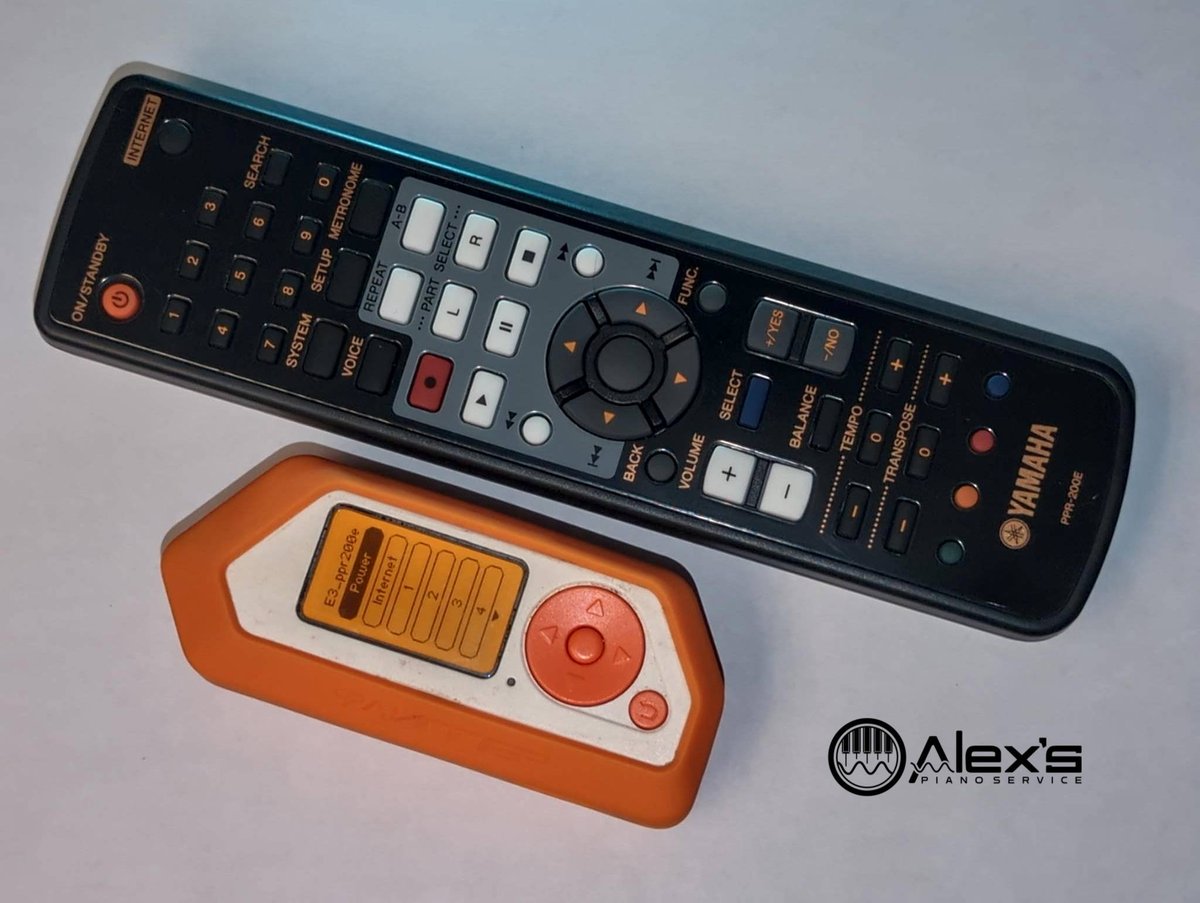
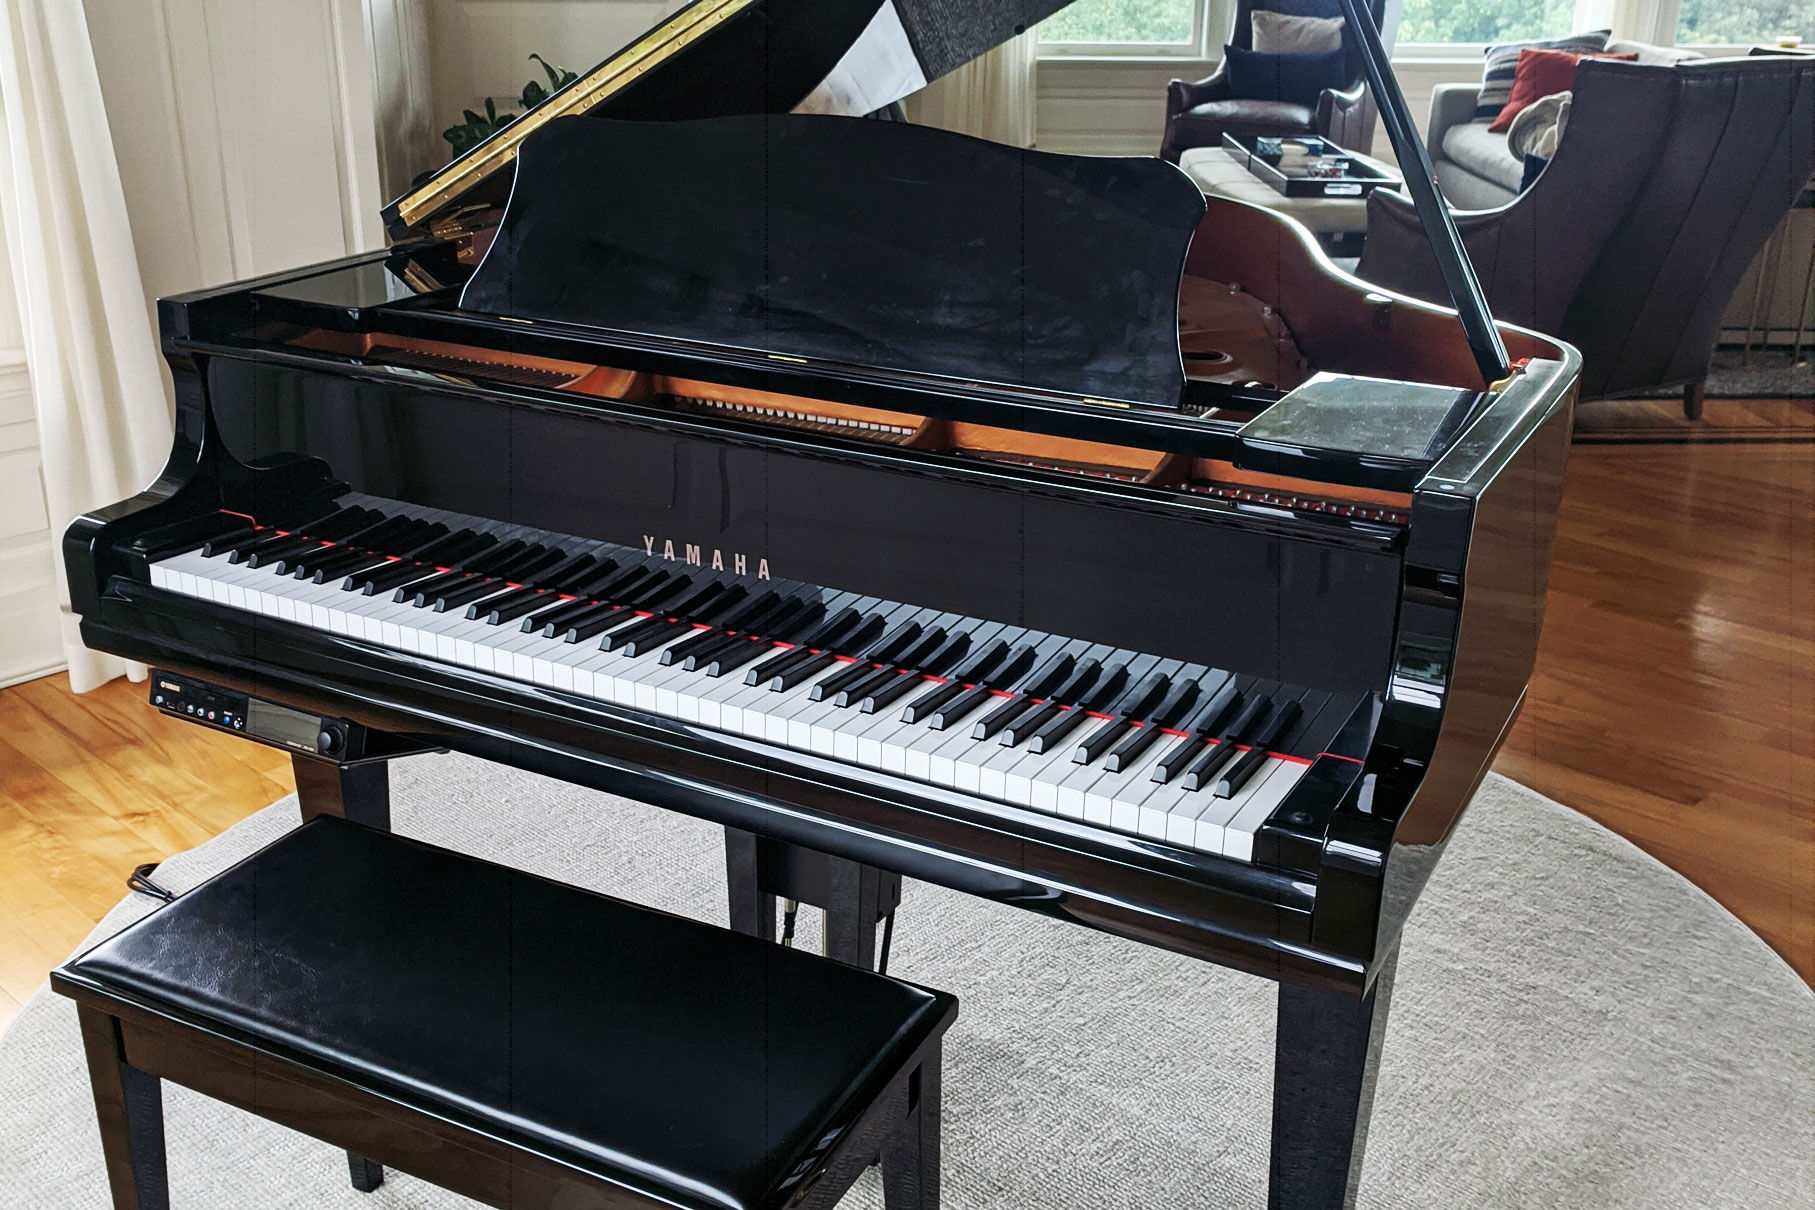
Yamaha Disklavier E3 Power Supply Testing & Rebuild Service
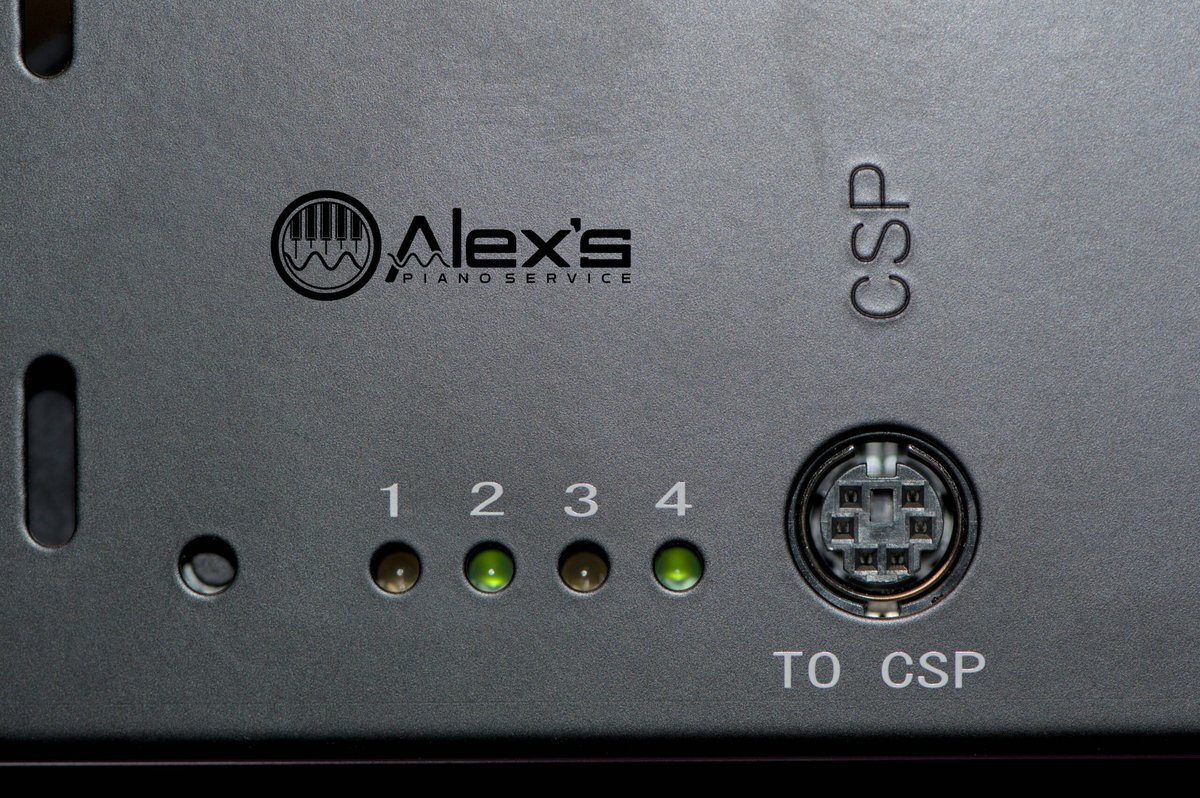
If your Yamaha Disklavier E3 will not power on, reboots unexpectedly, or appears to have a failed power supply, I offer a mail-in rebuild service for the internal E3 power supply assembly. Each unit is rebuilt with current Yamaha parts, inspected, bench tested, and returned with insured shipping included.